Native American Bow Grip and Hand Placement for Control
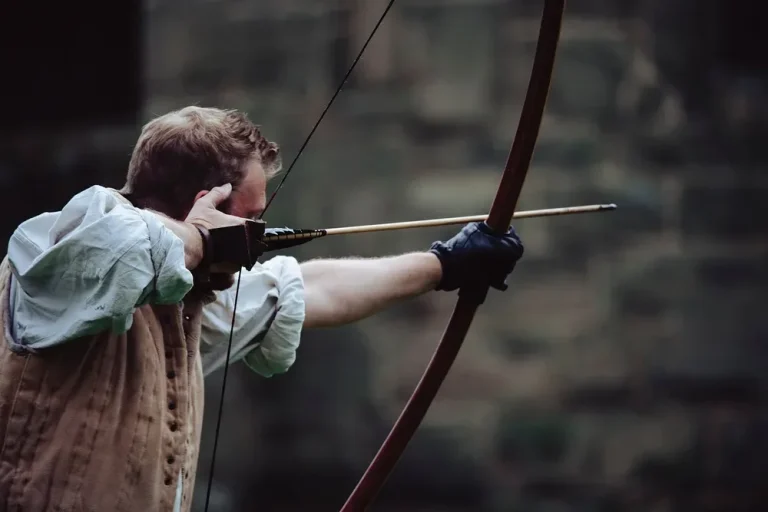
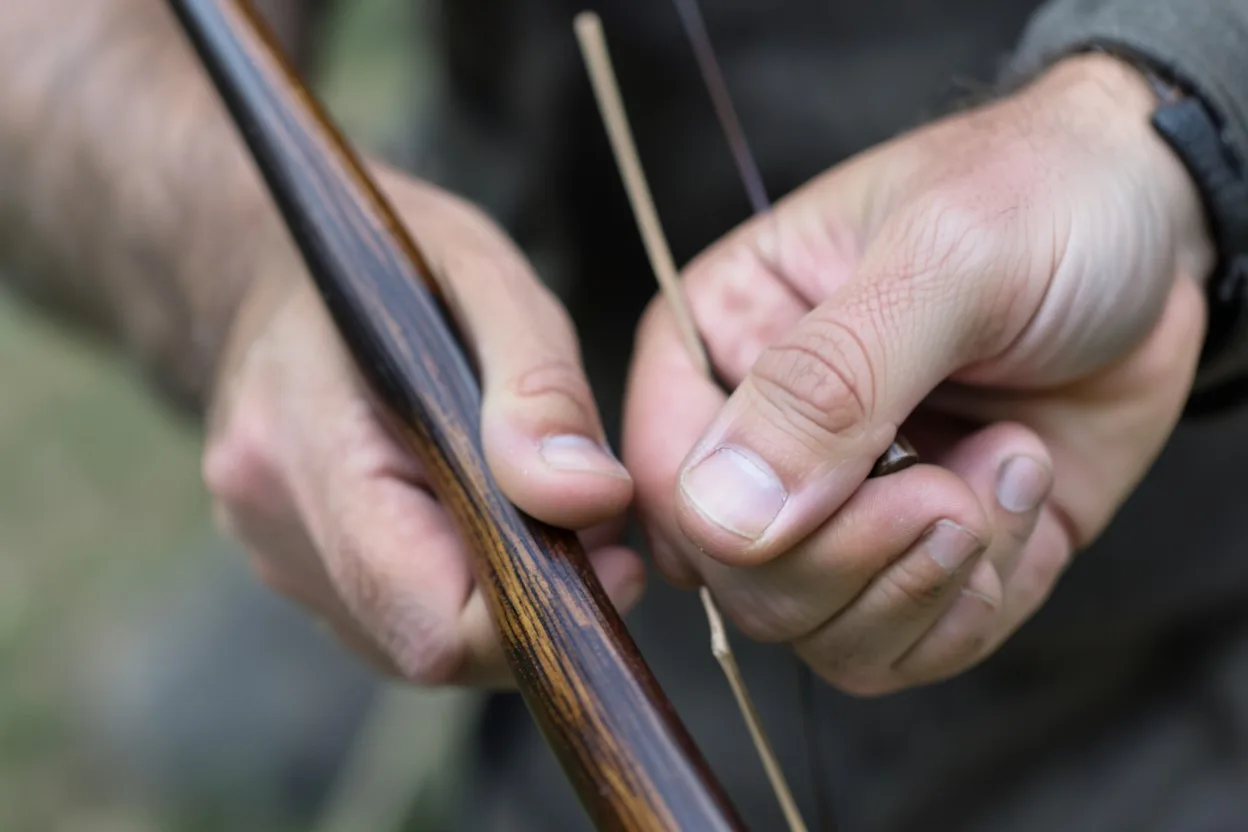
Place the web of your thumb under the bow’s grip shelf and wrap your fingers behind the grip so the bow sits in the V between your thumb and index. Keep your wrist neutral and aim for pressure ~equal on both sides. Native American bow grip hand placement for self bows versus recurves should be mapped using repeatable checks for control, comfort, and accuracy, derived from range observation and coaching principles.


What grip problem are you really solving with a Native American bow?
You’re solving a contact location problem, not a “be relaxed” slogan. On self bows, the grip throat shape and rounded handle shift where the base of your thumb touches. If that pressure point drifts into the throat, your hand rotates, and you create hand torque, which shows up as left/right inconsistency and faster fatigue.
Why “relaxed hand” fails when the pressure point drifts
Relaxed helps only if the torque-free contact point stays consistent. The drawing feels the same, but the arrow starts climbing sideways because the thumb-side contact moved.
How torque shows up as left/right inconsistency
Hand torque comes from squeezing or rotating the bow hand. When the thumb fights a rounded throat, the radius bone alignment changes, and the bow’s nose effectively points a hair off at release. Even a small twist can move your point of impact left or right.
What to watch for in your first 10 arrows
Watch timing first. Do you burn out at full draw before arrow 10? Then watch drift. Do you get a wobble that turns into a straight line left-to-right group? Finally, check direction stability. If the group walks one way, the contact point and throat reference are usually shifting, not your draw length.
According to Get a Grip on Accuracy (School of Nock 2025 | Week 3) — One coaching cue is a 45-degree thumb angle for the bow hand. (source)
Where should my bow grip pressure point land on a traditional grip?
Land the bow grip pressure point near the base of your thumb on the thenar eminence, where it stays torque-free. I aim for the thumb-side placement referenced by the lifeline area, thumb-side pressure without crossing the lifeline. That contact should feel the same at address and again at full draw, shot to shot.
Use the thenar/base of thumb as the contact
The pressure point belongs near the base of your thumb and lifeline. With a torque-free grip, the contact aligns with the radius bone of the arm. The plain version is this: place pressure where your thumb meets the grip shelf, not where your fingers drag the handle.
Reference the thumb-side lifeline
Many archers mistakenly cross the palm’s life line. If you press over it, your hand tends to rotate and climb the grip. Instead, use the thumb side of the lifeline as your reference. A 45-degree thumb angle for the bow hand is a useful cue, ensuring the thumb pad carries contact without yanking sideways.
Feel check: consistent during hold, not made by squeezing
The bow hand should be relaxed from address until the arrow clears the rest. If you feel like you have to squeeze harder at full draw, you’re chasing wobble with torque. Let the contact point do the work, squeezing tends to rotate your hand, and that rotates the shot.
How do I set a wrist angle that stays relaxed and consistent?
Start neutral, relax the forearm, then choose your wrist angle based on how your hand contact sits on the grip throat. A low wrist is generally recommended because it reduces muscle recruitment. High wrist can feel stable, but it can increase forearm demand and make it easier to torque during the hold.[2]
High wrist vs low wrist: what typically changes
A high wrist often changes which part of the thenar area presses the handle. On narrower, more defined throats, common on recurves, that can encourage a higher contact and more forearm contact. A low wrist tends to let the radius align more naturally with a torque-free contact point, so your hold stays calmer.
Neutral or relaxed wrist: how to find it without locking
Look for a neutral or relaxed wrist position that doesn’t force your hand to crawl up the throat. Beginners should aim the wrist at the target line, then stop there, as instructed in a shop setting. If you lock the wrist, you usually overcorrect height mid-hold.
Common beginner fix that backfires
If your group drifts, many beginners push wrist height to compensate. That often changes pressure location on the grip and revives torque. Fix the contact zone first. Then adjust wrist height only after your pressure point and lifeline reference stay stable.
What does the throat of the grip tell me about hand placement?
The throat of the grip acts as a landmark for traditional hand placement. Traditional bow hand guidance can use the throat of the grip as the contact zone. On self-bow grips with a rounded throat, your palm base settles differently than it does on a narrow recurve throat. If you creep too deep, you invite torque.
Use the throat like a landmark
The throat of the grip is where your hand naturally wants to rest when you wrap behind the handle. On self bows, that area supports relaxed hand contact because the grip is broom-handle shaped and more rounded and less defined. You’re aiming for a repeatable settle, not a grinding clamp.
How rounded/self-style throats change wrap
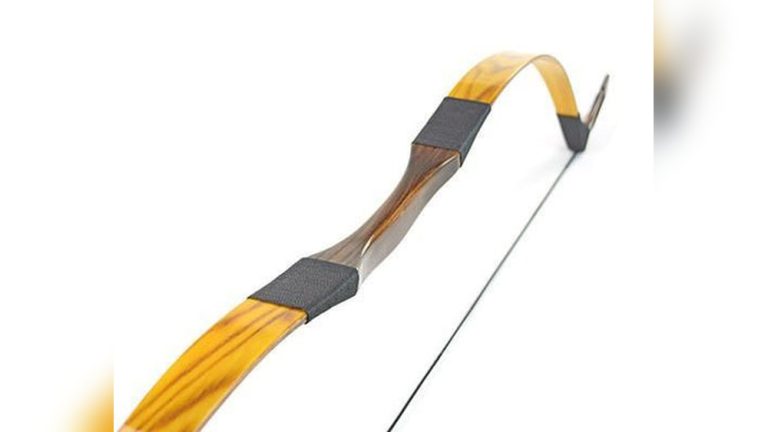
Self bow grip shape is often described as a broom-handle grip. That roundness means your fingers wrap behind in a way that can shift where the thenar pressure lands. I’ve had beginners chase firmness and accidentally wrap deeper, which makes the thumb-side pressure roll into a twist.
What “creeping too deep” feels like
Creeping too deep into the grip throat usually feels like your thumb has to work harder to stay in contact. That’s your cue that the pressure point moved. When it moves, hand torque increases. Even if your draw length is identical, the release direction changes enough to show up in inconsistent arrows.
Pressure point + wrist height checklist
Use this decision checklist to set Native American bow grip hand placement quickly and keep it consistent. It checks pressure location, base of thumb near the thenar and lifeline area, wrist angle choice, high vs low vs neutral/relaxed, and whether your throat reference stays stable. If you fail a step, fix contact before you strong-arm the shot.
Decision checklist: draw/hold feel tests
- Thumb placement test: Place the web of your thumb under the grip shelf and keep the thumb-side pressure near the base of the thumb and lifeline.
- Lifeline boundary test: If your pressure crosses the palm’s life line, rewrap. Thumb-side only.
- Throat landmark test: Use the throat as your contact zone and confirm the same point lands at address and full draw.
- Torque check: At full draw, you should feel relaxed from address until arrow clear, with no squeezing. Torque-free alignment should keep your radius bone feel lined up.
- Wrist angle choice test: Try low wrist for reduced muscle recruitment, then compare to neutral/relaxed. High wrist is your fallback only if contact stays unchanged.
- Consistency test: Shoot a few arrows at the same distance and aim. If groups wander left/right, suspect pressure drift into the throat before changing anything else.
Comparison table: self bow, flatbow, and recurve grip contact
| Grip type | Grip pressure point (where it should sit) | Wrist angle preference | Most common mistake that breaks control |
|---|---|---|---|
| Self bow (rounded, broom-handle feel) | Base of the thumb / thenar eminence; thumb-side lifeline reference; stable throat-zone contact | Neutral or low wrist to keep contact from creeping deeper into the throat | Creeping too deep into the grip throat, which increases hand torque and pushes groups sideways |
| Flatbow (simple, flatter handle) | Base of thumb with thumb-side pressure; keep contact near the shelf without rolling into the palm | Low wrist or neutral/relaxed to reduce forearm strain during longer holds | Over-wrapping fingers and letting the handle twist under the thenar pressure point |
| Recurved traditional grip (narrower, more defined throat) | Base of thumb contact on a narrower throat; torque-free contact point closer to a consistent shelf edge | High wrist is often attempted, but neutral/relaxed that keeps contact unchanged usually holds up better | Letting the higher wrist encourage extra forearm contact, then squeezing at full draw |
How to use the table when groups start drifting
If your group starts moving left or right after a fair number of arrows, I usually treat it like possible mechanical drift rather than range conditions. First, re-check lifeline crossing and throat landmark consistency. Next, confirm wrist height stayed the same. If you fix those but drift persists, the sling or your finger wrap is likely changing your ability to keep the pressure point unmoved.
Should my fingers wrap the handle or stay mostly relaxed?
Wrap your fingers behind the grip so the bow sits in the V between your thumb and index, but do not turn the finger wrap into a grip clamp. The thenar-side pressure point should do the work, and your hand should stay relaxed from address until arrow clear. Over-wrapping can add twist.
When finger wrap helps contact
Finger sling / wrist sling setups are common because they prevent bow drop when the hand stays loose. Without that support, many traditional shooters tighten the fingers and rotate the handle. That increases hand torque and shifts arrow impact. A correct wrap stabilizes position, not rotational force.
When it steals control by adding twist
If your fingers wrap farther forward than the throat contact zone, your knuckles and grip geometry start forcing the thumb side to slide. Thenar pressure moves, wrist angle changes, and the shot gets cocked.
Correct an over-wrapped hand without changing draw length
Keep your draw length and anchor, then reduce finger wrap depth until the bow sits consistently in the thumb-index V. Maintain a consistent 45-degree thumb angle cue and keep pressure on the thumb-side lifeline area. You should feel the torque-free contact point remain the same.
How does a finger sling or wrist sling help with better control?
A finger sling or wrist sling can let you keep your bow-hand relaxed at full draw without the bow dropping. When the hand stays relaxed, you preserve the torque-free contact point and reduce hand torque. That matters more on self bows because the rounded throat encourages tiny shifts during long holds.
Why slings reduce bow-drop so your hand stays looser
When the grip pressure point is stable, you don’t need muscular support to hold the bow. A sling helps transfer retention load so your thumb-side pressure stays near the base of your thumb and lifeline reference. That supports the requirement to stay relaxed from address until arrow clears.
What to adjust if the sling makes you cant your wrist
If your wrist angle starts changing because the sling pulls one side, your contact point will drift too. Fix alignment by re-positioning finger placement behind the grip so the sling supports the bow without dragging the handle sideways. Then re-check the lifeline boundary so you’re not crossing it.
A simple range routine to verify sling consistency
- Shoot a few arrows slowly at a single spot with a relaxed hand.
- At full draw, confirm your thumb-side pressure point does not climb into the grip throat.
- Shoot a few more arrows and compare group center and height.
- If height changes, your wrist angle is moving. If left/right changes, torque or lifeline crossing is usually the driver.
Frequently asked questions
Where should my bow hand sit on a traditional bow grip?
Place the web of your thumb under the bow’s grip shelf and wrap your fingers behind the grip so the bow sits in the V between thumb and index. Keep wrist neutral and pressure near the base of the thumb and lifeline. Bad placement twists the handle and creates hand torque that shows up as wandering groups.
Should I use a high wrist or low wrist when shooting a Native American style bow?
A low wrist is generally recommended because it reduces muscle recruitment, which helps you keep the hand relaxed and the pressure point stable. High wrist can feel powerful, but it often increases forearm involvement and encourages creeping contact into the throat. Start neutral, then test low wrist while keeping the lifeline reference unchanged.
How much pressure should I put on the grip when drawing and holding?
The bow hand should be relaxed, not actively gripping the bow. Pressure is about contact location, not squeezing. Your pressure point belongs near the base of the thumb and lifeline, and it should stay consistent shot to shot. If you need more grip force to stop wobble, you’re usually creating torque.
Can I wrap my fingers around the bow grip or should they stay mostly relaxed?
Wrap behind the grip, but avoid turning the fingers into a clamp that rotates the handle. Maintain relaxed hand from address until the arrow clears the rest. The torque-free contact point should come from thumb-side pressure on the thenar/lifeline area. If the bow rotates in your hand, you are over-wrapping.
Why does my bow hand torque affect arrow impact and accuracy?
Hand torque is caused by squeezing or rotating the bow hand. That rotation shifts where the grip shelf touches your thenar area and changes the release direction. Even when your draw length and anchor are the same, torque can move point of impact left/right. Keeping radius bone alignment helps maintain a torque-free grip.
Do different grip shapes need different hand placement?
Yes. Self bow grip shape is typically more rounded and less defined, so the throat contact zone encourages a different wrap and wrist feel than a narrower recurve throat. Flatbows fall in between, often favoring neutral to low wrist. Use the throat as your placement reference and keep the pressure point from creeping into it.
Is there a difference between shooting a self bow and a recurved traditional bow grip?
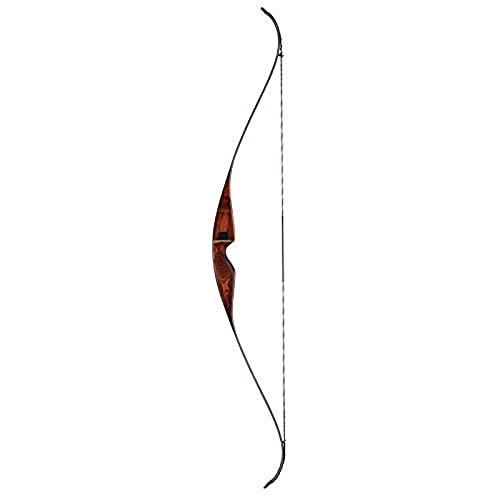
The biggest difference lies in how the throat and handle shape steer thumb-side contact. Self bows feel like a broom-handle grip, so it’s easy to creep deeper and create torque if you squeeze. Recurve grips tend to be narrower and more defined, which can encourage a higher wrist. Either way, lock the contact point first.
Why do modern bows have handles when Native American… — Amateur bowyer/archer question: why yall put handles on when Indians didn’t?
On many traditional designs, the “handle” is really just the grip section carved to fit human contact and keep the hand relaxed. Self bows can feel like a broom-handle grip with a rounded throat. Modern bows may add shape for repeatability, but the bow grip pressure point, lifeline reference, and torque-free contact still govern control.