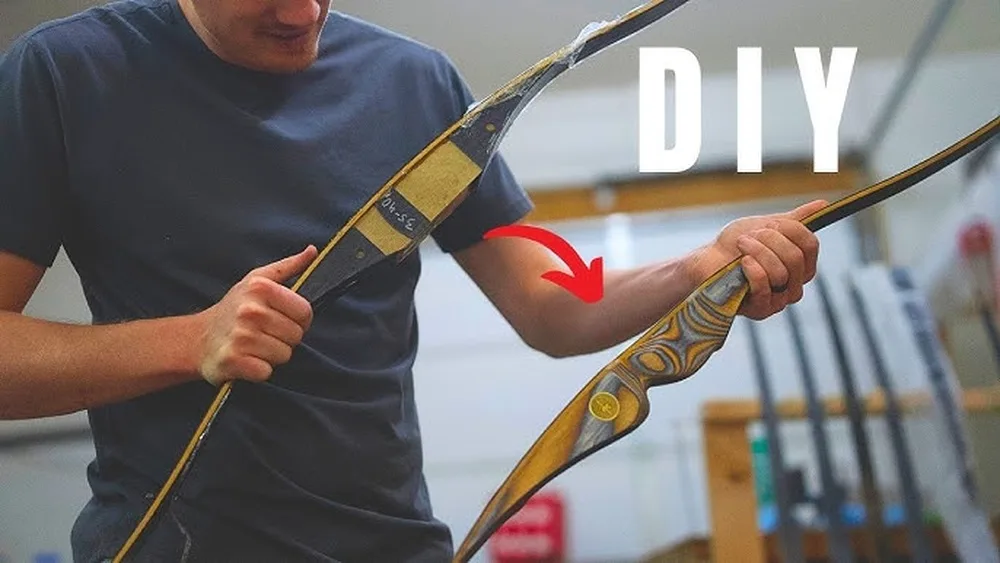
How to Make Fiberglass Horse Bow: Step-by-Step Guide for Beginners
Making your own fiberglass horse bow can be a rewarding project for anyone interested in archery, traditional crafts, or DIY. The horse bow, also known as a “short recurve bow,” is famous for its compact size and strong performance. It’s used in mounted archery and by many traditional cultures, like the Mongols and Turks. Fiberglass brings durability, flexibility, and a modern twist to this ancient design. If you want a bow that combines tradition with reliability, learning how to make a fiberglass horse bow is a great place to start.
This guide will walk you through the process, from choosing materials to shaping and finishing your bow. You’ll see how to avoid common mistakes, understand why each step matters, and get practical advice that goes beyond simple instructions. Whether you’re a beginner or have some experience with bow-making, you’ll find tips and insights to help you build a bow that performs well and lasts.
Understanding The Fiberglass Horse Bow
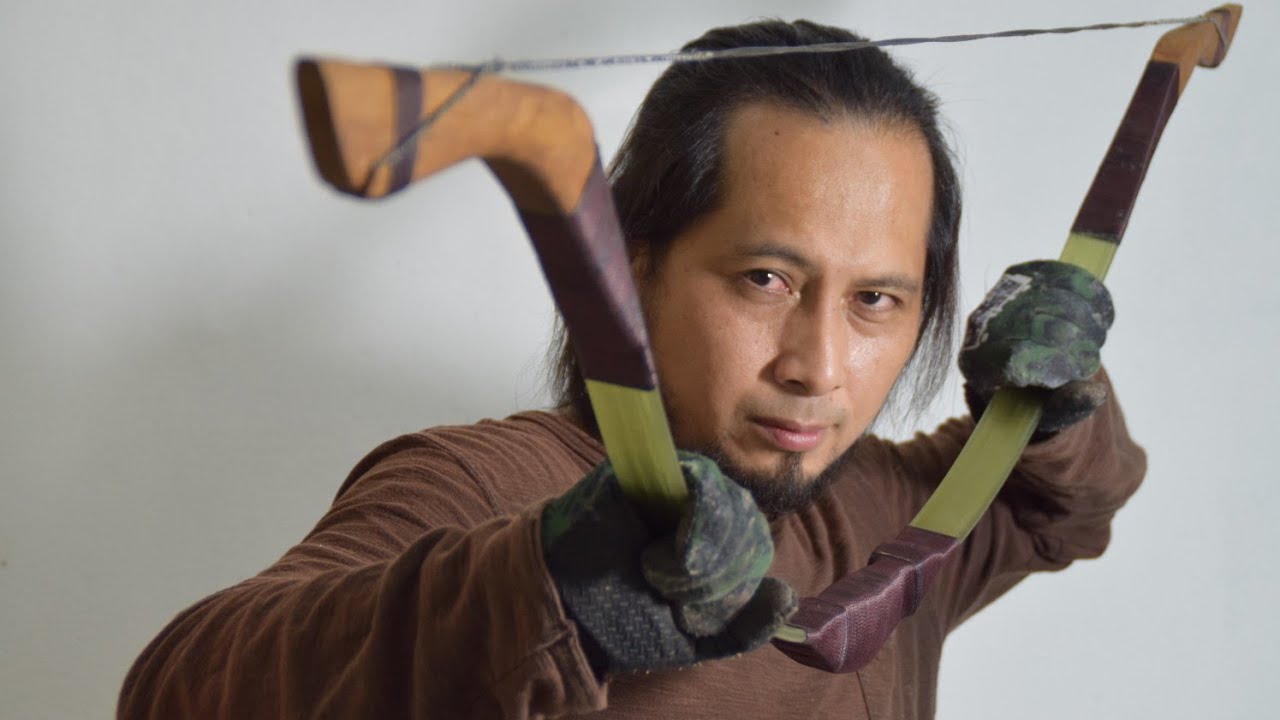
The horse bow is a compact, curved bow designed for speed and mobility. Unlike longbows, it’s easier to use from horseback or in tight spaces. The traditional materials were wood, horn, and sinew, but fiberglass has become popular because it’s strong, flexible, and resists weather damage.
Fiberglass bows are known for their consistent performance and lower maintenance. They don’t warp easily, and the draw weight remains stable even after years of use. Using fiberglass also makes the bow more accessible for beginners, as it’s easier to work with than horn or sinew.
A homemade fiberglass horse bow typically requires less tuning and remains straight even after many shots. This is a big advantage for anyone who wants reliable archery equipment without constant repairs.
Materials And Tools You Need
Building a fiberglass horse bow needs careful material selection. Using the right supplies is key to safety and performance.
Essential Materials
- Fiberglass sheets or strips: These are the main limbs of the bow.
- Epoxy resin: Bonds the fiberglass and adds strength.
- Wood core (maple or bamboo): Provides stiffness and shape.
- Bowstring: Dacron or Fast Flight are good options.
- Sandpaper (various grits): For smoothing and shaping.
- Release agent: Prevents epoxy from sticking to molds.
- Mold or bow form: Sets the curve of the bow.
Tools Required
- Hacksaw or bandsaw
- Clamps
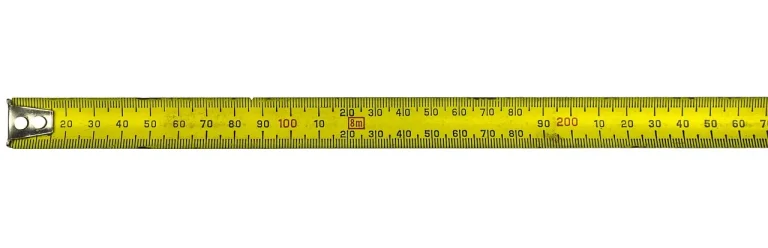
- Measuring tape
- Mixing cups and sticks
- Paintbrush (for resin application)
- Heat gun (optional)
- Protective gloves and mask
Pro Tip: Choose epoxy resin instead of polyester resin for better bonding and flexibility.
Material Comparison
Here’s how the main materials stack up:
| Material | Strength | Flexibility | Durability | Cost |
|---|---|---|---|---|
| Fiberglass | High | Moderate | Excellent | Medium |
| Wood | Medium | High | Good | Low |
| Horn/Sinew | High | High | Excellent | High |
Fiberglass offers a good balance between cost, strength, and ease of use. For beginners, it’s much simpler than horn or sinew.
Planning Your Bow Design
Before you start building, it’s important to plan the dimensions and curve of your horse bow.
Key Bow Measurements
- Overall length: 48, 54 inches is typical for horse bows.
- Draw weight: 35, 50 lbs for most adults.
- Handle width: 1.25, 1.5 inches.
- Limbs taper: Starts wider at the handle, narrows toward the tips.
The bow’s shape affects performance. A deeper curve gives more power, but can be harder to draw. Beginners often choose a moderate recurve for easier handling.
Example Bow Dimensions
| Bow Length | Draw Weight | Handle Width | Limbs Width (at tips) |
|---|---|---|---|
| 50 in | 40 lbs | 1.5 in | 0.75 in |
| 54 in | 45 lbs | 1.25 in | 0.7 in |
Testing bows with varying lengths and draw weights reveals that shorter bows are easier to use on horseback, while longer bows offer more control for ground archery.
Step-by-step: Making The Fiberglass Horse Bow
Now let’s get into the step-by-step process. Take your time with each stage; rushing can cause mistakes or weak spots.
Step 1: Preparing The Wood Core
- Select a straight piece of maple or bamboo.
- Cut to the desired length (48, 54 inches).
- Mark the center and limb tapers using pencil and ruler.
- Shape the wood with a saw and sandpaper. Smooth out any rough edges.
Example: A wood core with gradual taper is easier to laminate and gives better limb movement.
Step 2: Shaping The Mold/form
- Use plywood or MDF to make a mold that matches your bow’s curve.
- Cover with release agent so epoxy won’t stick.
- Clamp the mold securely to your workbench.
Warning: Always wear gloves and a mask when handling chemicals.
Step 3: Laminating Fiberglass And Wood
- Cut fiberglass strips to match the core length.
- Mix epoxy resin according to package instructions.
- Lay one fiberglass strip on the mold, brush on epoxy, place wood core, brush more epoxy, and add another fiberglass layer.
- Clamp everything tightly to the mold.
- Leave to cure for 24, 48 hours.
Pro Tip: Too much epoxy can make the bow heavy and slow. Use just enough to bond layers.
Step 4: Shaping The Limbs
- Remove the cured bow from the mold.
- Trim excess fiberglass with a saw.
- Sand the limbs to smooth the edges and reduce weight.
- Check for symmetry, both limbs should curve evenly.
Example: Uneven limbs make the bow unstable and reduce accuracy.
Step 5: Adding The Handle
- Wrap the handle area with leather, cork, or rubber for comfort.
- Secure with glue and let dry.
- Some makers add a slight bulge for better grip.
Step 6: Attaching The Bowstring
- Measure the distance between limb tips (the “brace height”).
- Choose a bowstring that matches this length.
- Attach string to notches at each tip.
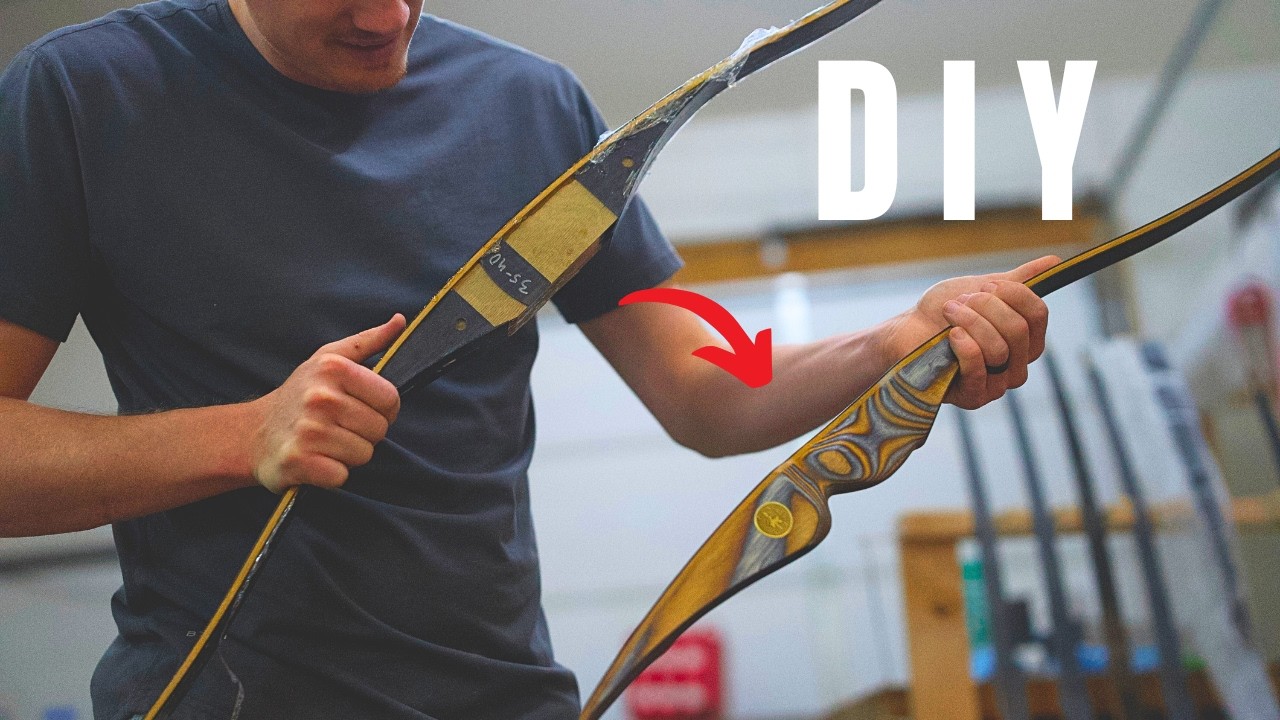
- Test the bow for draw weight and flexibility.
Pro Tip: Check string tension. Too loose, and the bow is weak; too tight, and it can crack.
Credit: www.youtube.com
Finishing And Testing Your Bow
Once assembled, your bow needs finishing touches to ensure performance and safety.
Sanding And Coating
- Use fine-grit sandpaper to smooth all surfaces.
- Wipe off dust with a damp cloth.
- Apply a protective finish (polyurethane or varnish) to seal the wood and fiberglass.
This step prevents moisture damage and keeps the bow looking good.
Testing For Safety And Performance
- Pull the string slowly to full draw. Listen for cracking or creaking.
- Shoot several arrows at short range. Watch for limb flex or string slip.
- Adjust string or limb shape as needed.
Example: The first time I tested a homemade fiberglass bow, I started with low draw weight to avoid overstressing the limbs.
Common Mistakes And How To Avoid Them
Making a fiberglass horse bow can be tricky. Here are mistakes people often make, and how you can avoid them:
- Using too much epoxy: Makes the bow heavy and slow.
- Uneven limb thickness: Causes poor accuracy and breakage.
- Skipping mold release agent: Bow gets stuck to the mold.
- Rushing cure time: Weakens the bond and creates bubbles.
- Incorrect string length: Affects draw weight and safety.
Pro Tip: Measure everything twice, small errors in measurement can ruin the whole project.
Comparing Fiberglass Horse Bow To Other Bow Types
Wondering how your homemade bow stacks up against store-bought or traditional bows? Here’s a quick comparison:
| Bow Type | Draw Weight Range | Length | Ease of Making | Durability |
|---|---|---|---|---|
| Fiberglass Horse Bow | 35, 50 lbs | 48, 54 in | Moderate | Excellent |
| Traditional Wood Bow | 30, 60 lbs | 60, 70 in | Easy | Good |
| Horn Composite Bow | 40, 70 lbs | 48, 54 in | Difficult | Excellent |
Fiberglass bows are easier to maintain and offer reliable performance, especially for beginners and intermediate makers.
Practical Tips For Success
- Work in a clean, well-ventilated space.
- Use clamps with padding to avoid dents in the bow.
- Take photos at each stage for reference.
- Test the bow with light arrows before full-power shots.
Example: I once forgot to pad the clamps, and my bow ended up with deep marks that affected grip. Small details matter.
Credit: www.youtube.com
Safety And Maintenance
Your fiberglass horse bow will last longer with good care.
- Inspect limbs and string before each use.
- Store in a dry place, away from direct sunlight.
- Replace string every few months if you shoot often.
- Clean with a damp cloth, avoiding harsh chemicals.
Warning: Never leave the bow strung for long periods. This can weaken the limbs and cause permanent bend.
Customizing Your Bow
Adding personal touches makes your bow unique and more comfortable.
Decoration Options
- Paint or stain the limbs.
- Carve designs into the wood handle.
- Use colored strings or wraps.
Functional Upgrades
- Add limb tip overlays for extra strength.
- Install arrow rests or nocking points.
- Experiment with different handle materials.
Pro Tip: Customizations should not affect the bow’s structural integrity. Always test after any change.
Troubleshooting: Fixing Common Problems
If you run into issues, here are quick fixes:
- Limb twist: Heat gently with a heat gun and bend back to shape.
- Loose string: Shorten the string or tighten notches.
- Epoxy bubbles: Sand out and apply a thin resin layer.
Example: When my bow developed a slight twist, I used a heat gun (on low) and carefully straightened the limb. Patience is key.
Advanced Techniques For Experienced Makers
Once you master basic bow-making, you can try more advanced methods:
- Layered lamination: Use multiple layers of fiberglass and wood for extra strength.
- Reflex-deflex shaping: Adds power and reduces hand shock.
- Horn tips: Traditional look and extra durability.
These require more skill and tools, but can make your bow lighter and more powerful.

Credit: www.youtube.com
Resources And Further Learning
If you want to learn more, there are great books, forums, and videos online. For technical details on bow design, see Wikipedia Composite Bow.
Pro Tip: Join archery forums to share your progress and get advice from experienced makers.
Frequently Asked Questions
How Long Does It Take To Make A Fiberglass Horse Bow?
Most beginners finish their bow in about 2, 3 days, including curing time. Experienced makers can build one in a single day. Curing epoxy is the longest step, so plan ahead.
Can I Use Other Materials For The Core Besides Wood?
Yes, bamboo is popular due to its flexibility. Some makers use carbon fiber rods for extra strength, but this adds cost and complexity. Test small samples before full use.
Is A Homemade Fiberglass Bow Safe For Hunting?
A well-made bow can be used for hunting small game. However, always check local laws and regulations. Use arrows and tips designed for hunting, and consult experts before trying larger game.
What Is The Best Way To Store My Bow?
Store it unstrung in a cool, dry place. Hang it horizontally or lay flat. Avoid leaving it in hot cars or damp basements, as heat and moisture can damage the epoxy and wood.
Can I Repair Cracks Or Chips In The Limbs?
Small cracks can be filled with epoxy and sanded smooth. For large chips or deep cracks, it’s safer to rebuild the limb or consult a professional. Never use a damaged bow, as it can break and cause injury.
Building a fiberglass horse bow is a journey that blends tradition with modern materials. With careful planning, patience, and attention to detail, you can craft a bow that fits your style and delivers strong performance. Always prioritize safety, test thoroughly, and enjoy the unique satisfaction of using equipment you built yourself.