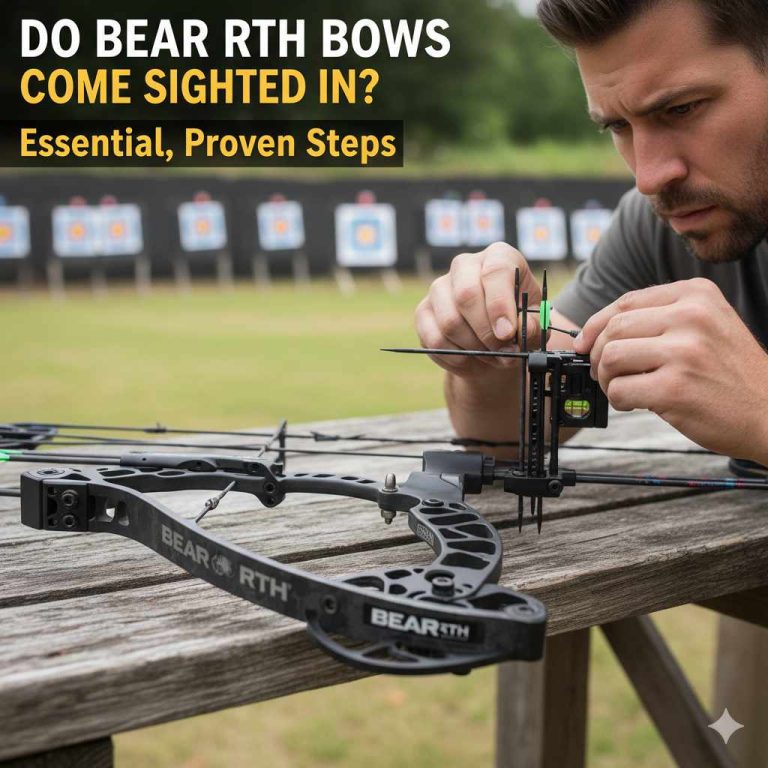
Yes, bows absolutely benefit from achieving a consistent, “Critical Draw.” This is the secret to maximum accuracy and power. A true critical draw in archery means reaching your exact, full draw length and anchor point every single time. Consistency at the point of release is what turns a good shot into a great, highly accurate one, boosting effective impact (or “critical” performance) significantly.
Welcome to the range! If you have heard archers talk about a “critical draw” and wondered if it really matters for your shots, you are not alone. It can feel frustrating when one arrow flies perfectly and the next goes wide. The good news? The secret to highly accurate, powerful shooting isn’t magic—it’s mastering the full draw cycle. Let’s walk through exactly what a “critical draw” means for you and how focusing on this step will immediately improve your accuracy and confidence. Get ready to stop guessing and start hitting your mark consistently!
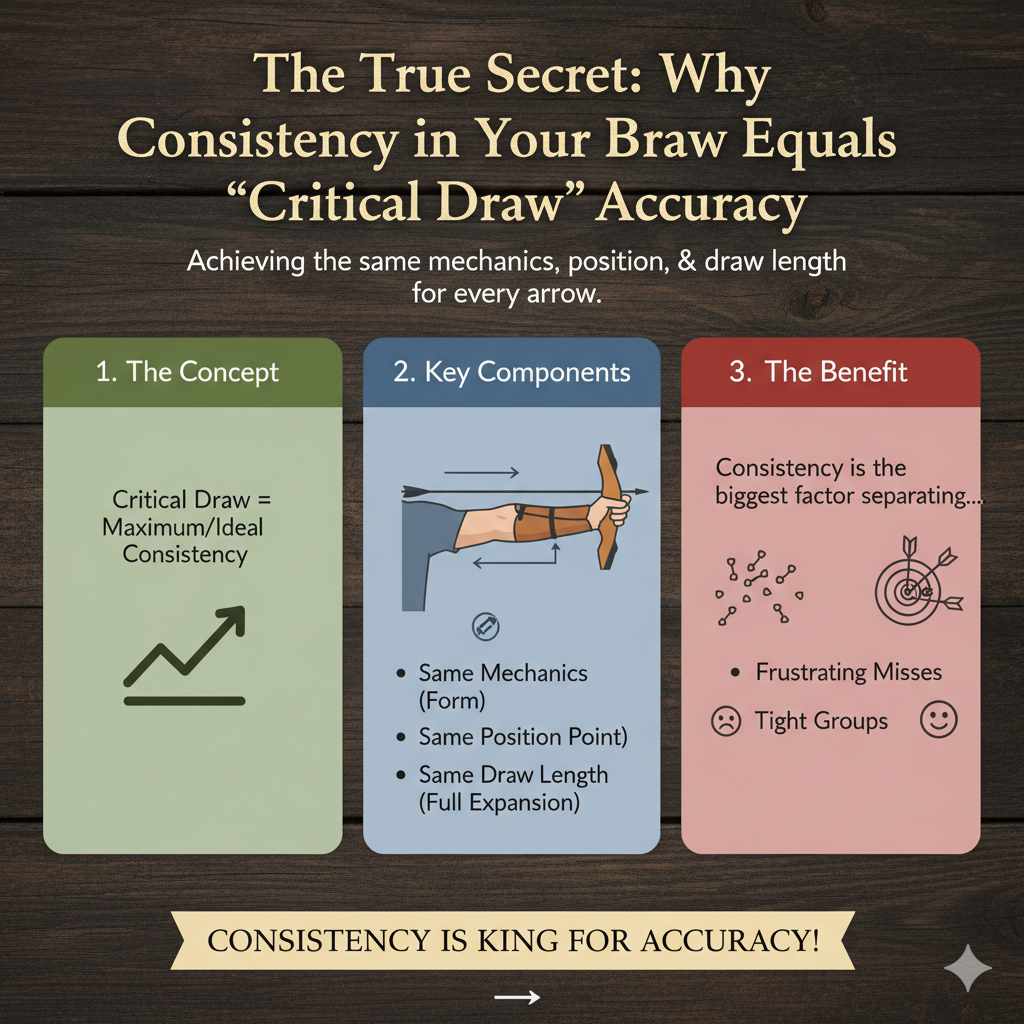
The True Secret: Why Consistency in Your Bow Draw Equals “Critical Draw” Accuracy
As your archery coach, I want to simplify a core truth: the term “Critical Draw,” while perhaps sounding complicated or technical, simply refers to achieving perfect consistency during the draw phase of your shot. Think of “critical” as meaning “maximum” or “ideal.”
When you hear people discussing maximizing bow performance, they are talking about achieving the same mechanics, the same position, and the same draw length for every single arrow. This consistency is the single biggest factor separating frustrating misses from tight groups.
Deconstructing the Draw: What Exactly is a “Critical Draw” in Real Archery?
In the world of real-life archery, a “Critical Draw” is made up of three non-negotiable elements that must be repeated flawlessly:
1. Consistent Draw Length
Your draw length is the distance the string is pulled back from the resting position. If you pull the string back half an inch short on one shot and fully back on the next, you are changing the amount of stored energy in the bow. This inconsistency changes the arrow’s speed, trajectory, and point of impact.
The benefit of a Critical Draw is that every arrow leaves the bow with the exact same amount of kinetic energy, ensuring they fly predictably.
2. The Perfect Anchor Point
The anchor point is where your drawing hand consistently touches your face or jaw just before release. It acts like the rear sight on a rifle. If your hand anchors high under your ear on one shot and low under your chin on the next, your eye alignment changes, and your arrow hits a different spot.
A solid anchor is the physical manifestation of your Critical Draw. It guarantees alignment and repeatability.
3. Controlled Expansion and Holding
After reaching your anchor point, the Critical Draw requires a slight, smooth continued motion, often called “expansion” or “back tension.” You shouldn’t immediately release the string the moment you touch your face. Instead, you need a brief, controlled hold to ensure the shot sequence is finished with proper muscle engagement, minimizing shaking or “creeping” (letting the string slip slightly forward).
Step-by-Step Guide to Achieving Your Perfect, Consistent Draw
Mastering the full draw cycle is a learned skill that builds confidence. Here is the sequence I teach all my beginner archers to help them find their reliable, critical draw length every time.
- Establish Your Stance: Stand tall, feet shoulder-width apart, facing 90 degrees away from the target. This provides a stable platform.
- Nock and Grip: Nock the arrow properly. Place your bow hand gently on the grip. Remember, the bow hand should hold the bow lightly—don’t “death grip” it!
- Set Up and Raise: Relax your shoulders. Lift the bow slightly toward the target line, initiating the draw.
- The Pull (Draw Cycle): Use your back muscles (specifically your scapulae, or shoulder blades) to pull the string back. Avoid relying solely on your biceps. This is crucial for consistency and prevents fatigue.
- Find the Anchor Point: Draw the string smoothly until your hand connects perfectly with your chosen anchor point (for example, the index knuckle touching the corner of your jaw). This contact must be firm and repeatable.
- Transfer and Settle: Once anchored, ensure the load is settled into your strong back muscles. You should feel comfortable, stable, and ready. This is your “Critical Draw.”
- Execute the Release: Maintain back tension and execute the release cleanly.
The Secret Tool for Draw Length Consistency
Many experienced archers use a simple, small piece of equipment called a “clicker” (especially in Olympic recurve archery) or rely on a mechanical stop (on a compound bow’s cam system) to guarantee their Critical Draw length is reached precisely. For beginners using traditional or simple recurve bows, the key is training the body to use the physical anchor point as the absolute stop sign.
To learn more about finding your ideal draw length and how it impacts bow selection, I highly recommend checking guides from reliable sources like USA Archery.
The Core Benefits: How a Perfect Draw Maximizes Bow Performance
When you achieve that perfect, Critical Draw, you are not just being tidy; you are unlocking the full potential of your bow. This translates directly into better results downrange.
1. Maximum Velocity and Energy
The farther you draw the string back (up to your specific draw length), the more potential energy is stored in the limbs of the bow. A consistent Critical Draw ensures you maximize this stored energy every time, resulting in the fastest possible arrow speed. Faster arrows fly flatter, reducing the effect of gravity and wind over distance.
2. Tighter Groups and Accuracy
If your arrow leaves the bow at a different speed every shot due to an inconsistent draw, you will see your arrows scatter vertically on the target face. Mastering the Critical Draw eliminates this vertical dispersion, turning a wide shotgun pattern into a tight, gratifying group.
3. Improved Mental Focus
When you know exactly what your body is supposed to do—find the anchor, settle, and release—you eliminate doubt. The Critical Draw is a repeatable process, which simplifies the shot sequence and frees up your mind to focus solely on aiming and execution, not mechanics.
4. Safety and Equipment Longevity
Pulling a bow past its engineered draw length (overdrawing) can stress the limbs and potentially damage the bow. Conversely, consistently under-drawing means you are not truly using the equipment you paid for. The Critical Draw ensures you use the bow within its safe and optimal parameters.
To illustrate the tangible difference consistency makes, let’s look at how small deviations in the draw length can dramatically affect arrow speed and accuracy.
| Draw Consistency Type | Draw Length Variation (Example) | Impact on Arrow Velocity | Impact on Accuracy (Grouping) |
|---|---|---|---|
| Critical Draw (Perfect) | 0 inches variation (Always full draw) | Maximum, Consistent Velocity (e.g., 180 FPS) | Excellent: Tight, repeatable groups |
| Inconsistent Draw (Average Beginner) | 0.5 to 1 inch variation | Fluctuating Velocity (e.g., 165 – 178 FPS) | Poor: Significant vertical scattering |
| Short Draw (Creeping) | 1.5 inches short | Significantly Reduced Velocity (e.g., 150 FPS) | Acceptable, but point of impact is low and inconsistent |
Equipment Check: Making Sure Your Gear Supports a Critical Draw
Your bow and arrow setup must match your body to allow for a comfortable, repeatable Critical Draw. If your equipment forces you into awkward positions, consistency is impossible.
Proper Draw Length Measurement
If you shoot a compound bow, the draw length is fixed by the cams and must match your physical measurements. If you shoot a recurve or traditional bow, your draw length is limited by how far you can comfortably and safely pull to your anchor point.
Beginner Tip: If you are constantly struggling to hit your anchor point consistently, your bow might be too heavy (too high draw weight) or your arrows might be too short (making the anchor feel rushed or unsafe).
Arrow Spine and Length Match
The length of your arrow is directly related to your draw length. It needs to extend just past the riser (the handle section) when you are at full Critical Draw. Using arrows that are too short is extremely dangerous, as they can fall off the arrow rest during the draw or release. Using arrows that are too long can interfere with aiming.
Furthermore, the arrow’s spine (stiffness) must match the energy of the bow at your full draw length. A perfect draw on an ill-spined arrow will still result in erratic flight. Always consult an expert at a local pro shop to ensure your arrow spine and length are correct for your specific draw weight and length.
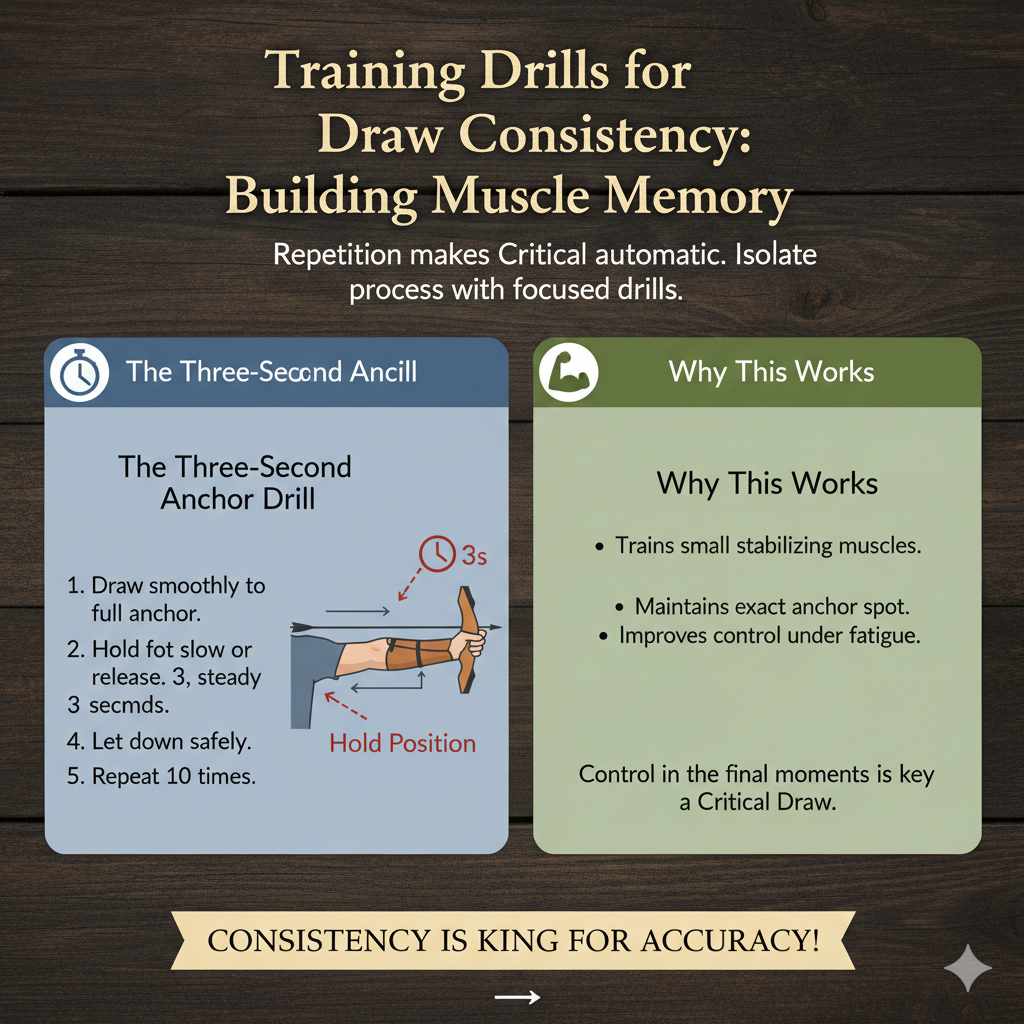
Training Drills for Draw Consistency: Building Muscle Memory
The body learns by repetition. To make the Critical Draw automatic, you need to isolate the drawing and anchoring process through focused drills. These exercises help build the muscle memory necessary for consistency, even under pressure.
The Three-Second Anchor Drill
This simple drill focuses solely on stability at the Critical Draw position:
- Draw your bow smoothly to your full anchor point.
- Do not aim or release.
- Hold the full draw position for a slow, steady three seconds. Focus on the feeling of back tension holding the weight.
- Let down (safely return the string forward) without releasing.
- Repeat 10 times.
This drill trains the small stabilizing muscles in your back and shoulders to maintain that exact anchor spot, even as your body fatigues slightly. Remember, control in the final few moments is key to a Critical Draw.
The Blind Bale or Close-Range Drill
For this exercise, you need a large target (a “bale”) placed just a few yards away (about 3 to 5 meters). Since the target is huge and close, you don’t need to aim. This removes the distraction of worrying about where the arrow lands, allowing you to focus 100% on the process.
- Draw slowly, making sure your hand finds the exact same anchor point every single time.
- Focus on your back tension and expansion.
- Release.
The goal is to feel the consistency of the draw without the mental pressure of hitting a bullseye. If your form is identical, your arrows will group tightly, proving the success of your Critical Draw.
Common Draw Mistakes That Steal Your “Critical” Edge
Even experienced archers struggle with these subtle errors. Identifying and eliminating them is essential for maintaining your Critical Draw.
1. Creeping
Creeping occurs when the archer slightly relaxes their draw hand just before release, allowing the string to move forward a fraction of an inch. This steals stored energy and throws off the timing of the shot, severely hurting accuracy.
Fix: Actively maintain back tension throughout the entire hold and release process. Imagine pulling your elbows apart, even after you are anchored.
2. Shoulder Hunching or High Elbow
If you hunch your drawing shoulder up toward your ear, or if your drawing elbow is too high, you are using muscles incorrectly. This creates tension, reduces stability, and makes finding a repeatable anchor point almost impossible.
Fix: Relax and drop your drawing shoulder. Aim to keep your drawing elbow roughly in line with the arrow shaft or slightly above, relying on your strong back muscles for support.
3. Head Movement or Peeking
The Critical Draw is only effective if your head remains steady. If you tilt, move your head forward, or crane your neck to find the anchor point, you introduce movement that ruins alignment. Furthermore, if you drop your head too quickly after release to “peek” at the arrow flight, you disrupt the follow-through, impacting the shot’s accuracy.
Fix: Keep your head still and upright. Let the string come to your face; do not move your face to the string. Maintain focus on the target until the arrow has impacted.
| Mistake | Effect on Critical Draw | Simple Correction |
|---|---|---|
| Creeping | Reduces stored energy, causing low/inconsistent impacts. | Focus on steady back tension and expansion until release. |
| Shoulder Hunching | Causes fatigue and prevents a stable anchor point. | Relax and drop the drawing shoulder, activating back muscles. |
| Inconsistent Anchor | Changes aiming reference, leading to scattered groups. | Choose a specific point of contact and use the 3-Second Anchor Drill religiously. |
Frequently Asked Questions (FAQs) About the Critical Draw
Q: Is a Critical Draw different for a compound bow vs. a recurve bow?
A: The principle is the same: consistency is key. For a compound bow, the Critical Draw is easier to achieve because the cam system has a hard wall or stop, ensuring you hit the exact draw length every time. For a recurve bow, achieving the Critical Draw relies entirely on your body reaching the exact same physical anchor point consistently, making muscle memory training even more vital.
Q: How do I know if I am reaching my full Critical Draw?
A: You know you have hit your Critical Draw when your drawing hand settles perfectly into your established anchor point without struggle or over-rotation, and your back tension is engaged. If you are shooting a recurve, a coach or friend can use a piece of tape or a marker on your arrow shaft to ensure the shaft always reaches the same spot at the riser. If you are shooting a compound, the draw stops on the cams confirm your length.
Q: What is “back tension” and why is it part of the Critical Draw?
A: Back tension means using the large muscles in your back (scapulae or shoulder blades) to hold the draw weight, rather than the smaller muscles in your arm and shoulder joint. It is essential for a Critical Draw because it provides a stable, strong foundation for holding the anchor point and allows for a smooth, surprise release.
Q: Can I still be accurate if I don’t use my full draw length?
A: You can be consistent even if you intentionally short-draw, but you will not be achieving your bow’s maximum potential (the “Critical” part). Short-drawing significantly reduces arrow speed and kinetic energy. To be highly accurate at longer distances, always strive for the full, repeatable draw length that your equipment and body allow.
Q: My arm shakes when I get to full draw. Does this ruin the Critical Draw?
A: Shaking often means the bow’s draw weight is too high for your current strength, forcing you to use unstable muscles. While some minor shaking is normal, excessive tremor ruins the stability of the Critical Draw. If it’s severe, consider reducing the draw weight temporarily so you can focus on form and strength building until you can hold the anchor steady.
Q: How long should I hold the Critical Draw before releasing?
A: The holding time should be minimal but adequate—just long enough to finalize your aim and initiate your release sequence. Ideally, you want to settle into your Critical Draw (anchor) and release within three to six seconds. Holding too long leads to fatigue, causing instability and creeping.
Q: Is it safer to overdraw my bow?
A: Absolutely not. Overdrawing (pulling the string back farther than the bow is designed to handle) can be highly dangerous, potentially leading to equipment failure, especially with compound bows. The Critical Draw is the full, safe, and repeatable draw length set for your bow and body.
Conclusion: Make Consistency Your New Secret Weapon
The concept of the “Critical Draw” is simply a powerful reminder that archery is a game of repetition. Your bow is capable of amazing accuracy and power, but only if you feed it the exact same mechanics every time.
Do bows benefit from a critical draw? Yes, they benefit immensely. The critical draw—your perfect, repeatable anchor and full draw length—is not just a technicality; it is the foundation of confidence. It assures you that any miss is a minor adjustment away, not a major mechanical failure.
Focus on drilling that anchor point, engaging your back muscles, and refusing to creep forward. Keep your practice fun, safe, and consistent. I promise you, when you master this phase of the shot, your groupings will tighten up, your confidence will soar, and you will truly experience the joy of powerful, accurate shooting. Now go hit that bullseye!