How Much Do Arrow Inserts Cost?
Arrow inserts usually cost about $0.50 to $8 each. Glue-in aluminum or carbon inserts sit near the low end, while stainless, brass, and titanium versions cost more. A bad insert can strip, loosen, or add front weight that forces a new build. This guide compares prices by material and use case, then totals the real cost of fit, tools, and replacements.
Arrow insert prices by material
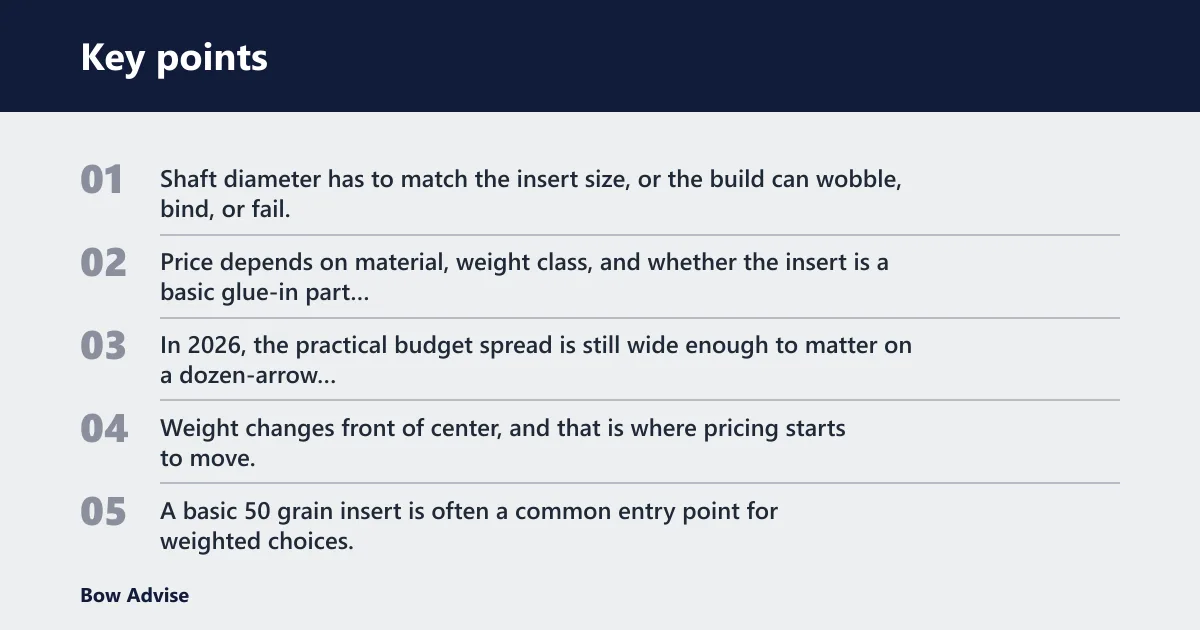


Arrow inserts are a fit-first purchase. Shaft diameter has to match the insert size, or the build can wobble, bind, or fail. Price depends on material, weight class, and whether the insert is a basic glue-in part or a weighted piece for balance tuning. In 2026, the practical budget spread is still wide enough to matter on a dozen-arrow build.
Current price bands by material
| Material | Typical grain class | Common price per insert | Common use case |
|---|---|---|---|
| Aluminum | Light to midweight | $0.50 to $1.50 | Budget target builds, lighter setups |
| Brass | Standard to heavier classes | $1.50 to $4.00 | Hunting setups, forward balance tuning |
| Stainless | Heavier classes | $2.50 to $6.00 | Durability-focused builds, higher mass up front |
| Weighted inserts | Often 50 grains and up | $2.00 to $8.00 | FOC tuning, hunting, and some target builds |
How grain weight changes price
Weight changes front of center, and that is where pricing starts to move. A basic 50 grain insert is often a common entry point for weighted choices, while heavier options tend to cost more because they use more material or a more complex design. Brass is dense, so it puts more weight into the same space, which is why it is often chosen when a predictable weight jump matters more than keeping the nose light.
For a beginner, the safest expectation is not the lowest online sticker. It is a matched insert that fits the shaft cleanly, stays secure, and does not force a second purchase after a failed install.
What a beginner should expect to pay for a basic dozen
For 12 arrows, inserts alone can run from about $6 to $96, depending on material and weight class. Add adhesive, points, and one or two extras for mistakes, and the real build cost climbs quickly. A budget target dozen can stay near the low end, while a hunting build with brass or weighted inserts lands much higher.
Say your carbon shafts need brass inserts at $2.50 each, adhesive at roughly $5 for the job, points at $1.50 each, and two spare inserts in case of a bad install. That is not just an insert purchase; it is a build decision that changes total mass, balance, and replacement risk.
What changes the real cost
The sticker price is only part of the bill. Shipping minimums, spare parts, adhesive choice, and labor can make a low-cost insert more expensive than a better part bought once. If a shop installs the inserts, labor adds another layer. If a shaft cracks during removal or installation, the insert cost becomes the smallest line on the receipt.
Shipping, minimum order size, and spare parts
Small parts are often sold in packs, and shipping can erase the savings on a cheap set. A $0.75 insert that needs a separate shipping charge is not cheaper than a $1.50 insert bundled into one order. Spares matter too, because a bent or contaminated insert can waste time and force a re-order.
Why adhesive choice affects later removal cost
Adhesive type determines removal method. Some bonds respond to controlled heat, but too much heat can damage carbon shafts. Manufacturer-approved removal is the safer default when the adhesive is unknown. That matters because a glue choice that makes removal difficult can turn a simple maintenance job into a shaft replacement.
When a cheap insert becomes expensive
A cheap insert becomes expensive when it binds, wobbles, or fails to seat fully. A snug fit prevents wobble or binding, but only if the shaft mouth is clean and the diameter match is correct. A failed install may ruin the insert, force adhesive cleanup, or crack the shaft mouth before the first shot.
A common first-timer mistake is ordering a bulk pack of inserts before confirming they match the weight and thread size of the arrow tips. The result is often a loose fit, a crooked point, or a damaged carbon shaft after removal. The cheap part is no longer cheap once the shaft has to be replaced.
Brass vs aluminum inserts
Brass inserts are usually the better pick when the goal is more front-end weight and a more predictable balance shift. Aluminum inserts are lighter and usually cheaper, which makes them useful for budget target builds or shooters who do not want a heavy nose. The price gap is real, but the setup goal should drive the choice.
Price difference and weight difference
Aluminum typically sits below brass in price, often by about a dollar or two per insert in common retail ranges. Brass is denser, so it delivers more weight in the same space. That is why brass often shows up in hunting builds where added front-of-center helps arrow behavior, while aluminum stays attractive for lighter builds.
When brass makes sense for hunting
Brass makes sense when the bowhunter wants more front-of-center without changing shaft length or point selection too aggressively. It is a common path for builders who want a heavier nose and a more stable arrow, provided the shaft and insert size match exactly. For hunting, that balance shift is often worth the extra cost.
When aluminum makes sense for lighter target builds
Aluminum makes more sense when the goal is a lower-cost setup with less added mass up front. That can help keep total arrow weight down for target shooting, where the setup may not need the same forward-heavy feel. It is also a sensible starting point for builders still learning fit and glue-up basics.
Do arrow inserts come in different weights?
Yes. Arrow inserts come in different weights, and 50 grain inserts are specifically mentioned in common product lines. Heavier inserts raise front of center and change total arrow mass, while lighter ones keep the setup leaner. The right choice depends on shaft spine, point weight, and whether the arrow is meant for hunting or target work.
Common grain classes
Light inserts are usually chosen for minimal mass changes, while midweight and heavier inserts are used to tune balance. A 50 grain insert is a useful reference point because it sits in the range many builders recognize immediately. Once the insert gets heavier, the arrow’s nose weight can change the tune enough to require new point or shaft choices.
How weighted inserts affect front of center
Weighted inserts push the balance point forward. That can help hunting arrows carry more forward momentum and can also improve some target setups that prefer a forward-biased arrow. The tradeoff is simple, more front-of-center usually means more total mass, and that can change trajectory, sight marks, and broadhead behavior.
How insert weight changes total arrow mass
Insert weight is part of the full arrow system, not a side note. A heavier insert adds mass before the point is even installed. If the rest of the build stays the same, that extra mass can push the arrow into a different tuning window, which is why insert weight should be chosen with the shaft and point together.
Arrow insert price worksheet
This worksheet gives a quick way to compare cost, fit, and risk before buying. Use it to estimate a dozen-arrow build, not just the insert line item. The goal is to avoid paying twice for the same mistake.
Price band table by material and grain class
| Material | Low grain class | Mid grain class | Heavier grain class | Budget note |
|---|---|---|---|---|
| Aluminum | $0.50 to $0.90 | $0.90 to $1.50 | $1.25 to $1.50 | Best for low-cost target builds |
| Brass | $1.50 to $2.25 | $2.25 to $3.25 | $3.25 to $4.00 | Good for heavier hunting setups |
| Stainless | $2.50 to $3.50 | $3.50 to $5.00 | $5.00 to $6.00 | Usually chosen when durability matters |
| Weighted inserts | $2.00 to $3.00 | $3.00 to $5.00 | $5.00 to $8.00 | Used to change FOC and total mass |
Total cost calculator for one dozen arrows
| Cost item | Low estimate | Mid estimate | High estimate |
|---|---|---|---|
| 12 inserts | $6.00 | $24.00 | $96.00 |
| Adhesive | $3.00 | $5.00 | $8.00 |
| Points | $12.00 | $24.00 | $48.00 |
| Spare inserts for mistakes | $1.00 | $4.00 | $12.00 |
| Shop labor for install | $0.00 | $15.00 | $30.00 |
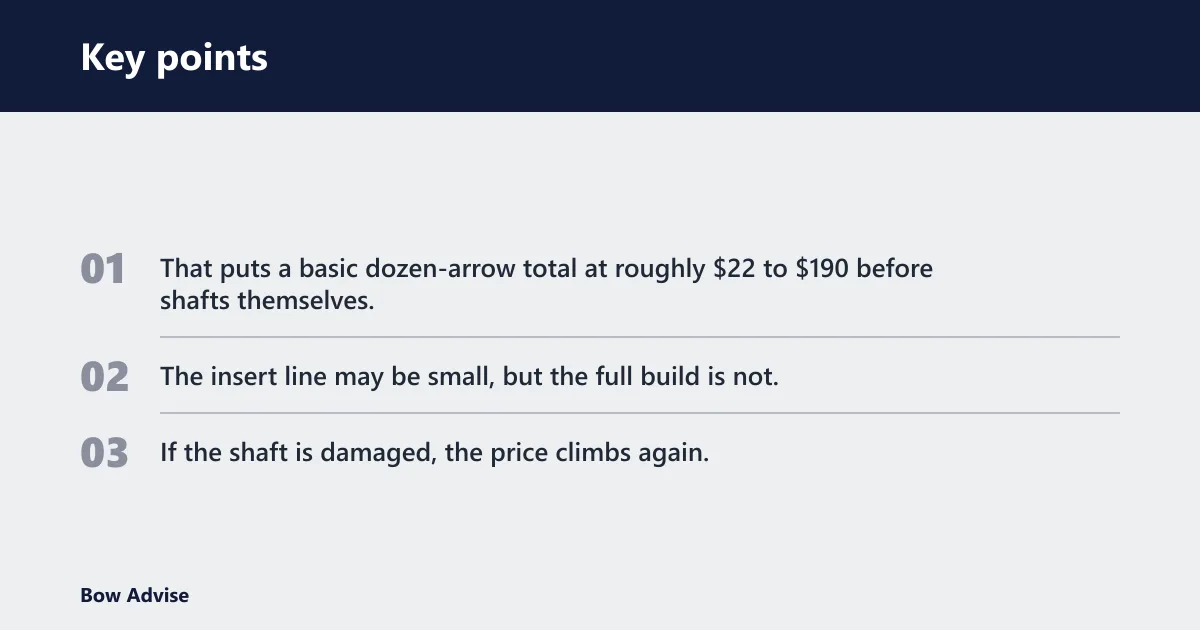
That puts a basic dozen-arrow total at roughly $22 to $190 before shafts themselves, depending on the parts chosen. The insert line may be small, but the full build is not. If the shaft is damaged, the price climbs again.
Compatibility checklist for shaft diameter and failure risks
| Check | What to confirm | Failure risk if missed |
|---|---|---|
| Shaft diameter | Insert size must match the shaft exactly | Wobble, binding, loose fit, or failed seating |
| Insert type | Glue-in, weighted, brass, aluminum, or stainless | Wrong mass, poor fit, or wrong removal method |
| Adhesive choice | Use the approved glue or bonding method | Hard removal, shaft damage, or weak bond |
| Removal plan | Proper puller, straight pull, clean shaft after removal | Twist damage, crushed mouth, leftover adhesive |
| Shaft condition | Inspect for cracks before and after fitment | Hidden failure, unsafe reuse, wasted parts |
How do I know which inserts fit my shafts?
Start with shaft diameter, because that is the non-negotiable compatibility check. Arrow inserts must match the shaft size or the fit can wobble or bind. Carbon shafts, aluminum shafts, and mixed shafts are all mentioned in common arrow systems, but the insert has to match the actual shaft spec, not the general material type.
Matching insert diameter to carbon arrow shafts
Carbon arrow shafts need careful insert removal and careful selection before installation. If the insert is too loose, the build can move under load. If it is too tight, seating can be inconsistent. After any removal, the shaft should be checked for cracks because carbon shafts can be damaged by too much heat or by aggressive pulling.
Notes for aluminum arrow shafts
Aluminum shafts can use different insert removal considerations than carbon shafts. They may tolerate a different removal approach, but fit still matters the same way. The shaft mouth still needs to be clean and round, and the insert still needs to seat without wobble or binding.
What to inspect before installation
Check the shaft mouth for cracks, chips, or leftover adhesive. Confirm the insert diameter and the shaft spec before applying glue. If the fit feels loose in hand, do not assume glue will fix it. A poor mechanical fit usually becomes a poor finished arrow.
How to install and remove inserts
Install with the adhesive the shaft or insert maker recommends whenever possible. If the bond type is unknown, controlled heat may soften insert adhesive, but carbon shafts can be damaged by too much heat. For removal, a proper puller is safer than improvised pliers, and a straight pull is safer than twisting.
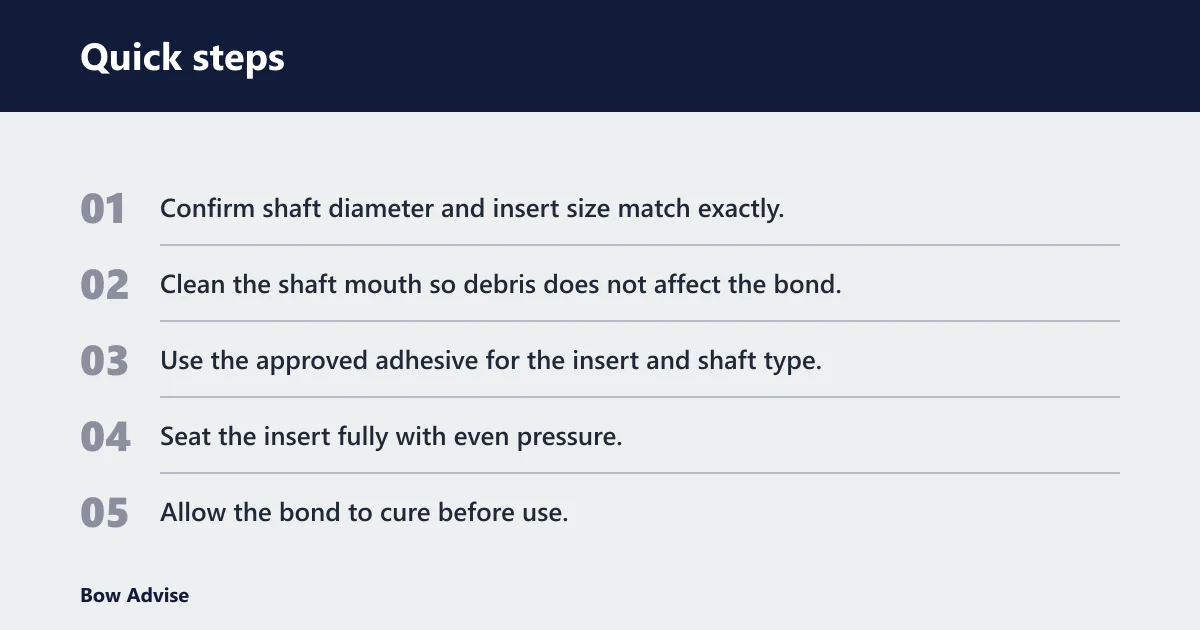
- Confirm shaft diameter and insert size match exactly.
- Clean the shaft mouth so debris does not affect the bond.
- Use the approved adhesive for the insert and shaft type.
- Seat the insert fully with even pressure.
- Allow the bond to cure before use.
- For removal, use a proper puller and apply a straight pull.
- Use controlled heat only when the adhesive calls for it.
- Inspect the shaft for cracks after removal.
- Clean the shaft again before reuse.
What glue is best for arrow inserts?
The best glue is the one the insert or shaft maker approves for that exact bond. Different adhesives change later removal, and some need controlled heat to soften. When the adhesive is unknown, manufacturer guidance is the safer route. The wrong glue can make a simple rework job much harder later.
How do I remove inserts from arrows?
Use a proper insert puller and pull straight. Do not twist unless the manufacturer says the adhesive allows it, and do not add unnecessary heat to carbon shafts. After the insert comes out, inspect the shaft mouth carefully and clean it with the shaft-maker cleaner or another approved cleaner if recommended.
Suppose a carbon shaft has a brass insert glued with an unknown adhesive. A straight pull with controlled heat, used only if approved, is the safer path. A twisting motion can chip the shaft mouth, and too much heat can damage carbon. That damage is often more expensive than the insert itself.
Frequently asked questions
How much do arrow inserts cost?
Most arrow inserts cost about $0.50 to $8 each, depending on material, weight, and design. Aluminum sits near the low end, brass and stainless cost more, and weighted inserts can rise toward the top. The real cost is higher once adhesive, points, and spare parts are included.
How much are arrow inserts for carbon arrows?
For carbon arrows, inserts often land in the same price range as other shafts, but the build cost rises if removal or replacement goes wrong. Carbon shafts need careful fit and careful heat management, because too much heat can damage them. The insert price is only part of the job.
What is the price difference between brass and aluminum arrow inserts?
Brass usually costs more than aluminum, often by about a dollar or two per insert in common retail ranges. Brass is denser and commonly chosen for more front-of-center, while aluminum is lighter and usually better for budget target builds. The choice depends on balance needs, not just price.
How do I know which arrow inserts fit my shafts?
Check the shaft diameter first. Insert size must match the shaft exactly, or the fit can wobble or bind. Then confirm the insert type, the adhesive plan, and the shaft material. Carbon shafts need especially careful handling during removal and reuse, and every shaft should be inspected for cracks after removal.
How much for arrow shafts and inserts together?
A full dozen-arrow build with shafts and inserts can range widely, but the insert side alone often runs from about $6 to $96 before adhesive, points, spares, or labor. Once shaft price is added, the total can move much higher. Budget shooters should cost the whole arrow, not only the insert.