Arrow Making Kit Cost: What to Expect
An arrow-making kit typically costs about $30 to $200 for the first setup, then about $1 to $8 per arrow in materials, with carbon builds commonly costing more than aluminum or wood. Buying the wrong kit can mean paying for the wrong shaft size, the wrong jig style, or tools that do not match your arrow count. This guide breaks down setup costs, ongoing per-arrow costs, and the cheapest kit choice that still matches your bow and build quality needs.
Must-have
 As an Amazon Associate we earn from qualifying purchases. Prices and availability are accurate as of the date shown and are subject to change.
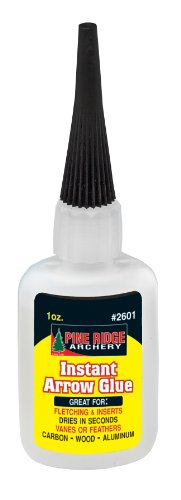
Pine Ridge Archery Instant Arrow Glue
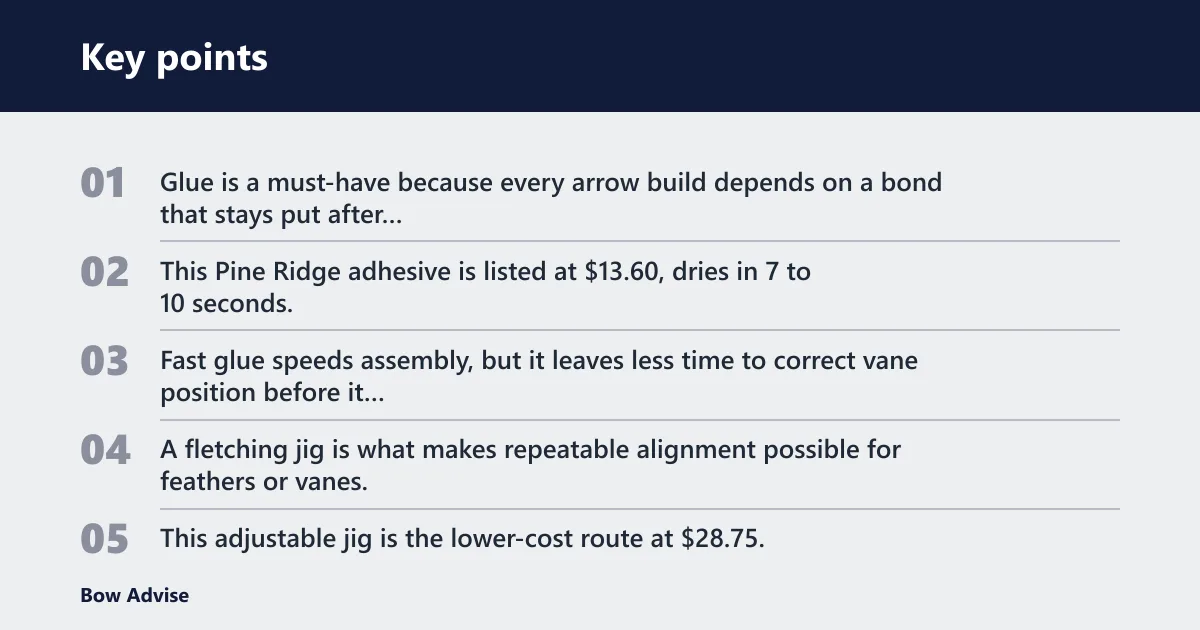
Glue is a must-have because every arrow build depends on a bond that stays put after launch and impact. This Pine Ridge adhesive is listed at $13.60, dries in 7 to 10 seconds, and works on aluminum, carbon, and wood shafts. Fast glue speeds assembly, but it leaves less time to correct vane position before it sets.
As an Amazon Associate we earn from qualifying purchases. Prices and availability are accurate as of the date shown and are subject to change.
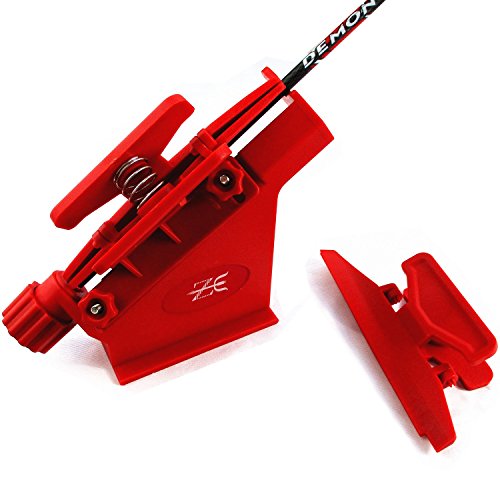
M.SJUMPPER ARCHERY adjustable fletching jig
A fletching jig is what makes repeatable alignment possible for feathers or vanes. This adjustable jig is the lower-cost route at $28.75, and it supports 3 or 4 fletch setups on wood, fiberglass, carbon, and aluminum shafts. Budget jigs can work well, but they demand tighter clamp control and more checking than higher-end multi-clamp models.
As an Amazon Associate we earn from qualifying purchases. Prices and availability are accurate as of the date shown and are subject to change.

Bohning Multi Fletcher Jig
A multi-arrow jig matters when consistency matters more than speed alone. This Bohning model is priced at $117.84, uses 8 angle inserts, and supports 3 and 4 fletch builds with straight or helical placement. The price is the main drawback, so it fits higher-volume builders better than a beginner making a small batch.
Arrow shafts: what you pay for wood, carbon, and aluminum
Shafts are the main recurring cost, and material choice changes both price and setup demands. Wood shafts are usually the cheapest path for traditional builds, carbon is the most common hunting and all-around option, and aluminum sits between them for many target and training setups. Diameter, spine, and raw versus pre-cut length all affect what the shaft costs and whether it actually matches the bow.
Wood shafts often need hand sorting, sealing, and straightness checks. Carbon shafts usually cost more per dozen, but they are popular because of consistency and durability. Aluminum shafts can be economical, yet they still need the right diameter and spine class for the bow. A mismatched shaft wastes money fast, because an arrow that does not tune correctly often gets replaced instead of fixed.
Arrow saw: why clean cuts matter for fit and straightness
An arrow saw is a one-time tool, but it changes fit quality immediately. Manual saws cost less and can work for low-volume builders, while powered saws are faster and usually cleaner for carbon and aluminum shafts. A square, chip-free cut improves point fit, insert fit, and overall consistency; a ragged cut often leads to extra sanding, uneven nock end prep, and wasted shafts.
Raw shafts can save money if the builder needs custom length, but the savings disappear if the cut is crooked or the ends are not squared. Pre-cut shafts cost more up front, yet they reduce the risk of losing material to mistakes. For a first build, that trade often matters more than the sticker price on the shaft itself.
Nice-to-have
Wraps, inserts, and outserts
Wraps, insert systems, and outserts are optional, but they change repairability and visibility. Wraps make fletching removal easier and can add a clear place to mark arrows. Inserts and outserts matter more on carbon builds because they affect point fit and front-end durability. The cost is worth it when the archer wants easier repairs or stronger front-end components, but not every practice arrow needs them.
Lighted or indexed nocks
Standard nocks are usually the cheapest option, and many shafts include them or use a basic replacement part. Lighted nocks and indexed nocks cost more, and the added price only makes sense when low-light visibility or exact orientation is important. Compatibility matters more than style here; the nock must match the shaft diameter and fit correctly or it becomes wasted spend.
Better jigs and squaring tools
Higher-end jigs and squaring tools are not required for every arrow build, but they reduce repeat work. Precision jigs help with vane and feather alignment, especially on 4-fletch or helical setups. Squaring tools help point ends and shaft ends sit flat, which reduces fletching errors and poor point seating. Those upgrades matter most when building many arrows or replacing damaged ones often.
Consumables and spares
Feathers versus vanes
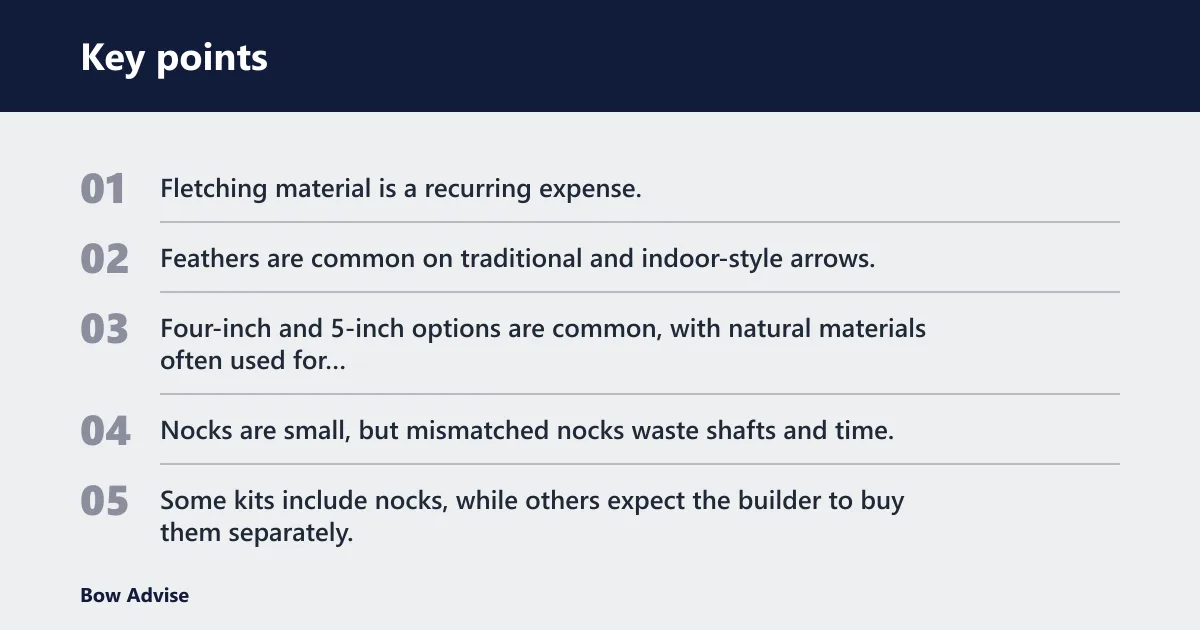
Fletching material is a recurring expense, and the choice between feathers and vanes changes both cost and use. Feathers are common on traditional and indoor-style arrows, while vanes are usually preferred for durability and weather resistance. Four-inch and 5-inch options are common, with natural materials often used for traditional builds and synthetic vanes favored for consistency and lower maintenance.
Nocks and shaft compatibility
Nocks are small, but mismatched nocks waste shafts and time. Some kits include nocks, while others expect the builder to buy them separately. Standard nocks are the baseline, and lighted or indexed versions raise cost. The key check is fit: shaft diameter and nock size must match, especially on carbon and aluminum shafts where tolerance is less forgiving.
Adhesives, prep pads, and deburring tools
Adhesives and prep supplies are easy to overlook, yet they determine whether the build lasts. Superglue or purpose-made fletching glue can both work, but clean surfaces matter more than brand claims. Shaft cleaning, light deburring, and proper curing reduce failed bonds. If the shaft is dirty or glossy where the glue should grab, the arrow will likely need re-fletching later.
Field points and broadheads
Field points are the normal practice cost, while broadheads add far more expense and more risk of damage during tuning. Common weights are 100 and 125 grains, and many builders buy them by the pack or dozen. Field points are the right place to start for setup and practice. Broadheads should usually be added only after the arrow spine and tune are already correct.
Say your bow is tuned for a 29-inch carbon shaft and 125-grain points, but the shaft spine is too weak. The arrow may group poorly, and the builder may end up buying a second dozen shafts to correct the mistake. That single mismatch can cost more than a better jig would have cost at the start.
Budget setups
For beginners, the cheapest useful kit is the one that fits the shaft material and avoids forced upgrades. A practice-only setup can stay modest if it uses simple feathers or vanes, a basic jig, and no unnecessary premium parts. Hunters and target archers usually spend more because they need repeatability, stronger point systems, and tighter spine matching.
| Tier | Best fit | One-time tools | Consumables per dozen | Estimated cost per finished wood arrow | Estimated cost per finished carbon arrow |
|---|---|---|---|---|---|
| Starter | 6 to 12 practice arrows | Basic jig, glue, simple cutter or saw | Low-cost shafts, basic nocks, feathers or vanes, field points | Low if wood shafts are matched and pre-cut; higher if rework is needed | Usually higher than wood because shafts and inserts cost more |
| Mid-range | 12 arrows for regular practice or hunting prep | Better jig, squaring tool, cleaner cut saw | Better shafts, consistent points, better adhesive, replacement nocks | Moderate, especially with straight shafts and repeatable feather placement | Moderate to high, depending on spine consistency and insert choice |
| Precision | 24 arrows or more, with tuning in mind | Precision jig, powered saw, squaring and prep tools | Matched shafts, premium fletching, higher-grade points, spare components | Highest tool cost, but lower waste when the setup is dialed in | Highest total cost, especially with tighter spine sorting and tuning corrections |
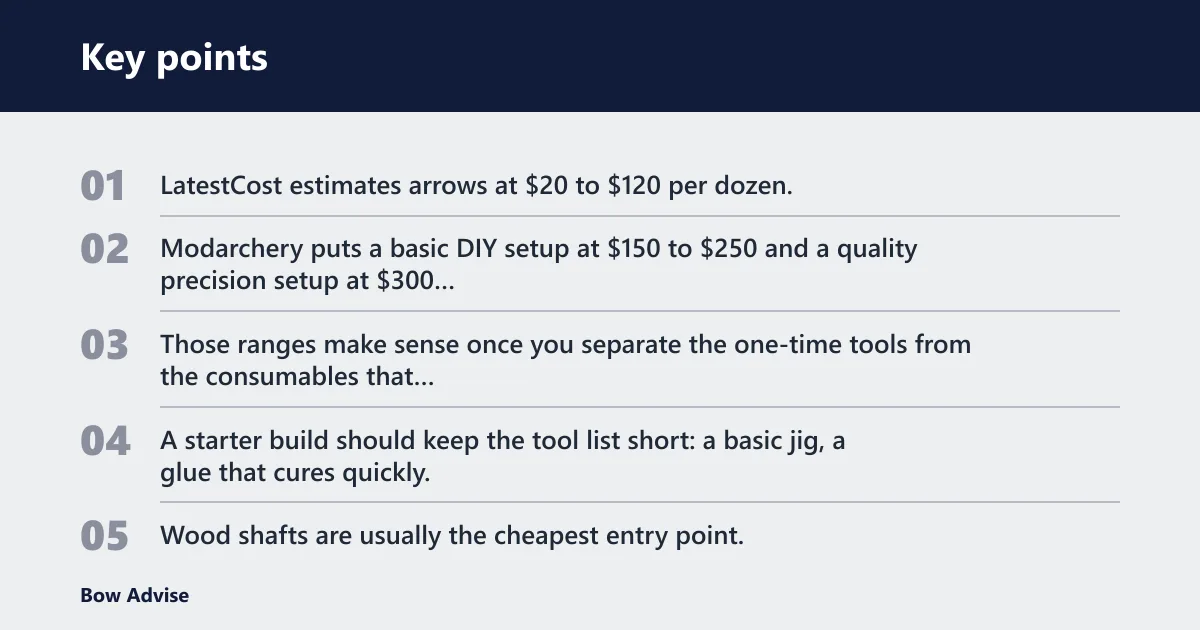
LatestCost estimates arrows at $20 to $120 per dozen, while its total initial setup estimate runs from $150 to $1,320. Modarchery puts a basic DIY setup at $150 to $250 and a quality precision setup at $300 to $600+. Those ranges make sense once you separate the one-time tools from the consumables that get used up in each dozen.
Starter build: lowest-cost setup for practice arrows
A starter build should keep the tool list short: a basic jig, a glue that cures quickly, and a cutting method that makes clean ends. Wood shafts are usually the cheapest entry point, especially for practice arrows that will not see hard hunting use. The main risk is buying a shaft that looks inexpensive but does not match the bow spine well enough to tune cleanly.
Mid-range build: better repeatability for hunters and target archers
A mid-range build makes sense when the archer wants repeatability more than the absolute lowest price. That usually means better shaft sorting, a cleaner saw, and a jig that can hold alignment reliably. Carbon builds often land here because the shafts cost more, but the finished arrows stay more consistent if the spine and diameter are selected correctly.
Precision build: tighter tolerance and higher first cost
Precision builds cost more because the first purchase includes better tools and more exact components. That spend pays off only if the archer needs tighter groups, faster repeat builds, or repeated tuning work. A precision setup is not the cheapest route for casual practice, but it is easier to justify when the arrow count is high and the tolerance is strict.
Arrow cost matrix
This matrix separates the first build setup from the recurring cost per finished arrow. The totals are approximate because shaft prices, point weights, and local pricing shift, but the split is what matters. A cheap tool kit with expensive consumables can cost more over time than a better setup with lower waste.
| Tier | One-time tools | Consumables per dozen | Finished wood arrow | Finished carbon arrow |
|---|---|---|---|---|
| Starter | About $30 to $75 | About $20 to $60 | About $1 to $3 each | About $2 to $5 each |
| Mid-range | About $75 to $250 | About $35 to $90 | About $2 to $5 each | About $3 to $7 each |
| Precision | About $250 to $600+ | About $60 to $120+ | About $4 to $8 each | About $5 to $10+ each |
The cheapest finished arrow is not always the cheapest kit. If a beginner buys a poor spine match or a low-quality jig, the hidden cost shows up in re-fletching, extra shafts, and lost points. For many archers, the better question is not “what is the lowest price?” but “what is the lowest price that still produces safe, straight arrows?”
What affects total cost
Total arrow-making cost rises when the first setup is cheap but the waste rate is high. The biggest cost drivers are spine mismatch, raw shafts that need extra cutting, and repeated correction after a bad fletch or poor squaring. Builders who plan around those waste points usually spend less over time, even if the initial tool bill is higher.
Spine mismatch and wasted shafts
Arrow spine must match draw weight and arrow length closely enough for the bow to tune properly. If the shaft is too stiff or too weak, the bow throws the arrow poorly and the archer pays twice: once for the shaft and again for the replacement. This is one of the most common ways DIY budgets fail.
Raw shafts versus pre-cut shafts
Raw shafts can reduce price per shaft, but they shift more work to the builder. Pre-cut shafts are easier to start with and reduce the chance of damage during cutting. The best choice depends on volume: a 6-arrow practice batch can justify pre-cut convenience, while a 24-arrow batch may justify raw shafts if the builder already has a reliable saw and squaring setup.
Re-fletching, breakage, and tuning corrections
Re-fletching is a hidden expense because adhesive, feathers or vanes, and time all get spent twice. Breakage adds another layer if the shaft cracks near the insert or nock. Tuning corrections can also force part replacements. A common first-time mistake is buying a bargain kit with no spare fletchings or glue, then having to spend extra to finish the arrows and make the setup usable.
What size kit should you buy?
Buy the kit size that matches the number of arrows you actually need, not the largest bundle on the shelf. Six arrows make sense for a trial build or a single bow setup. Twelve arrows are the practical sweet spot for most beginners. Twenty-four arrows only make sense when the bow is already tuned and the builder wants spares or multiple matched sets.
6 arrows versus 12 arrows versus 24 arrows
Six arrows are enough to learn the process and confirm spine, point weight, and fletch choice. Twelve arrows give room for practice and a few mistakes. Twenty-four arrows are better when a household or club wants matching spares, but the larger batch raises the cost of any error in spine choice or cutting length.
Choosing a kit for your bow weight
The bow’s draw weight should guide shaft selection before anything else. A light bow can use lighter or more flexible shafts, while a higher draw weight usually needs a stiffer spine. If the kit does not list spine options that fit the bow, it is the wrong kit, even if the components look cheap.
When a partial tool kit is enough
A partial tool kit is enough when the builder already has a safe cutting method or an existing jig. That can cut the first setup cost sharply. Still, it only works if the missing tool is genuinely covered elsewhere. Skipping a jig and trying to eyeball vane alignment usually costs more later in bad groups and rework.
Is it cheaper to build your own arrows?
DIY is cheaper when the builder buys the right components once and avoids wasted shafts, poor spine matches, and unnecessary premium parts. It is not always cheaper if the arrow count is low, the tools must be bought from scratch, or the archer needs tight hunting tolerances right away. The savings show up most clearly after the first dozen.
DIY arrow cost versus store-bought arrows
Store-bought arrows save time and reduce setup mistakes, which matters for new archers. DIY arrows save money when the archer plans to build multiple dozen over time and already knows the shaft spine and length needed. If the first batch requires replacements, the price gap narrows quickly.
Where the savings show up
Savings come from repeated use of the jig, saw, and squaring tools. Once those are paid for, the per-arrow cost depends mostly on shafts, fletching, nocks, and points. That is why a builder with a stable setup can keep costs down on the second and third dozen, especially for wood practice arrows.
When buying finished arrows is smarter
Finished arrows are smarter when the bow setup is still changing, the archer only needs a few arrows, or the budget cannot cover tools and consumables at once. They are also smarter when the archer wants a known-good spine match without spending time on repeated tuning. For some beginners, that is the cheaper path overall.
Suppose a beginner wants 12 carbon practice arrows for a new hunting bow. If the shaft spine is wrong, the whole dozen may need rework or replacement. In that case, buying finished arrows first can be cheaper than paying for both the learning curve and the replacement shafts.
Frequently asked questions
How much does an arrow-making kit cost?
Most arrow-making kits cost about $30 to $200 for the first setup, before consumables are counted. Basic kits sit at the low end, while better jigs, cutting tools, and more precise components push the total upward. Carbon-focused kits usually cost more than wood-only practice setups.
What is included in a typical arrow-making kit?
A typical kit may include shafts, nocks, feathers or vanes, field points, glue, and sometimes a jig or taper tool. Not every kit includes a saw, squaring tool, or enough parts for a full dozen. The contents matter more than the box label because tool gaps change the real first cost.
What tools do I need to start making arrows?
The minimum useful setup is a fletching jig, adhesive, and a clean way to cut or buy shafts to length. A square cut helps with point fit, and a jig keeps feather or vane placement even. For carbon or aluminum, an arrow saw is strongly preferred over rough hand cutting.
How much should I budget for a dozen arrows?
Budget about $20 to $120 per dozen for arrows alone, then add the first setup tools if you do not already own them. Wood practice arrows usually sit at the lower end, while carbon hunting arrows and more precise builds move up. The real budget depends on spine match, points, and fletching choice.
How much are arrows, and how much does a arrow cost?
For DIY builds, one finished arrow often lands in the $1 to $8 range once tools are already owned, with carbon generally higher than wood. Store-bought arrows can cost less in time but more in cash per complete shaft. The cheapest option is the one that matches the bow without waste.