How to Make Bare Shafts Into Finished Arrows
Start by square-cutting the shafts, then install inserts or nocks, spine-check, and finish tuning. Cut finished arrows to length and match them to point weight before fletching. Bad prep leads to poor tune, broadhead drift, and fragile arrow ends. This guide covers wood and carbon workflows, glue and assembly steps, and a final bare-shaft tuning check.
What a bare shaft includes


A bare shaft is an unfletched arrow shaft that may already have a point and nock, depending on how it was sold. It is often used for tuning and custom builds because it lets the archer check fit, spine, length, and flight before fletching goes on.
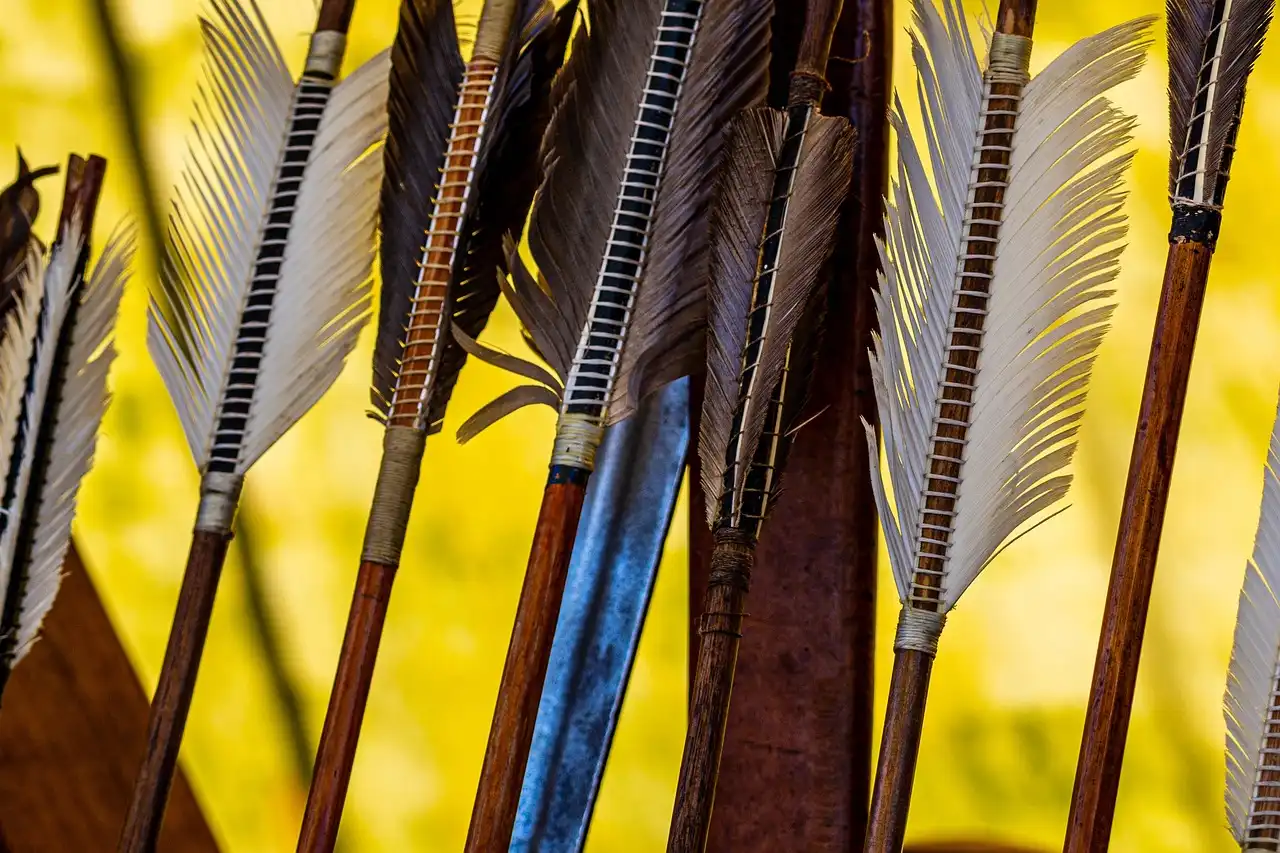
Most finished arrows end up with four basic parts: shaft, nock, fletching, and tip. For builders, the order matters. A poor fit at any one of those points can leave the arrow noisy, unstable, or hard to tune.
Some shafts arrive ready for finishing, while others are sold bare or with several finish coats already applied.
Which parts may already be installed?
Some bare shafts come with a point and nock already in place, while others arrive as plain shaft stock. A bare shaft still has a point and nock, so the term does not always mean “completely empty.” Check the actual condition before you cut or glue anything.
How do you choose the right shaft?
Pick the shaft by matching spine to bow draw weight, arrow length, and point weight. Arrow spine is the stiffness rating of the shaft, and it changes with length and point weight. That means the same spine can act differently once the shaft is cut shorter or fitted with a heavier point.
Wood, carbon, aluminum, and POC shafts do not finish the same way. Wood and POC shafts may need grain checks and finish coats. Carbon shafts usually need inserts or compatible point systems rather than tapering for standard point installation. Aluminum shafts are typically cut and fitted with compatible inserts or points, depending on the model.
How do you know if bare shafts are matched correctly?
Matched shafts should be close in spine, weight, and length. For wood, grain orientation matters too. Stickbow.com notes that wood shafts can vary substantially from shaft to shaft, and grain orientation can change spine by several pounds. That is why wood builds need more sorting than most carbon builds.
A common first-timer mistake is buying several shafts that look alike, then finding that one shaft groups far left and another far right. The fix is to sort for spine and weight before fletching, not after the arrow is finished.
What point weight should I use when finishing bare shafts?
Use a point weight that fits the bow setup and the shaft spine. Heavier points weaken the dynamic reaction of the shaft; lighter points stiffen it. The right answer is not one universal weight. It depends on draw weight, draw length, shaft length, and whether the bow is a recurve, longbow, or compound.
For compound bows, point choice can also affect paper tears and broadhead flight. For traditional bows, point weight changes how the arrow reacts in hand and in the air. Start with the shaft maker’s spine chart, then adjust point weight during tuning.
Measure, cut, and inspect shafts
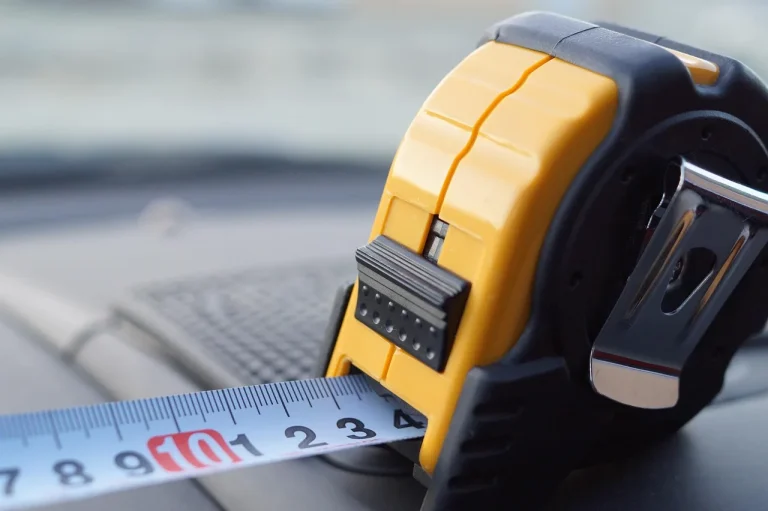
Measure the finished arrow length before any cut. The standard AMO measurement is taken from the throat of the nock to the end of the shaft, not including the point or insert. Draw length and arrow length do not have to match. That distinction matters because a shaft that is too short can be unsafe, and one that is too long may tune poorly.
Cut cleanly so the end does not splinter or crush. After cutting, square the end and recheck length. That is especially important on wood shafts, where a rough cut can raise grain and weaken the end before the nock or point is fitted.
Inspect carbon shafts before you build
Carbon shafts need one extra safety step: flex-test and inspect them closely for cracks or splintering before assembly. Do not build on a shaft that shows a split, a soft spot, or visible damage. If the shaft sounds off or the finish is broken at the end, set it aside.
For carbon, a small crack can grow under launch stress. The arrow may still look usable until it fails. That is why inspection comes before inserts, glue, or fletching.
Wood shaft point and nock work
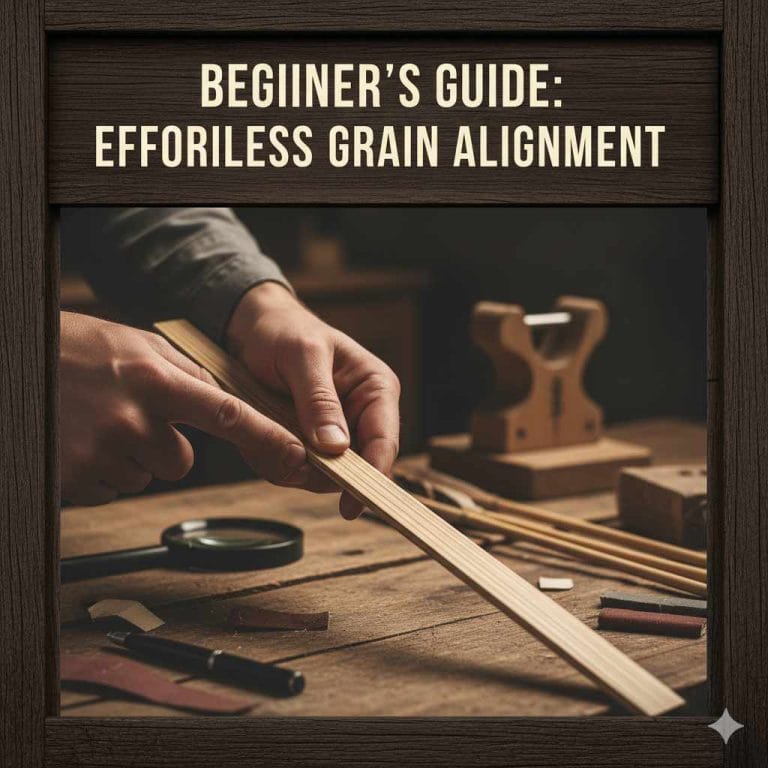
Wood shafts need shaping at both ends. The nock end must fit the chosen nock, and the point end must fit the point style you plan to use. The nock end is dipped before attaching the nock, and the nock placement must be perpendicular to the grain.
Alignment must be ready before the adhesive goes on. That short working window is one reason dry-fitting matters.
How do you taper and nock wooden arrow shafts at home?
Use a taper tool or sanding block made for wood shafts, then fit the nock end to the nock size you chose. The taper should be even, centered, and clean. If the fit is loose, the nock can twist. If it is too tight, the shaft end can split.
The point end on a wood shaft needs a point taper if you are using a glue-on point. The taper must match the point’s socket depth and angle. Grain should stay aligned through the full build so the shaft does not twist under load.
How do I avoid splitting or damaging a bare shaft while building it?
Do not force any component onto a shaft that resists normal hand pressure. For wood, cut and taper in small passes rather than trying to remove too much material at once. For carbon, avoid crushing the shaft with clamps or over-tightening an insert tool.
Use a sharp cutter or saw, then square and smooth the end before fitting parts. Damaged ends are one of the fastest ways to ruin a build. A loose nock or chipped end often starts as a rushed cut.
Carbon shaft inserts and points
Carbon shafts usually use inserts, outserts, or compatible point systems rather than a wood-style point taper. Do not taper carbon shafts for standard point installation. That can damage the shaft and create a weak end that fails in use.
Dry-fit the insert first, then confirm depth and point fit before adhesive cures. Use the adhesive that matches the shaft and insert system. Fast set matters because the part must stay aligned while the glue grabs.
What tools do I need to finish bare arrow shafts?
The core tools are simple: a measuring tool, saw or cutter, sanding or taper tool for wood, insert tools for carbon, adhesive, fletching jig, feathers or vanes, points, nocks, finish coats, and cleaning supplies. Add a square or end trimmer if your cut ends need cleanup.
For wood, include stain or lacquer if you want a finished surface. For carbon, include the insert system and the correct cleaning solvent for the adhesive you choose. Keep spare nocks and a few extra shafts on hand for sorting.
Arrow finishing checklist
This checklist is the shortest path from bare shaft to shootable arrow. Use it before fletching and again before final tuning. Pass/fail checks catch the mistakes that hide until the first shot.
| Step | Tool/material | Pass/fail standard | Common mistake |
|---|---|---|---|
| Shaft inspection | Light, cloth, flex test for carbon | Pass: straight, clean, no cracks, no splintering | Skipping a close check on carbon ends |
| Spine match | Spine chart, scale if sorting weight | Pass: shaft fits draw weight, length, and point weight | Choosing spine from diameter alone |
| Cutting length | Measuring tool, cutter or saw | Pass: cut to planned finished length, ends square | Cutting before confirming arrow length |
| Tapering | Wood taper tool | Pass: even taper, snug but not forced fit | Removing too much material at once |
| Nock fit | Nock, adhesive for wood | Pass: nock sits straight and stays aligned with grain | Twisted nock or weak bond |
| Point fit | Glue-on point or insert system | Pass: seated fully, centered, no wobble | Gaps, shallow seating, or incompatible parts |
| Fletching | Fletching jig, feathers or vanes, glue | Pass: repeatable spacing, secure bond, clean alignment | Uneven spacing or poor surface prep |
| Curing | Drying rack, clean bench | Pass: adhesive and finish fully set before shooting | Rushing the cure or moving the shaft too soon |
| Final tuning | Target, paper tune setup, bare shafts | Pass: flight is consistent with the bow setup | Ignoring poor bare-shaft behavior |
How do you fletch and finish arrows?
Set up a fletching jig so each feather or vane lands in the same place every time. That is how you get repeatable spacing, especially on a three-feather layout. Apply adhesive carefully, then let the parts cure fully before shooting.
Use the correct glue for the shaft material. Arrow glue must suit wood, carbon, or the component system in use, and fast set matters because the parts need to hold alignment while the bond forms. For wood shafts, finish coats go on after prep and before final cure, not as a last-second touchup.
How do I fletch arrows after the shafts are cut?
After cutting and fitting the shaft, clean the fletching area, mark index lines, and load the shaft into the jig. Three feathers or vanes are usually spaced evenly unless a specific setup calls for a different layout. Check that each fletch sits square to the shaft and is fully bonded.
For wood shafts, add cresting or finish coats in multiple layers if desired. Let each coat dry before the next one goes on.
What is bare shaft tuning and how does it help finished arrows?
Bare shaft tuning means shooting unfletched arrows to see how the shaft behaves before or after final assembly. That makes weak or stiff behavior easier to spot.
Paper tuning is also useful, especially for compound bows and mechanical release setups, but it is not limited to them. The goal is to read the tear, then correct spine, point weight, nock fit, or rest position as needed.
Say your recurve groups are tight with fletched arrows, but two bare shafts hit lower and left. That usually points to a setup mismatch, not bad luck. A heavier point, a shorter shaft, or a different spine class may bring the bare shafts back into line.
Picture a carbon build where the insert was forced into a damaged end. The arrow may look finished, but the point can sit off-center or feel loose. That is the kind of hidden defect that a close inspection and final flight check are meant to catch.
Frequently asked questions
How do you make bare shafts into finished arrows?
Measure and cut the shaft to finished length, inspect it for damage, fit the correct point system, install the nock or nock taper, fletch it in a jig, and let the adhesive cure fully. Finish with a bare-shaft or paper-tuning check so the arrow behaves the way the bow needs.
How do I choose the right spine for bare shafts?
Start with the bow’s draw weight, then factor in arrow length and point weight. Spine is a stiffness rating, and it changes with those choices. Wood shafts need extra sorting because grain orientation can shift behavior from shaft to shaft, while carbon is usually more consistent.
Can I finish wood, carbon, or POC shafts the same way?
No. Wood and POC shafts often need grain checks, taper work, and finish coats, while carbon usually uses inserts or compatible point systems and should be flex-tested before build. Aluminum has its own fitting needs. The core steps are similar, but the material changes the details.
How to make steel arrows
Steel arrows are not a recommended build path for this guide. For modern archery, finish bare wood, carbon, aluminum, or POC shafts with the correct spine, component fit, glue, and tuning steps. If a metal shaft is being considered, follow the shaft maker’s instructions for that exact product.