Choosing the right carbon arrows is crucial for accuracy and consistency. Focus on spine (stiffness) matched to your bow’s draw weight, plus length and weight (grains per inch). This guide breaks down each step simply, ensuring you find the perfect carbon arrows to hit your mark with confidence.
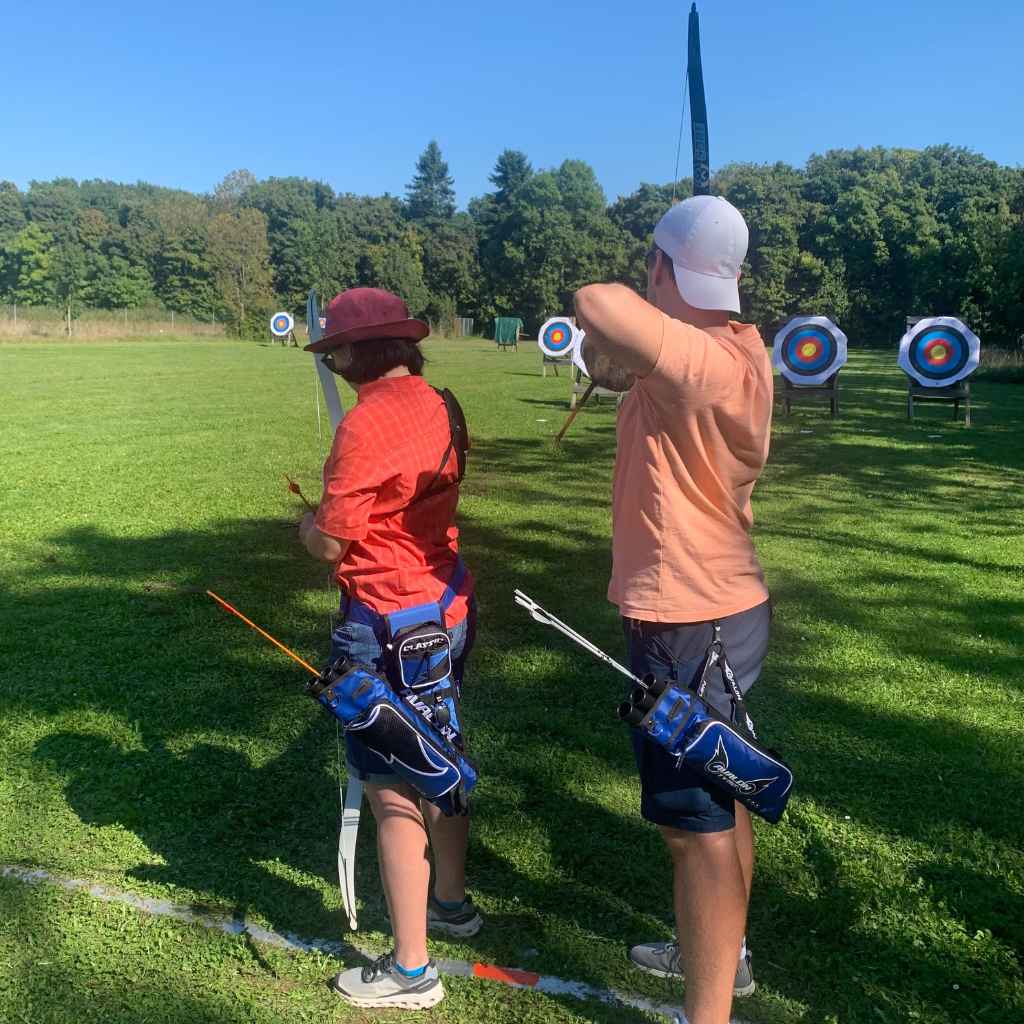
Welcome, fellow archer! Feeling a bit overwhelmed by all the arrow choices out there, especially when it comes to carbon? It’s a common puzzle for beginners, and honestly, even experienced shooters sometimes get bogged down in the technicalities. But don’t worry! Picking the right carbon arrows doesn’t have to be complicated. It’s all about understanding a few key numbers and how they relate to your bow and your shooting style. We’re here to simplify it, step-by-step, so you can get back to the fun part: shooting straight and true. Let’s dive in and make arrow selection clear and easy!
Understanding Your Needs: The First Step to Choosing Carbon Arrows
Before we even look at an arrow catalog, let’s get clear on what you need. Think of it like choosing the right shoes – you wouldn’t buy running shoes for hiking, right? It’s the same with archery. The best carbon arrows for you depend on your bow, your draw length, and what you plan to do with your bow. Knowing these basics will save you time, money, and frustration.
1. Know Your Bow’s Draw Weight
This is perhaps the most critical piece of information. Your bow’s draw weight, measured in pounds (lbs), tells us how much force it takes to pull the string back to your anchor point. This number is fundamental because it directly influences the required stiffness of your arrow.
- Where to find it: Your bow’s limbs (the bendy parts) usually have the draw weight printed on them. It might be a range (e.g., 40-50 lbs) or a specific number. If you’re unsure, your local pro shop can measure it for you.
- Why it matters: An arrow that’s too weak (too flexible) for your bow’s draw weight can flex excessively upon release, leading to erratic arrow flight and poor accuracy. Too stiff, and it might fly a bit erratically too, though it’s generally less dangerous than an underweight arrow.
2. Measure Your Draw Length
Your draw length is the distance from your bow’s grip to your anchor point (where you typically hold the string at full draw). This measurement directly impacts the length of the arrow you’ll need. Getting this right ensures the arrow is the correct length for consistent shooting.
- How to measure: The easiest way is to have someone help you. With your current arrows (if you have them), draw your bow back to your natural anchor position. Have your helper measure from the point where the string touches your bow hand to the back of your arrow nock. Alternatively, if you know your wingspan, divide it by 2.5. This is a good estimate for recurve and longbow shooters. For compound bows, measuring directly is best.
- Importance: An arrow that’s too short can lead to the front of the arrow hitting your rest or riser upon release, causing damage to your equipment and dangerous arrow flight. An arrow that’s too long can affect how the arrow sits on your arrow rest and can lead to inconsistent spine action.
3. Determine Your Shooting Discipline
What are you planning to do with your bow? Are you aiming for targets at a fixed distance, venturing into the woods for hunting, or just enjoying backyard plinking? This will influence the type of arrow and its characteristics.
- Target Archery: Often requires very consistent, precise arrows, sometimes with lighter weights for speed and flatter trajectories.
- Hunting: Needs durable arrows with good kinetic energy and penetration. Heavier arrows are often preferred for this.
- 3D Archery: A blend of target and hunting, often favoring speed and a flat trajectory to account for varied distances.
- Recreational Shooting: Durability and consistency are key, but you can often get away with a wider range of arrow specifications.
The Key Specifications of Carbon Arrows Explained
Now that you know what your bow needs, let’s talk about the anatomy of a carbon arrow and what those numbers actually mean. This is where you’ll find the critical details for making your selection.
1. Spine: The Stiffness That Matters
Spine is arguably the most crucial factor when choosing carbon arrows. It refers to the arrow’s stiffness or resistance to bending. It’s measured by the amount of deflection (how much it bends) under a specific weight. A higher spine number generally means a stiffer arrow, while a lower spine number means a more flexible arrow.
- How it’s measured: The standard test involves supporting an 81cm (32-inch) arrow at two points 28 inches apart and then hanging a 1.94-pound weight from the center. The amount the arrow deflects (bends down) in inches is its spine rating. So, an arrow that deflects 0.350 inches would be called a 350 spine arrow.
- Matching Spine to Draw Weight and Arrow Length: This is where things get a little more technical, but we’ll keep it simple. Every bow’s draw weight requires a certain stiffness (spine) in an arrow to fly straight. If the arrow is too weak (not stiff enough) for the bow, it will “porpoise” or fishtail as it flies. If it’s too stiff, it won’t flex enough during the shot.
Here’s a general guideline for spine selection based on draw weight and common arrow lengths. Remember, this is a starting point, and always consult the arrow manufacturer’s specific charts for the most accurate recommendation. Furthermore, factors like arrow length, point weight, and even the type of bow (recurve vs. compound) can influence the ideal spine. Many manufacturers provide dynamic spine calculators or charts on their websites.
| Bow Draw Weight (lbs) | Common Arrow Length (inches) | Recommended Spine Range (Example) |
|---|---|---|
| 30-40 | 27-28 | 400-500 |
| 40-50 | 28-29 | 350-450 |
| 50-60 | 28-29 | 300-400 |
| 60-70 | 29-30 | 250-350 |
| 70+ | 30+ | 250 or less (stiffer) |
Important Note: The table above provides general guidance. Arrow manufacturers have detailed charts to help match their specific arrows to your bow’s draw weight and intended arrow length. Always check the manufacturer’s chart before purchasing. For instance, you might find that a 29-inch arrow for a 50lb bow needs a different spine than a 28-inch arrow for the same 50lb bow.
2. Length: The Right Fit for Your Bow
Arrow length is measured from the nock groove to the end of the shaft, not including the point. As discussed in determining your needs, this measurement is crucial and is closely tied to your draw length.
- Standard Measurement: Typically measured from the culo (recessed part of the nock) to the base of the insert where the point screws in. Some manufacturers might measure to the end of the shaft, so always verify.
- Impact on Spine: A shorter arrow is generally stiffer (higher dynamic spine). A longer arrow is more flexible (lower dynamic spine). This is why when you cut arrows to your final length, their dynamic spine changes. For example, if you buy a 400 spine arrow and cut it shorter, it will become effectively stiffer, potentially moving towards a 350 spine or even stronger.
3. Weight (Grains Per Inch – GPI)
Arrow weight is talked about in terms of GPI (Grains Per Inch). This tells you how much each inch of the arrow shaft weighs. A heavier arrow (higher GPI) will hit harder and often fly straighter in windy conditions but will sacrifice some speed. A lighter arrow (lower GPI) will fly faster, leading to a flatter trajectory, but may lose energy sooner and be more affected by wind.
- How it’s expressed: Often seen as a range for a specific arrow model, such as 8.5 GPI, 9.0 GPI, 9.5 GPI, etc. This is a crucial factor if you’re building an arrow for a specific purpose, like hunting (where kinetic energy and penetration are key) or target shooting (where speed and a flat trajectory are often desired).
- Total Arrow Weight: Remember that the total arrow weight will also include the point (broadhead or field point), nock, and any added inserts or vanes. A heavier point will increase the overall arrow weight and also slightly increase the arrow’s dynamic spine (making it fly as if it were stiffer).
4. Inner and Outer Diameter
While less critical for absolute beginners, understanding diameters can be helpful. Arrows come in various inner and outer diameters. Smaller internal diameters (like ‘micro-diameter’ arrows) often mean a straighter flying arrow through wind and potentially better penetration during hunting. Larger diameters can sometimes offer more surface area for fletching, which can aid in forgiveness.
Choosing the Right Components: Beyond the Shaft
The shaft is the core of your arrow, but the components attached to it play a vital role in performance, durability, and consistency. We’ll cover the main ones that influence your arrow build.
1. Arrow Points (Inserts and Field Points/Broadheads)
The point of the arrow is what impacts the target (or game). You have two main types:
- Field Points: These are blunt or conical and are used for practice and target archery. They are designed to fly true and minimize damage to targets. They come in various weights, usually measured in grains (e.g., 100, 125, 150 grains).
- Broadheads: These are designed for hunting and have sharpened blades to cut effectively. They are a complex topic on their own, with mechanical (deploying blades) and fixed-blade (blades are always out) options.
Weight of Points: The weight of your point significantly affects the arrow’s overall balance and how it flies. A heavier point will move the center of gravity forward, making the arrow more forgiving and potentially “foot-flying” (making it fly like it’s stiffer). A lighter point will move the balance point back, making the arrow fly like it’s weaker.
- General Rule: For hunting, 100-125 grain points are very common. For target archery, lighter or heavier points can be used depending on the specific discipline and desired arrow trajectory.
- Dynamic Spine Adjustment: Switching from a 100-grain point to a 125-grain point on the same arrow shaft can effectively make the arrow stiffer by about 25 spine points. This is a handy tuning adjustment.
2. Nocks
The nock is the small plastic piece at the back of the arrow that snaps onto your bowstring. They come in different styles and sizes to fit various arrow shafts and bowstring types (e.g., standard strings vs. braided D-loop strings).
- Alignment: Ensure your nocks are aligned properly with your arrow shaft.
- Compatibility: Most carbon arrows have a specific inner diameter that dictates the nock size that will fit. For example, a .166-inch inner diameter shaft will use an “a” or “small diameter” nock.
- Color: Nocks come in various colors, which can help you distinguish your arrows and sometimes make them easier to see fletched upon impact.
3. Inserts
Inserts are small tubes or collars that are glued into the front of some carbon arrow shafts. They provide a more durable and often stronger connection point for screw-in arrow points (both field points and broadheads).
- Purpose: They reinforce the front of the arrow and allow you to easily swap out points without damaging the shaft itself.
- Weight: Inserts also add weight to the front of the arrow, influencing the overall balance (forward of center weighting).
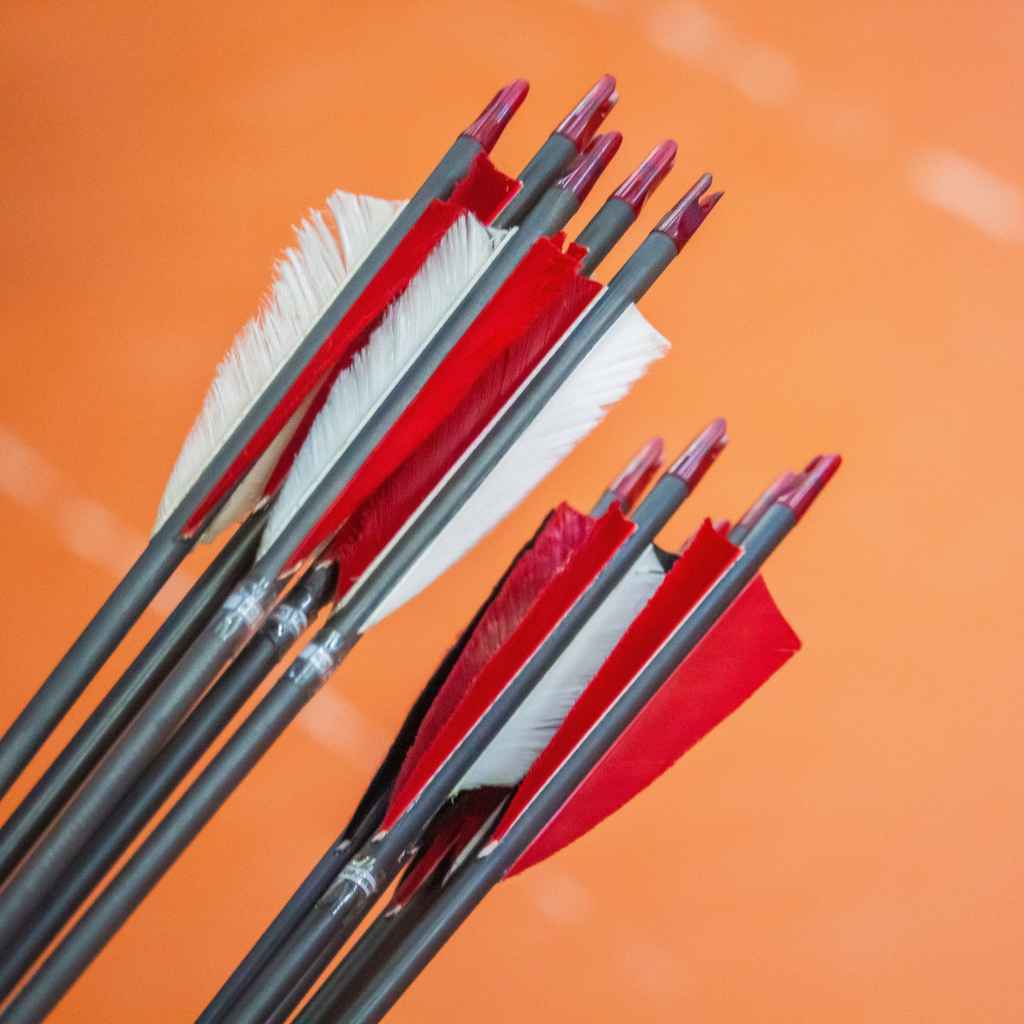
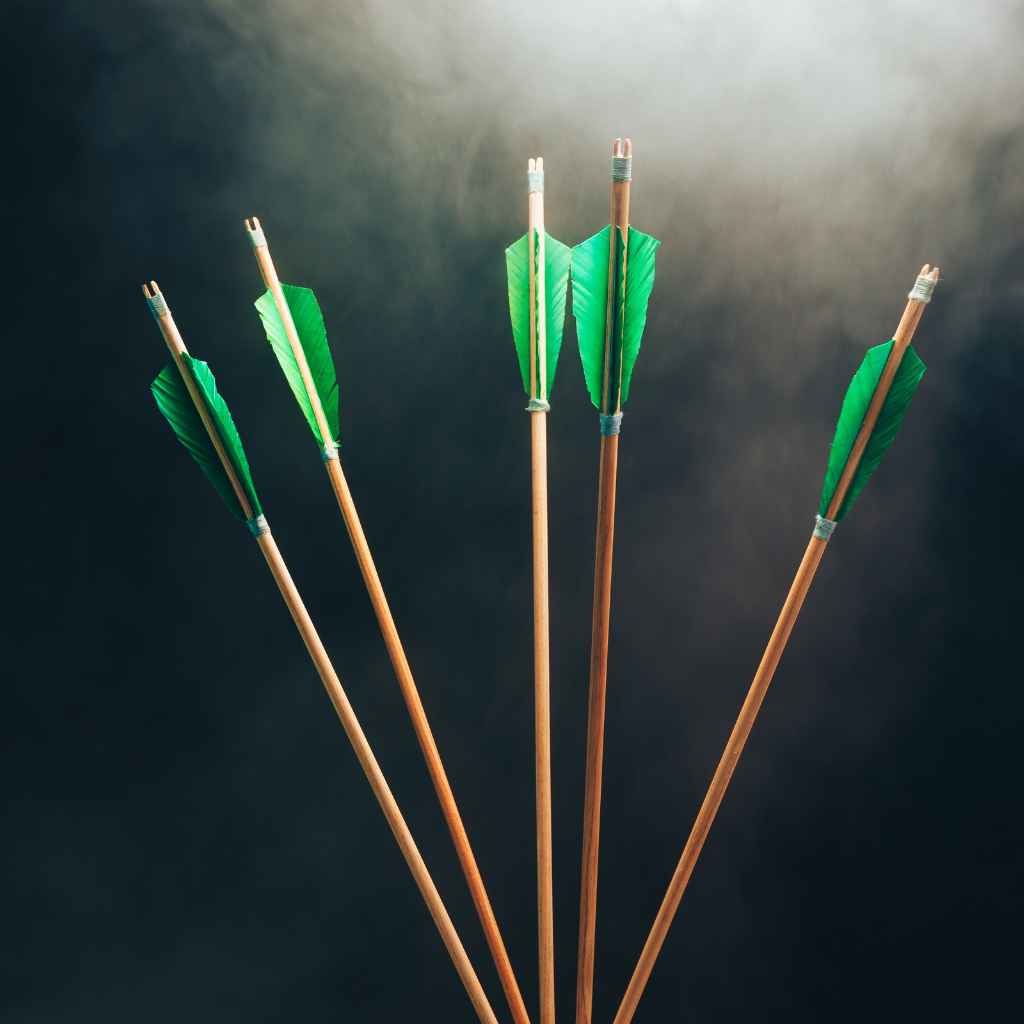
4. Fletching (Vanes and Feathers)
Fletching are the fins or feathers attached to the rear of the arrow that stabilize its flight. They are crucial for keeping your arrow flying straight.
- Vanes: These are typically made of plastic and are more durable and weather-resistant than feathers. They are the most common choice for modern compound and recurve archers.
- Feathers: Traditionally used, feathers offer excellent stability, especially for older bow styles or when shooting off the shelf of a recurve bow. They are more susceptible to water damage.
- Shape and Size: Vanes and feathers come in various shapes (e.g., shield, parabolic) and sizes (e.g., 2-inch, 3-inch, 4-inch). Larger fletching generally provides more stability but can also create more drag, slowing the arrow slightly.
- Offset/Helical: Fletching can be applied straight, offset (slightly angled), or in a helical (spiral) pattern. Helical fletching imparts spin on the arrow, which aids in stability and paradox (the arrow’s flex as it leaves the bow).
Putting It All Together: The Arrow Building Process (Simplified)
Once you’ve chosen your shaft, here’s a general process for making your arrows ready to shoot. You can often buy pre-assembled arrows, but understanding these steps demystifies the process and is vital if you plan to build your own.
- Cut to Length: Measure your draw length accurately and use an arrow squaring device and an arrow saw or cutter to trim the shafts to the correct length. Ensure the cut is straight! A good pro shop can do this for you accurately.
- Install Inserts: Apply fletching glue or epoxy to the insert and carefully slide or screw it into the front of the arrow shaft. Ensure it’s straight and set properly. Allow glue to cure according to manufacturer instructions.
- Attach Points: Screw your chosen field point or broadhead into the insert. For initial tuning, you might start with a lighter field point to ensure the arrow spine is adequate.
- Install Nocks: Nocks are usually press-fit or glued in. They should be aligned correctly with the shaft so your vanes/feathers are oriented properly relative to your arrow rest. Many archers orient the nock slot so it’s perpendicular to the arrow shaft (this is called “indexing”).
- Fletch the Arrows: Use an arrow fletching jig and adhesive to attach your chosen vanes or feathers to the shaft. Ensure they are spaced evenly and have the correct offset or helical angle for optimal flight.
Tip: Many archery shops offer arrow building services. If you’re a complete beginner, purchasing a set of pre-assembled hunting or target arrows that are Spine-aligned and professionally fletched is a great way to start. You can then learn to re-fletch or cut them as you gain experience.
Where to Find Authoritative Information
When you’re diving deeper or need to verify specific technical details, reliable sources are key. Here are a couple of places that offer trusted information:
- Archery Trade Association (ATA): The ATA provides resources and information about the archery industry. While some content might be industry-focused, they often link to helpful guides and safety information. You can often find them at archerytrade.org.
- USA Archery: As the national governing body for archery in the United States, USA Archery offers extensive resources on rules, equipment standards, and training. Their website, usarchery.org, is a treasure trove of official information.
- Manufacturer Websites: Reputable arrow manufacturers like Easton, Gold Tip, Victory Archery, and Black Eagle Arrows have detailed product specifications and spine charts on their websites. These are the best resources for finding precise spine recommendations for their specific arrow models.
FAQ: Your Carbon Arrow Questions Answered
Here are some common questions beginners have about choosing carbon arrows.
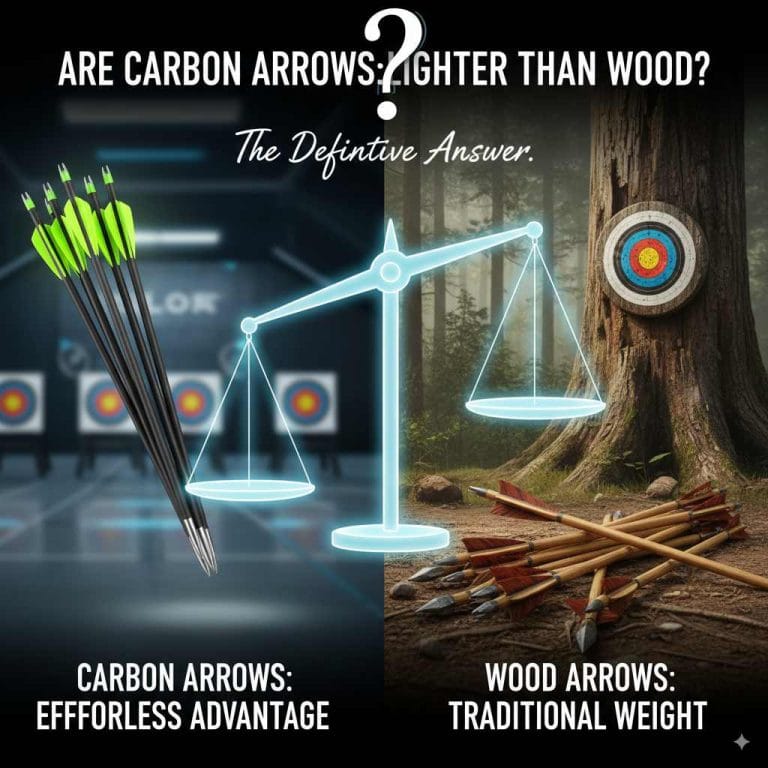
Q1: What’s the difference between carbon and aluminum arrows?
Carbon arrows are generally lighter, faster, and straighter than aluminum arrows. They are also much more durable and less prone to denting or bending significantly. Aluminum arrows are often cheaper and can be easier to straighten if bent, but they are heavier and can be more fragile.