How to Make a PVC Pipe Takedown Bow: Step-by-Step Guide
Building your own PVC pipe takedown bow is both rewarding and practical. You get a customized archery tool without spending hundreds of dollars, and you learn valuable skills along the way. Whether you’re prepping for survival, teaching kids archery basics, or just want a fun DIY project, a PVC pipe bow is a smart choice. Many beginners find the process intimidating, but with the right guidance and a little patience, almost anyone can make a reliable takedown bow that’s portable, affordable, and surprisingly effective. This article walks you through every step, explains the materials, and shares tips based on real hands-on experience. By the end, you’ll understand not just how to make a PVC pipe takedown bow, but how to get the most from it.
Understanding The Pvc Pipe Takedown Bow
A takedown bow is designed to be disassembled into smaller pieces, making it easy to carry and store. Unlike traditional bows, which are bulky and awkward to transport, the takedown design lets you break the bow into sections, perfect for hikers, campers, or anyone with limited space.
PVC pipe bows are popular because:
- PVC pipes are cheap, widely available, and easy to work with.
- The finished bow is lightweight yet strong enough for target practice.
- The takedown feature makes it ideal for travel and storage.
In my experience, PVC bows are not just beginner-friendly. Many advanced archers use them for backup or practice, especially when they don’t want to risk damaging expensive gear. While the performance won’t match high-end bows, a well-made PVC takedown bow can shoot accurately up to 30 yards.
Key Features
- Disassemblable limbs: The bow splits into two or three parts.
- Customizable draw weight: Adjust pipe thickness and limb shape for different strengths.
- Durable materials: PVC is resistant to weather and impact.
Gathering Materials And Tools
Before starting, assemble all materials. Missing items can cause delays or mistakes, so check everything twice.
Materials
- PVC pipe (1″ diameter, schedule 40, 5, 6 feet long)
- Wooden dowel or fiberglass rod (for reinforcement, 3/4″ diameter, same length as PVC)
- Paracord or Dacron bowstring (6, 7 feet)
- Duct tape or athletic tape
- Epoxy or strong glue
- Sandpaper (medium and fine grit)
- Rubber or foam (for grip and limb tips)
- Saw (hacksaw or PVC cutter)
- Heat gun
- Measuring tape and marker
- Knife or file
Optional:
- Arrow rest
- Paint or spray for finishing
Tool Comparison
Choosing the right tools makes the job easier. Here’s a quick comparison of saws and heat sources:
| Tool | Purpose | Pros | Cons |
|---|---|---|---|
| Hacksaw | Cutting PVC | Accurate, easy to control | Requires manual effort |
| PVC cutter | Cutting PVC | Quick, less mess | Less precise for thick pipes |
| Heat gun | Shaping limbs | Even heating, safe | Needs power source |
| Hair dryer | Shaping limbs | Accessible | Not hot enough for thick PVC |
Pro Tip: Always wear gloves and goggles when cutting or heating PVC. The material can splinter or get very hot.

Credit: www.youtube.com
Planning Your Bow Design
A takedown bow must balance strength, flexibility, and portability. The right dimensions are key.
Choosing The Pipe Length
Most adult bows are around 5, 6 feet. For kids or small adults, use a 4-foot pipe. Longer pipes give more draw length and power, but they are harder to handle.
- Draw weight: Thicker pipes or reinforced pipes increase power.
- Limbs: Tapered limbs (thinner near the tips) improve efficiency.
- Handle: Make the grip 6, 8 inches wide, centered for balance.
Example: For a 6-foot bow, mark 8 inches in the center for the handle, leaving 34 inches for each limb.
Reinforcing The Limbs
Adding a wooden dowel or fiberglass rod inside the PVC boosts strength. This prevents the pipe from bending too much and snapping.
- Insert the rod during assembly.
- Secure with epoxy for stability.
Step-by-step Assembly Instructions
Here’s a clear guide to building your PVC pipe takedown bow from start to finish.
1. Mark And Cut The Pvc Pipe
- Measure the pipe to your chosen length (5, 6 feet for adults).
- Mark the center for the handle (usually 6, 8 inches).
- Mark where the limbs will split (optional: Two or three sections).
- Use a hacksaw or PVC cutter to cut the pipe.
Example: For a three-piece bow, cut two limb sections (about 32 inches each) and one handle section (8, 12 inches).
2. Shape The Limbs
- Heat the limb sections with a heat gun.
- When soft, flatten the limbs slightly for better flex.
- Taper the ends using sandpaper or a knife to reduce weight.
Pro Tip: Don’t overheat the PVC. It should be flexible but not melted.
3. Reinforce With Rods
- Slide the wooden dowel or fiberglass rod into each limb section.
- Use epoxy to glue the rod in place.
- Let dry for several hours.
4. Create The Handle
- Wrap the handle section with rubber or foam for comfort.
- Secure with duct tape or athletic tape.
- For extra grip, add texture or finger grooves.
5. Assemble The Takedown Joints
- Drill holes in the ends of each section.
- Use metal pins, bolts, or sturdy screws to join the limbs to the handle.
- Make sure joints fit snugly but allow for easy removal.
Example: Some builders use threaded inserts for quick assembly and disassembly.
6. Cut And Shape Limb Tips
- Shape each limb tip to hold the bowstring.
- File notches on both sides, about 1/2 inch deep.
- Add rubber or foam to protect the tips.
7. String The Bow
- Tie a bowstring from paracord or Dacron, about 6 inches shorter than the full bow length.
- Attach to limb tips, checking tension.
- The bowstring should be tight but not overstretched.
Pro Tip: Use a bowstringer for safety when stringing the bow.
Testing And Adjusting Your Bow
Once the bow is assembled, test it in a safe area. Start with a low draw weight to avoid injury or damaging the bow.
- Check limb flexibility. If limbs are too stiff, sand or heat them more.
- Test takedown joints. If loose, add tape or replace pins.
- Shoot a few arrows at close range. Adjust string tension and limb shape as needed.
Example: When I first built a PVC takedown bow, my limb joints were too loose. I switched to thicker bolts and wrapped the connection with duct tape, which solved the problem.
Common Mistakes
- Overheating PVC: Causes warping or melting.
- Loose joints: Can lead to inaccurate shooting or bow failure.
- Poor string tension: Reduces power and accuracy.
Customizing Your Pvc Pipe Bow
Personalizing your bow makes it more comfortable and effective.
Painting And Finishing
- Use spray paint designed for plastic.
- Let dry for 24 hours before handling.
- Add camouflage or bright colors as needed.
Arrow Rest And Sight
- Attach a simple arrow rest using tape or glue.
- For aiming, add a small bead or marker on the bow.
Grip Modifications
- Try different materials (leather, foam) for the handle.
- Adjust grip thickness for your hand size.
Safety Considerations
PVC bows are safe if built correctly, but improper assembly can cause injuries.
- Always test bows in a safe, open area.
- Wear eye protection when cutting, heating, or shooting.
- Check for cracks or splits before each use.
Warning: Never use a damaged PVC bow. It can snap and cause injury.
Bow Performance: Pvc Vs. Traditional Bows
How does a PVC pipe takedown bow compare to wood or fiberglass bows? Here’s a practical overview.
| Bow Type | Draw Weight Range | Accuracy (yards) | Portability | Cost (USD) |
|---|---|---|---|---|
| PVC Pipe Takedown | 15, 40 lbs | Up to 30 | Excellent (disassembles) | $10, $40 |
| Wooden Recurve | 20, 60 lbs | Up to 60 | Fair | $100, $500 |
| Fiberglass Compound | 25, 70 lbs | Up to 80 | Good | $200, $800 |
PVC bows offer unbeatable affordability and portability, but their accuracy and power are limited compared to professional equipment.
Maintaining Your Pvc Pipe Takedown Bow
Proper maintenance extends the life and performance of your bow.
- Store unstrung and disassembled to relieve stress.
- Wipe down after use, especially if exposed to moisture.
- Inspect joints and limb tips regularly.
Quick Maintenance Checklist
- Check for cracks in PVC after each use.
- Inspect takedown joints for wear.
- Clean grip and string.
- Replace damaged parts promptly.
Practical Tips For Shooting And Storage
Shooting with a PVC bow feels different than using traditional bows. The limbs flex more, and the grip may feel lighter.
- Use lightweight arrows (carbon or aluminum) for best results.
- Practice at short distances first (10, 15 yards).
- Store bow parts in a padded bag to prevent scratches.
Example: I found that shooting with a PVC bow requires a slightly different stance. Keep your shoulders relaxed and focus on smooth draw and release.

Credit: www.youtube.com
Cost Breakdown And Value
Making your own PVC pipe takedown bow saves money, but how much?
| Item | Estimated Cost (USD) | Notes |
|---|---|---|
| PVC pipe | $8 | 1″ diameter, 6 feet |
| Wooden dowel/fiberglass rod | $10 | Reinforcement |
| Paracord/Dacron string | $5 | 6, 7 feet |
| Epoxy/glue | $4 | Small tube |
| Grip materials | $3 | Rubber/foam |
| Paint/finishing | $5 | Optional |
| Total | $35 | Approximate |
You can build a reliable takedown bow for less than $40, compared to $100+ for store-bought versions.
Advanced Modifications
If you want to improve your PVC takedown bow, try these advanced ideas:
- Add limb pockets for more secure joints.
- Use fiberglass rods for higher draw weight.
- Install a removable arrow rest.
- Upgrade string material for durability.
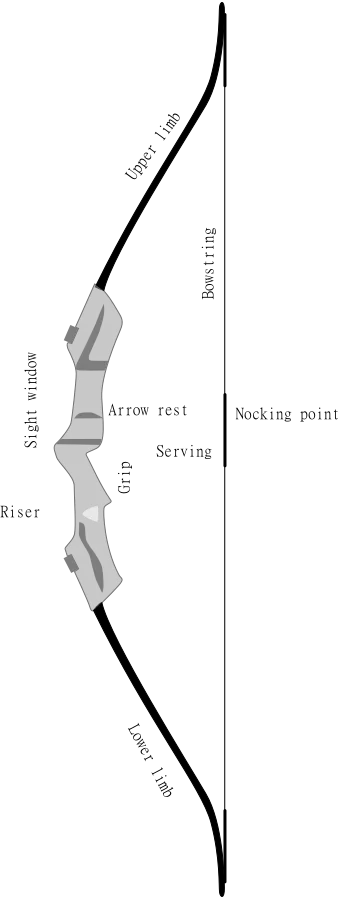
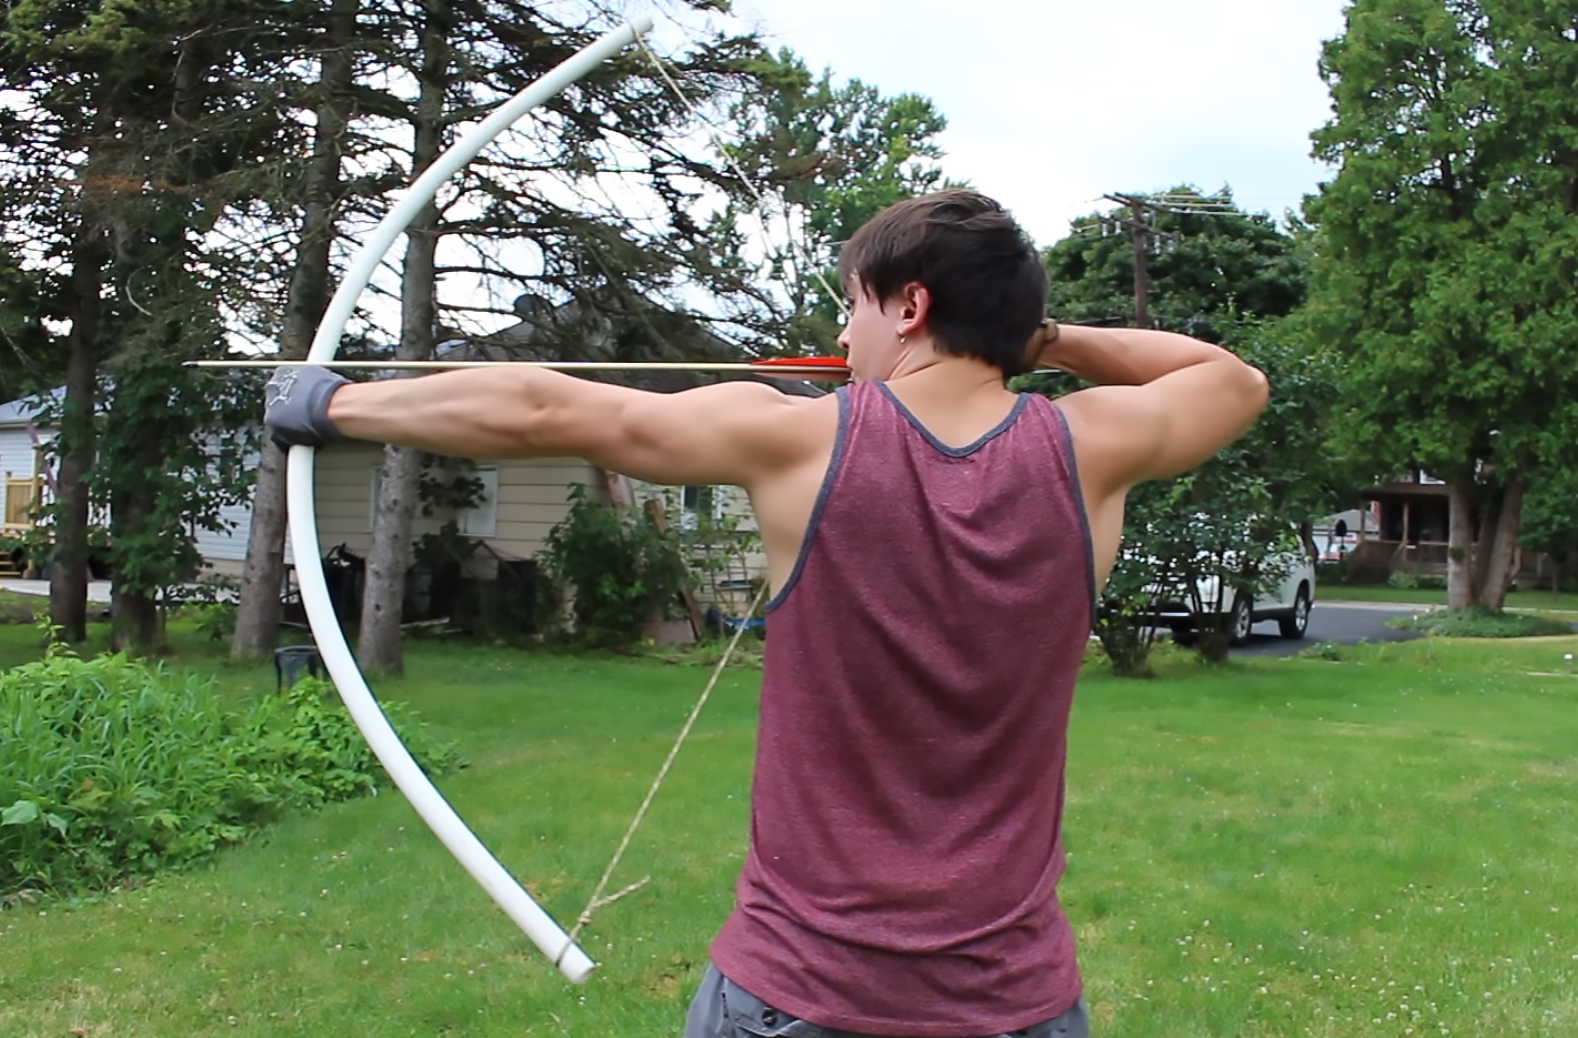
Example: Some builders add a small sight window or cutout to help with aiming. It’s a simple upgrade that improves accuracy.
Credit: www.offgridweb.com
Real-world Uses
PVC pipe bows are useful for more than backyard target practice.
- Survival kits: Lightweight and easy to carry.
- Youth archery programs: Safe, low-cost introduction.
- Camping trips: Portable for hunting or recreation.
According to Primitive Archer Magazine, PVC bows are increasingly popular for “primitive archery” enthusiasts and preppers due to their reliability and adaptability.
Frequently Asked Questions
How Long Does It Take To Build A Pvc Pipe Takedown Bow?
Most people finish their first bow in 2, 3 hours, including drying time for glue and paint. Experienced builders can assemble one in under 1 hour. Plan for extra time if you’re customizing or making advanced modifications.
Can A Pvc Pipe Bow Be Used For Hunting?
PVC bows are best for target practice and small game only. Their draw weight and power are usually too low for large animals. If you plan to hunt, check local laws and use appropriate equipment. Always consult a professional for hunting advice.
What Is The Best Way To Store A Takedown Bow?
Store the bow disassembled and unstrung in a dry, cool place. Use a padded bag or case to protect parts from scratches or bending. Avoid leaving PVC in direct sunlight for long periods, as heat can weaken the material.
Are Pvc Bows Safe For Children?
With proper supervision and safety gear, PVC bows are suitable for children. Use shorter pipes and lighter draw weights for kids. Always teach safe shooting practices and check the bow for damage before each session.
How Do I Increase The Draw Weight Of My Pvc Pipe Bow?
To boost draw weight, use thicker PVC (1. 25″ diameter), add a stronger reinforcement rod, or shorten the limb length. You can also experiment with different pipe schedules (higher numbers mean thicker walls). Test changes carefully to avoid making the bow