How to Make a Horse Bow Out of PVC Pipe: Step-by-Step Guide
Building your own horse bow from PVC pipe is both satisfying and practical. For many archery fans, traditional horse bows are beautiful but expensive. Making your own with simple materials like PVC pipe gives you a chance to learn, experiment, and practice archery without spending a lot.
This guide will walk you step by step through the process, from gathering materials to finishing touches. Even if you have never made a bow before, you will find clear instructions, tips, and insights so you avoid common mistakes and create a reliable and attractive horse bow.
What Is A Horse Bow And Why Use Pvc?
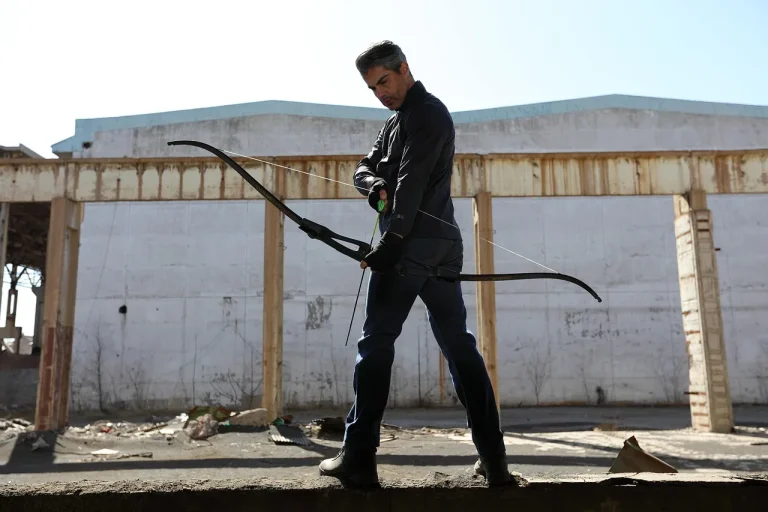
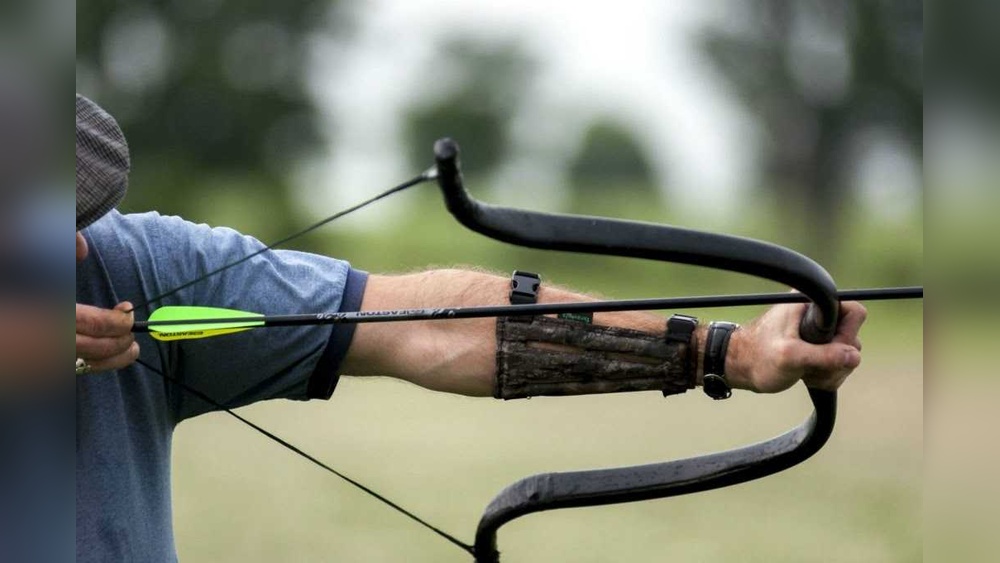
A horse bow is a type of recurve bow used by mounted archers, famous in Asian and Middle Eastern history. These bows are shorter than modern longbows, making them easier to use on horseback. The curves at the tips help store more energy, giving the arrow extra speed.
PVC pipe is a popular material for homemade bows. It is lightweight, easy to shape with heat, affordable, and available in most hardware stores. While a PVC horse bow cannot match a custom wooden bow in beauty or power, it is a great project for learning bow mechanics, testing designs, or starting archery on a budget.
Materials And Tools Needed
Before you start, gather all materials and tools. This prevents interruptions and ensures your bow turns out well.
Materials
- 1-inch (25mm) schedule 40 PVC pipe, 5, 6 feet (150, 180 cm) long. White, not gray conduit.
- Paracord or bowstring material, about 6 feet (180 cm).
- Electrical or duct tape (for grip and decoration).
- Sandpaper (medium and fine grit).
- Spray paint (optional, for color).
- Heat-resistant gloves.
- Wooden dowels (optional, for stiffening the tips).
Tools
- Heat gun (or large propane torch).
- Measuring tape.
- Permanent marker.
- Hacksaw or PVC cutter.
- Clamps.
- Work gloves (heat protection).
- Bucket of cold water (for rapid cooling).
Pro Tip: Always wear heat-resistant gloves when shaping PVC, and work in a well-ventilated area.
Planning Your Bow Dimensions
Choosing the right size is important for both safety and performance. A typical horse bow measures 48, 54 inches (122, 137 cm) strung, with a draw weight between 25 and 40 pounds. For most adults, a 5-foot (152 cm) PVC pipe is a good starting point.
You can adjust:
- Length: Shorter bows are harder to draw but faster; longer bows are easier for beginners.
- Draw weight: Thicker pipe or added stiffeners increase power but make the bow harder to pull.
Here’s a quick comparison:
| PVC Pipe Diameter | Typical Draw Weight | Suitable For |
|---|---|---|
| 3/4 inch (19 mm) | 15, 25 lbs | Youth, beginners |
| 1 inch (25 mm) | 25, 40 lbs | Adults, stronger archers |
| 1.25 inch (32 mm) | 40+ lbs | Advanced, experienced archers |
In my experience, starting with a 1-inch pipe gives you enough power and flexibility. After you succeed with your first bow, you can experiment with other sizes.
Cutting And Marking The Pvc Pipe
Lay your PVC pipe on a flat surface. Use your measuring tape and permanent marker to draw these reference points:
- Find the center: Measure the total length. Mark the center point, this is your grip.
- Grip length: Mark 4 inches (10 cm) on each side of the center. This 8-inch (20 cm) section is your grip.
- Limb sections: On each side of the grip, mark 16, 18 inches (40, 45 cm). These are your working limbs.
- Tip sections: The last 4, 5 inches (10, 12 cm) at each end are for the recurved tips.
This layout keeps your bow balanced and helps you shape it evenly.

Credit: www.youtube.com
Heating And Shaping The Limbs
Shaping the PVC is the most important and technical part. Take your time, and never rush the heating process.
- Set up your workspace: Place the pipe on a non-flammable surface. Plug in your heat gun.
- Heat the limb section: Hold the heat gun 3, 4 inches from the pipe, moving it back and forth over the limb area. Rotate the pipe slowly so it heats evenly. The PVC will start to soften after a few minutes.
- Flatten the limbs: When the PVC is flexible, press it gently between two flat boards (or use your gloved hands) to make the limb section about 1.5 inches (4 cm) wide and 0.5 inch (12 mm) thick. Keep the grip round.
- Cool the limb: Once flat, dip it into a bucket of cold water to set the shape.
- Repeat for the other limb.
Pro Tip: Do not overheat the PVC, it can bubble or burn. If it smells strong or turns brown, move the heat gun away immediately.
Adding Recurved Tips
The recurved tips store more energy and give the bow its special look.
- Heat the tip section: Carefully heat the last 4, 5 inches at one end.
- Bend the tip back: When soft, use your hands (with gloves) to bend the tip away from the belly (the side facing you when shooting), making a smooth curve. Try to match the curve on both ends.
- Set the shape: Hold the tip in position for 30 seconds, then dip into cold water.
- Repeat for the other tip.
Pro Tip: If you want even stiffer tips, you can insert wooden dowels into the last few inches before bending. This keeps the recurved shape firm and reduces string follow (where the bow stays bent after unstringing).
Shaping The Handle And Arrow Rest
A comfortable handle improves accuracy and reduces hand fatigue. Most horse bows have simple, straight handles, but you can customize the grip area:
- Heat the center grip section until soft.
- Shape the grip: Squeeze gently to make it oval or slightly flattened for a better hold. You can also add a slight palm swell.
- Let it cool: Dip in water to keep the shape.
If you want an arrow rest (not traditional for horse bows, but helpful for beginners), sand a small flat spot on the side above the grip.
Cutting The String Grooves
String grooves keep the bowstring in place. Use a small file, hacksaw, or knife.
- Mark the groove location: About 1/2 inch (1, 1.5 cm) from each tip.
- Cut a shallow notch on the back (side facing away from you) and a matching one on the belly.
- Smooth the groove with sandpaper to prevent string damage.

Credit: www.youtube.com
Making And Attaching The Bowstring
Your bowstring needs to be strong, flexible, and the right length.
- Measure the string: It should be about 4, 6 inches shorter than your bow (for a 54-inch bow, make a 48, 50 inch string).
- Tie loops: Make a small loop on each end using a bowline or overhand knot.
- Test the fit: Place the loops in the string grooves. The string should feel tight when the bow is strung.
If you use paracord, stretch it first by hanging weights on it overnight. This reduces stretching after the first use.
Stringing And Tillering Your Bow
Stringing is putting the bowstring onto the bow. Tillering is adjusting the limbs so they bend evenly for a smooth draw.
- Step-through stringing: Place the lower limb against your foot, and bend the upper limb over your thigh to slip the string onto the upper groove.
- Check limb balance: Draw the string slowly. Both limbs should bend the same amount and curve smoothly.
- Fix unevenness: If one limb is stiffer, reheat and reshape it slightly. Repeat until both limbs bend equally.
Pro Tip: Never draw a PVC bow more than its designed draw length (usually 26, 28 inches). Overdrawing can break the bow.
Finishing Touches: Sanding, Painting, And Decoration
Sanding and painting make your bow look better and feel smoother.
- Sand all edges and surfaces with medium, then fine sandpaper. Remove sharp spots and rough areas.
- Clean the PVC with a damp cloth to remove dust.
- Paint the bow with spray paint if desired. Use light, even coats. Allow each coat to dry before adding another.
- Decorate: Wrap the grip with electrical or duct tape for comfort and style. You can add patterns or paracord wraps.
Example: Some archers wrap the recurved tips with colored tape to mimic horn overlays found on traditional bows.
Testing And Adjusting Your Bow
Before shooting, check your bow for safety and performance.
- Flex the limbs gently to check for cracks.
- Draw the string slowly to your intended draw length (not more).
- Shoot a few arrows at close range. Listen for strange sounds (creaks, snaps) and check for limb twist or string slippage.
If you find problems:
- Cracks: Stop using the bow.
- String slip: Deepen or smooth the grooves.
- Uneven bending: Reheat and adjust the stiff limb.
Pro Tip: PVC can lose shape in hot cars or direct sun. Store your bow in a cool, dry place.
Comparing Pvc Horse Bows With Traditional Bows
To see how a PVC horse bow measures up, here’s a comparison:
| Feature | PVC Horse Bow | Traditional Horse Bow |
|---|---|---|
| Cost | Low (under $20) | High ($150+) |
| Weight | Very light | Light to medium |
| Draw Weight Range | 10, 40 lbs | 20, 60 lbs |
| Durability | Moderate (heat sensitive) | High |
| Appearance | Modern, simple | Traditional, decorative |
| Customizability | High | Medium |
A homemade PVC horse bow is perfect for learning and casual use. For competition or advanced target shooting, a traditional bow may perform better.
Common Mistakes And How To Avoid Them
Many beginners make the same mistakes when making PVC bows. Here’s how to avoid them:
- Uneven heating: If you heat one side more, the bow can twist. Always rotate the pipe and move the heat gun constantly.
- Overheating: PVC will burn or bubble if you hold the heat gun too close or for too long.
- Not tillering: If you don’t check the limb balance, the bow may break or shoot poorly.
- Weak string grooves: If grooves are too shallow, the string can slip off during shooting.
- Drawing too far: Overdrawing will damage or break the bow.
Pro Tip: Practice on scrap PVC before working on your final piece. This helps you learn how the pipe reacts to heat and bending.

Credit: www.youtube.com
Safety Tips For Making And Using A Pvc Horse Bow
Making and shooting bows can be dangerous if not done carefully. Follow these safety tips:
- Wear gloves when heating PVC.
- Work in a well-ventilated area; heated PVC can release fumes.
- Never shoot without checking for cracks.
- Use proper arrows (not sticks or dowels).
- Never dry fire (shoot without an arrow); this can break the bow.
- Do not leave the bow in hot cars or sunlight; PVC softens and warps.
If you are new to archery, consider taking a beginner’s class or watching tutorials from reputable sources, such as the USA Archery website.
Two Non-obvious Insights For Beginners
- PVC bows can “creep” over time. This means the limbs slowly stay bent, especially if you keep the bow strung or store it in heat. Always unstring your bow after use, and store it flat in a cool place.
- Adding a light layer of fiberglass or tape to the limbs can increase the bow’s strength and help it keep its shape. This is a simple way to boost performance without special tools.
Enhancing Your Pvc Horse Bow
Once you master the basics, you can upgrade your bow:
- Add siyahs: Small stiff tips (wood or plastic) at the ends for more energy storage.
- Laminate with wood: Glue thin wood strips to the limbs for a traditional look and feel.
- Custom paint jobs: Decorate with patterns inspired by Mongolian or Turkish bows.
These enhancements require more skill but give you a unique and higher-performing bow.
Frequently Asked Questions
How Long Does It Take To Make A Pvc Horse Bow?
Most people complete their first bow in about 2, 4 hours, including heating, shaping, and finishing. With practice, you can finish a basic bow in under two hours.
Can I Use Any Type Of Pvc Pipe?
No. Use schedule 40 white PVC pipe. Avoid gray conduit, which can be brittle and dangerous. Some hardware stores sell schedule 80, but it is harder to heat and shape.
What’s The Maximum Draw Weight I Can Get From A Pvc Horse Bow?
With a 1-inch schedule 40 pipe, you can safely reach 35, 40 pounds of draw weight. For higher weights, you need thicker pipe or laminate with wood or fiberglass. Always test carefully to avoid breakage.