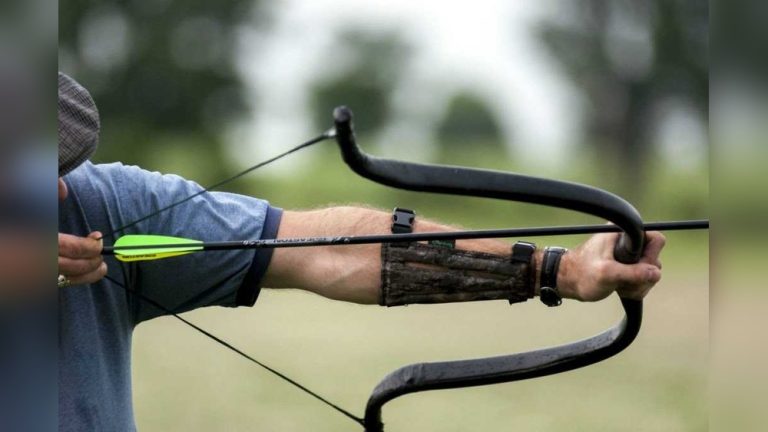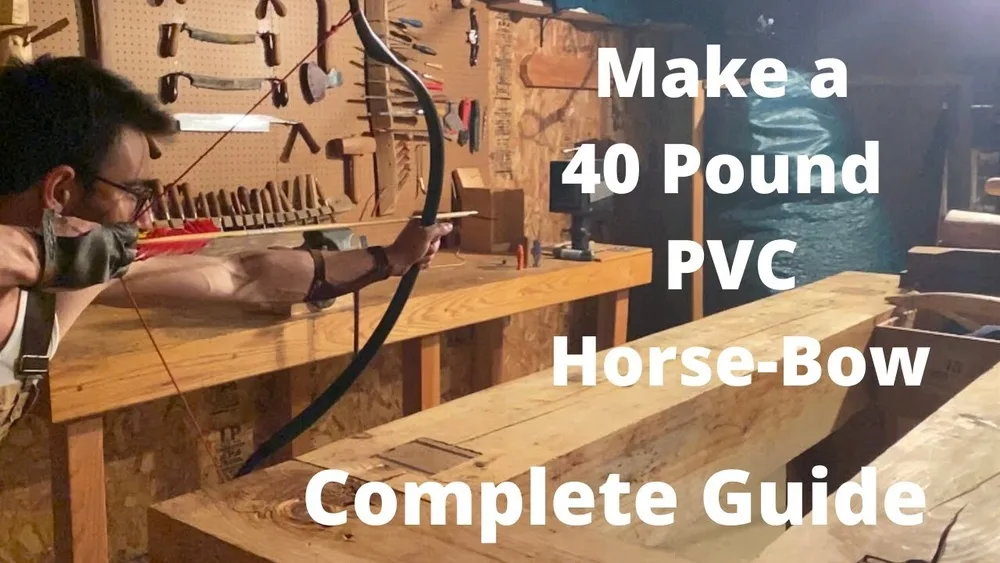
How to Make a Horse Bow And Arrow: Step-by-Step Guide
If you’re fascinated by traditional archery, you might have heard of the horse bow and arrow. This is not just a tool, but a piece of history. The horse bow, also called the Mongolian bow or Turkish bow, was made famous by mounted archers in Central Asia, the Middle East, and Eastern Europe. Unlike modern bows, a horse bow is compact, powerful, and designed for shooting from horseback. Making your own horse bow and arrow is both a craft and a journey into ancient skills. With care, patience, and the right materials, you can build a bow that blends tradition with your own creativity.
This guide will walk you through every step, from understanding the basics to crafting, finishing, and using your horse bow and arrow. You’ll learn about materials, key measurements, assembly, tuning, and safety. Whether you want to use it for sport, display, or historical reenactment, making a horse bow is a rewarding project.
The process is detailed, but every stage offers something new to learn. Let’s begin the journey.
Understanding The Horse Bow: History And Design
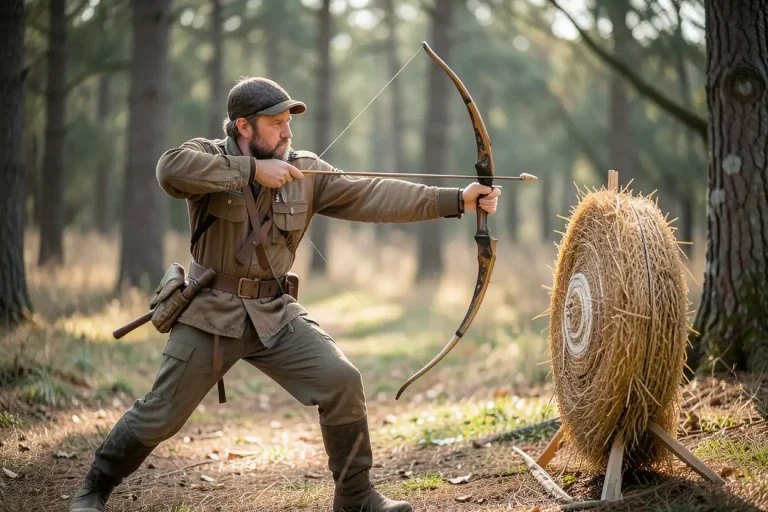
The horse bow has roots in cultures like the Mongols, Scythians, and Turks. These bows were central to military power for centuries. Their small size and recurved shape allowed archers to shoot accurately while riding fast-moving horses.
Key features of a horse bow:
- Short length (typically 40-48 inches, unstrung)
- Recurved limbs (tips curve away from the archer)
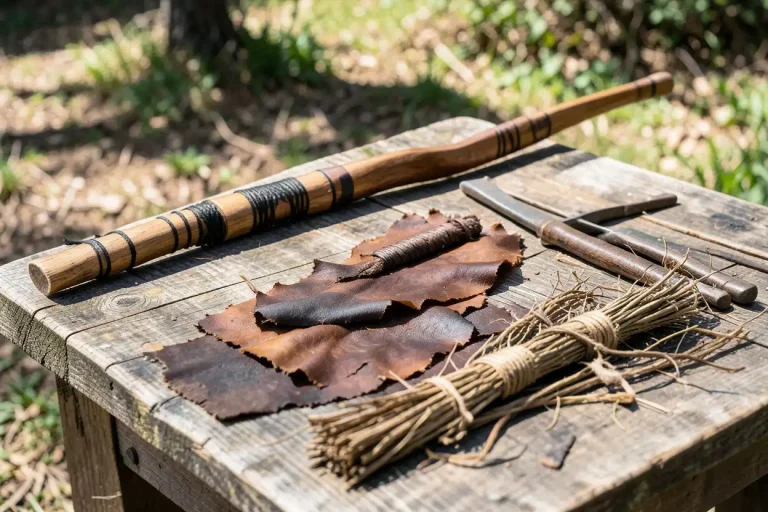
- Composite construction (traditionally wood, horn, and sinew)
- No arrow rest (arrows are shot off the hand)
Horse bows are efficient, small but strong. They require precise craftsmanship, but modern versions can use materials like fiberglass or carbon, making the process more accessible.
Example: Mongolian bows were usually about 48 inches long and could shoot arrows over 300 yards, according to historical accounts from the era of Genghis Khan.
Materials And Tools Needed
Before you start, gather all materials and tools. Quality matters; poor materials lead to weak bows.
Essential Materials
- Wood core (maple, hickory, or bamboo are popular)
- Horn strips (optional for traditional composite bows)
- Sinew (for reinforcement, can be replaced with synthetic alternatives)
- Epoxy glue (for bonding layers)
- Fiberglass sheets (for modern bows)
- Bowstring material (Dacron, linen, or traditional sinew)
- Arrow shafts (wooden, carbon, or aluminum)
- Arrowheads (field points or traditional broadheads)
- Feathers or plastic vanes (for arrow fletching)
Tools
- Draw knife or rasp (for shaping wood)
- Clamps
- Sandpaper (various grits)
- Saw
- Heat gun or steam box (for bending limbs)
- Measuring tape/ruler
- File
- Bow scale
- Protective gloves and eyewear
Modern makers sometimes use fiberglass instead of horn and sinew. It’s easier to work with and still creates a powerful bow.
Pro Tip: If you can’t find horn or sinew, use fiberglass and epoxy for a strong, reliable composite.
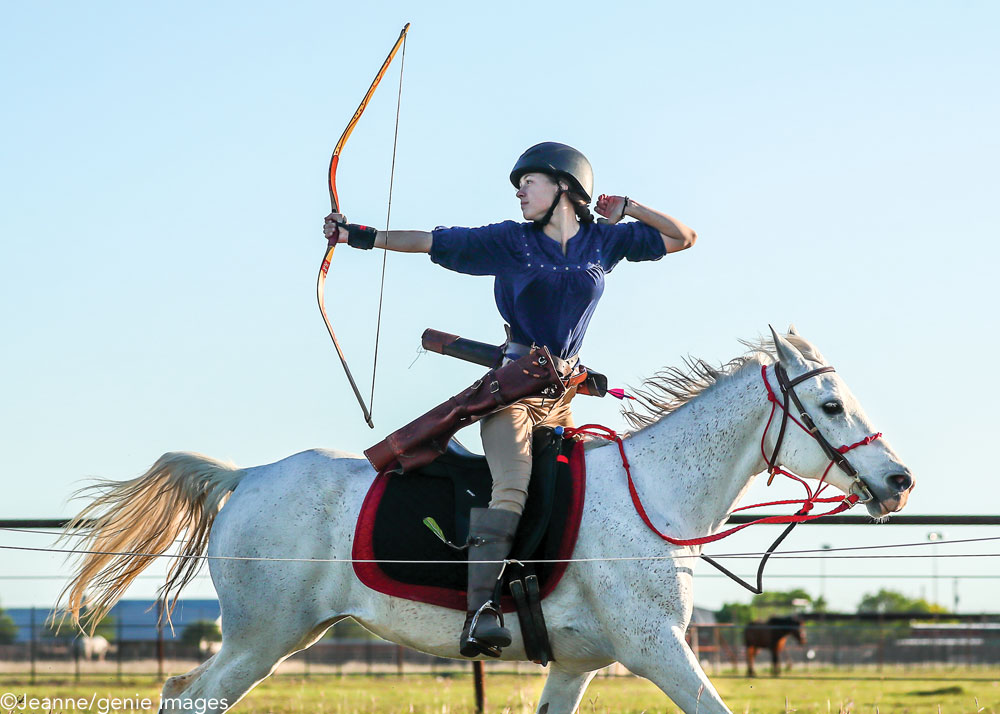
Credit: www.horseillustrated.com
Planning The Bow: Dimensions And Draw Weight
Before cutting or shaping, decide on the dimensions and draw weight. This affects the bow’s power and usability.
Common Horse Bow Dimensions
| Bow Type | Length (Unstrung) | Draw Weight | Draw Length |
|---|---|---|---|
| Mongolian | 48 inches | 40-60 lbs | 28 inches |
| Turkish | 44 inches | 30-50 lbs | 26-28 inches |
| Scythian | 40 inches | 20-40 lbs | 24-26 inches |
- Draw weight means the force needed to pull the string to full draw.
- For beginners, start with 30-40 lbs; heavy bows are harder to control.
Mark your wood core with the planned dimensions before starting.
Making The Bow: Step-by-step
Now the real work begins. Making a horse bow takes patience and attention to detail. The process has several stages.
1. Shaping The Wood Core
Select a straight, knot-free piece of maple or hickory about 48 inches long and 2 inches wide.
- Use a draw knife or rasp to shape the core.
- The center (handle) should be thicker, about 1 inch.
- The limbs taper to about 0.5 inch at the tips.
- Mark the handle area (usually 4-6 inches) in the middle.
Smooth the wood with sandpaper. Make sure both limbs are symmetrical.
Example: When I tested different woods, hickory gave a smooth flex and was less prone to cracking.
2. Attaching Horn And Sinew (optional)
For a traditional composite bow:
- Horn strips go on the belly (side facing you).
- Sinew goes on the back (side facing away).
Glue the horn strips to the belly with epoxy. Clamp tightly and let cure for 24 hours.
On the back, apply a thin layer of glue and lay sinew strands. Let cure for another 24 hours.
Modern makers often skip this and use fiberglass sheets on the back for strength.
3. Shaping The Recurved Limbs
The recurved shape is key. Heat the limb ends with a heat gun or steam box.
- Bend the last 10-12 inches of each limb away from the handle.
- Use clamps to hold the shape until cool (about 2 hours).
- Check for even curves. The limbs should mirror each other.
Warning: Do not overheat the wood, it can scorch or crack.
4. Finishing And Sanding
Smooth all edges with fine sandpaper (180-400 grit).
- Round the handle for comfort.
- Remove any sharp corners.
- Test the balance by holding the bow at the handle; both limbs should feel equal.
Apply a finish, linseed oil, polyurethane, or shellac, for protection and shine.
5. Attaching Fiberglass (modern Method)
If you choose modern materials, cut fiberglass sheets to fit the back of the bow.
- Apply epoxy to the wood.
- Lay the fiberglass sheet and clamp.
- Let cure for 24 hours.
This improves strength and durability, especially for beginners.
6. Cutting String Grooves
At each tip, use a file to cut small grooves for the bowstring.
- Grooves should be about 1/8 inch deep.
- Angle them slightly toward the belly.
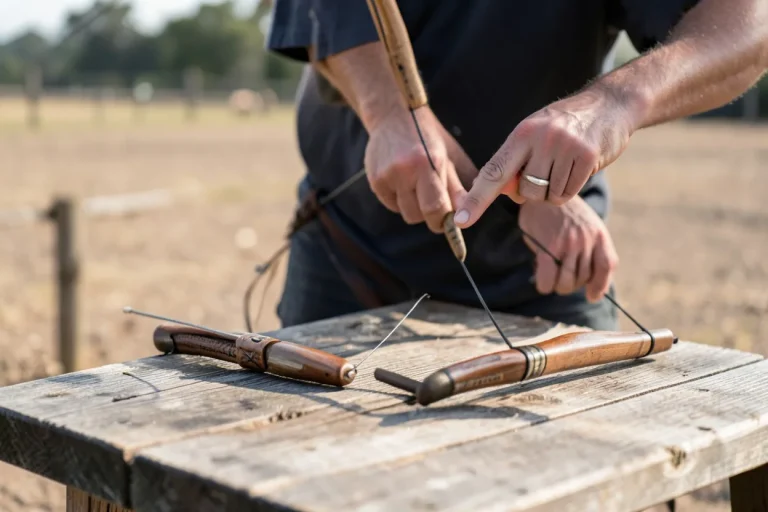
7. Stringing The Bow
Use Dacron or linen for the string. Measure the bow’s length and cut a string about 4 inches shorter.
- Tie loops at both ends.
- Fit the string into the grooves.
- Use a bow stringer to avoid twisting the limbs.
The bow should have about a 6-7 inch brace height (distance from handle to string).
Example: In my experience, using a bow stringer prevents limb damage and makes stringing much easier.
Making The Arrows
A horse bow needs light, fast arrows. Here’s how to make arrows that suit your new bow.
1. Choosing Arrow Shafts
- Wooden shafts (cedar or birch) are traditional.
- Carbon or aluminum are modern alternatives.
- Shaft length: 26-30 inches for horse bows.
2. Fletching
- Use feathers (turkey or goose) or plastic vanes.
- Three fletchings per arrow, spaced equally.
- Glue them on with fletching cement.
3. Attaching Arrowheads
- Field points for practice, broadheads for hunting.
- Insert the arrowhead and glue with epoxy.
4. Nocking
- Cut a small notch at the end for the bowstring.
- Reinforce with thread wraps if needed.
5. Finishing
- Sand the shaft smooth.
- Add a finish for durability.
Pro Tip: Test arrow balance by spinning it in your hand. A well-balanced arrow flies straight.
Tuning And Testing
A bow is only as good as its tuning. Test your bow and arrows to make sure they work well together.
Checking Draw Weight
Use a bow scale to measure draw weight at full draw (usually 28 inches).
- For horse bows, ideal draw weight is 30-50 lbs.
- Too heavy: Hard to control, unsafe for beginners.
Shooting For Accuracy
Stand 10-15 yards from a target.
- Shoot three arrows.
- Check grouping (how close the arrows land together).
- Adjust string tension or limb shape if needed.
Adjusting Brace Height
If the bow vibrates or feels unstable:
- Increase brace height by shortening the string.
- Decrease brace height by lengthening the string.
Example: Small changes in brace height can improve shooting comfort and accuracy.
Safety And Maintenance
A horse bow is powerful. Safety and care are essential.
Safety Tips
- Always check for cracks before shooting.
- Use protective gear, arm guard and finger tab.
- Never dry-fire (shoot without an arrow); this can break the bow.
Maintenance
- Store the bow unstrung in a dry place.
- Oil the wood regularly.
- Check string for fraying and replace as needed.
Warning: A damaged bow can snap and cause injury. Inspect before every use.
Comparing Traditional Vs Modern Horse Bows
To help you decide which style suits you best, here’s a comparison.
| Feature | Traditional Composite Bow | Modern Fiberglass Bow |
|---|---|---|
| Materials | Wood, horn, sinew | Wood, fiberglass, epoxy |
| Durability | Needs careful maintenance | Very durable |
| Difficulty | High (complex layering) | Medium (simple assembly) |
| Cost | Higher (rare materials) | Lower (easy to source) |
| Performance | High power, historical accuracy | Consistent, easy for beginners |
Modern bows are easier for most people, but traditional bows offer a deeper connection to history.
Common Mistakes And How To Avoid Them
Even experienced makers can make errors. Here are some pitfalls to watch for.
- Using poor-quality wood: Weak wood leads to broken bows. Choose strong, straight-grained wood.
- Incorrect limb symmetry: Uneven limbs cause poor shooting. Measure and shape carefully.
- Overheating during bending: Excess heat cracks wood. Use moderate temperatures and patience.
- Skipping reinforcement: Without sinew or fiberglass, bows can break. Always reinforce.
- Improper string grooves: Shallow grooves let strings slip. File them to proper depth.
- Dry-firing: Never shoot without an arrow. It can snap the bow.
Pro Tip: Take your time with each step. Rushing leads to mistakes that are hard to fix later.
Advanced Tips For Performance
If you want your horse bow and arrow to perform at a higher level, try these methods.
- Tillering: The process of adjusting limb bend for smooth draw. Test and sand the limbs until the bow bends evenly.
- Backing with rawhide: Adds strength to the back of the bow. Glue a thin rawhide strip before finishing.
- Custom grips: Wrap the handle in leather for comfort and style.
- Arrow spine matching: Use arrows with the right stiffness (spine) for your bow’s draw weight.
Example: When I tillered my first bow, I noticed improved accuracy and less hand shock.

Credit: www.youtube.com
Practical Uses: Sport, Hunting, And Display
The horse bow and arrow is versatile.
- Sport archery: Used in horseback archery competitions worldwide.
- Hunting: Legal in many states, but check regulations.
- Historical reenactment: Brings authenticity to displays and events.
Pro Tip: If you plan to hunt, ensure your bow meets local legal requirements and consult a professional about safe practices.
Sourcing Materials And Learning More
Finding good materials can be a challenge. Local archery shops may carry wood, string, and arrow parts. Online suppliers offer specialty items like horn and sinew.
If you want more historical detail, the Composite Bow Wikipedia page has useful information on ancient bow construction.
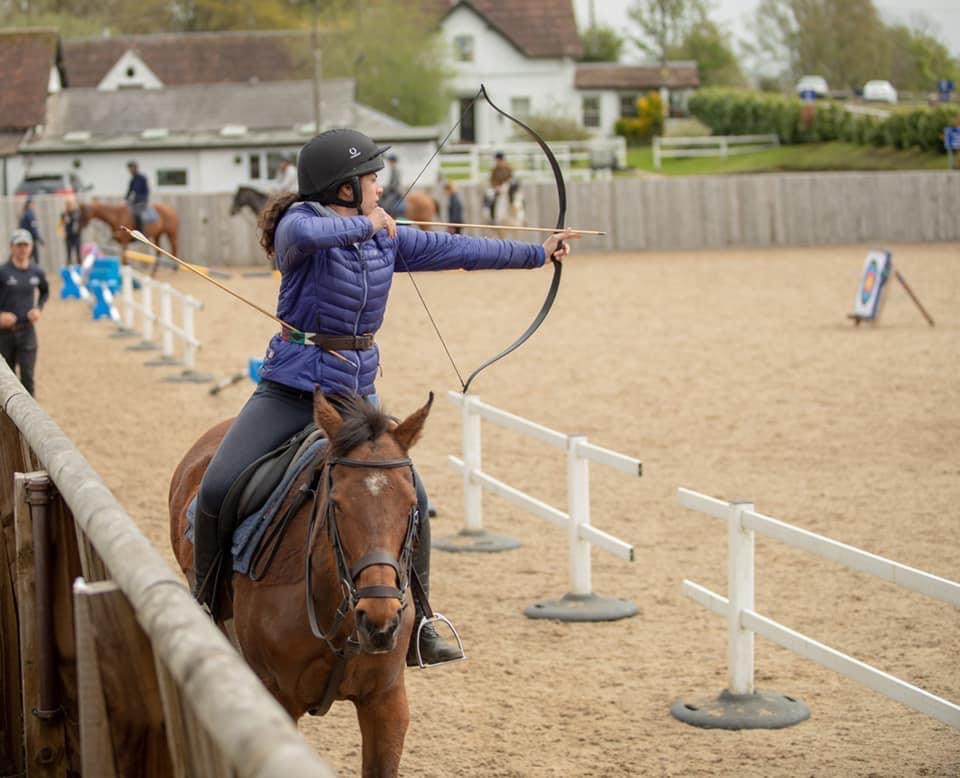
Credit: www.knightsofmiddleengland.com
Frequently Asked Questions
How Long Does It Take To Make A Horse Bow And Arrow?
For a beginner, expect about 2-3 weeks working a few hours each day. Traditional bows take longer due to curing times for glue and sinew. Modern bows can be finished in 4-5 days if you use fiberglass and quick-setting epoxy.
What Is The Best Wood For A Horse Bow?
Hickory and maple are popular for their strength and flexibility. Bamboo is also excellent, especially for the core. Avoid soft woods like pine, they break easily under tension.
Can I Make A Horse Bow Without Horn Or Sinew?
Yes, you can use fiberglass sheets for reinforcement. This method is easier and creates a durable bow. Many modern horse bows skip horn and sinew, but traditional materials offer a unique feel and appearance.
How Do I Know If My Bow Is Safe To Use?
Check for cracks, splinters, or loose fittings before every session. Test the draw weight with a bow scale. If the limbs bend unevenly or the string frays, stop and repair before shooting.
Are Horse Bows Legal For Hunting?
In most US states, horse bows are allowed for archery hunting, but rules vary. Always check your local hunting laws and consult wildlife authorities. Some regions require minimum draw weights (often 40 lbs or more).