How Much Does an Arrow Length Gauge Cost?
An arrow length gauge usually costs $10 to $60, with basic rulers and simple stops at the low end and more rigid shop-style gauges near the top. Prices vary by build quality, by manual or digital readout, and by whether the gauge is meant for occasional home checks or repeated shop work. A bad measurement can leave arrows too short, unsafe, or just wrong for your draw length. This article breaks down what each price tier buys and when a cheaper measuring method is enough.
This guide is part of our Bow measurements guide series.
Typical cost range
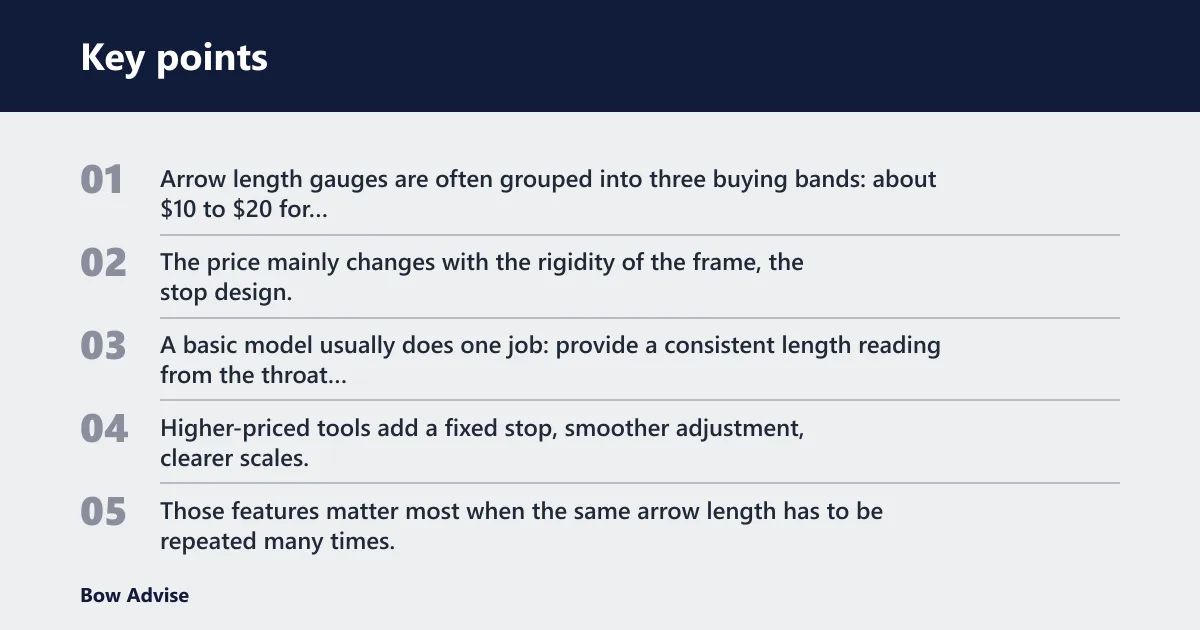

Arrow length gauges are often grouped into three buying bands: about $10 to $20 for simple manual tools, about $20 to $40 for sturdier bench-top styles, and about $40 to $60 or more for digital or shop-oriented models. The price mainly changes with the rigidity of the frame, the stop design, the measurement reference, and whether the tool is built for repeat use.
A basic model usually does one job: provide a consistent length reading from the throat of the nock to the end of the shaft. Higher-priced tools add a fixed stop, smoother adjustment, clearer scales, or digital readout. Those features matter most when the same arrow length has to be repeated many times.
Manual gauge price range
Manual gauges are the low-cost option for home use. They usually cost $10 to $30 and rely on a printed scale, slide stop, or simple frame. The tradeoff is that the user must place the arrow carefully every time. If the stop flexes or the ruler shifts, repeatability drops fast.
Digital gauge price range
Digital gauges often start around $40 and can cost more when the frame is more rigid or the display is built into a shop tool. The benefit is easier reading and less guesswork at the scale. The downside is cost, batteries, and the fact that a digital readout does not fix poor setup or a sloppy reference point.
What drives the price gap
Price rises with accuracy, repeatability, and durability. A lightweight home tool may be fine for a few arrows a season. A shop-grade tool is built for bulk setup, more consistent stops, and better resistance to wear. If the gauge includes a cutting station or integrates with a jig, the total setup cost rises again.
How much does a gauge actually buy?
A gauge buys consistency more than magic accuracy. A decent tool helps you measure the same way each time, which matters when you are cutting multiple shafts or matching a set. It does not replace correct arrow selection, proper draw-length planning, or checking that the finished arrow still fits the bow after insert and point installation.
Accuracy versus repeatability
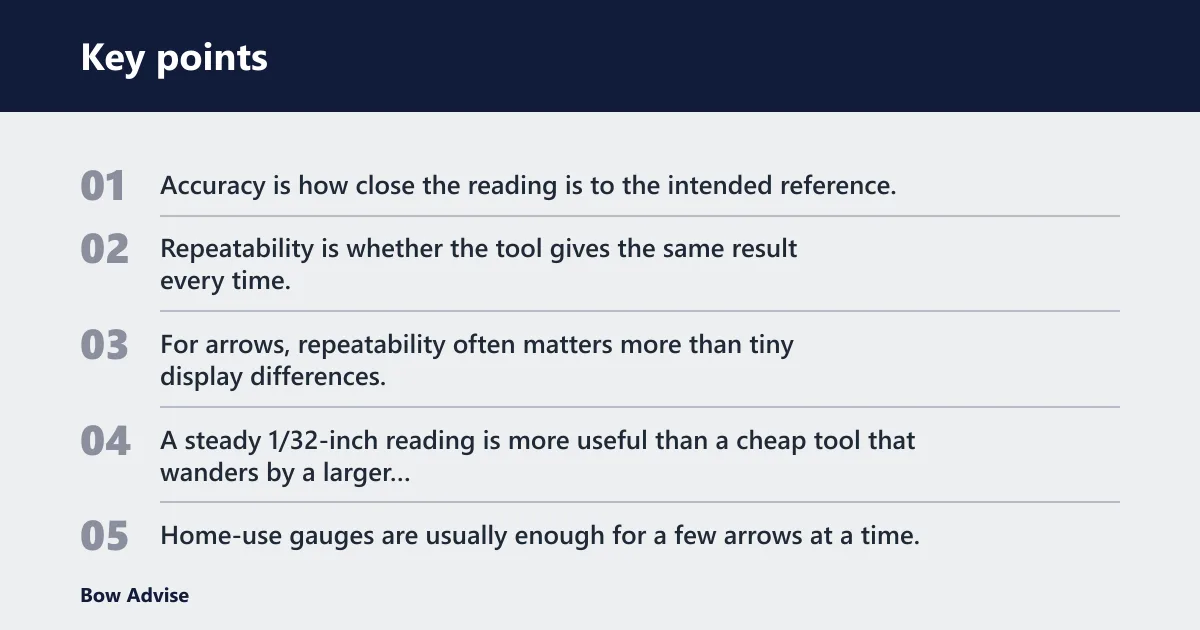
Accuracy is how close the reading is to the intended reference. Repeatability is whether the tool gives the same result every time. For arrows, repeatability often matters more than tiny display differences. A steady 1/32-inch reading is more useful than a cheap tool that wanders by a larger amount from one check to the next.
Home use versus pro-shop durability
Home-use gauges are usually enough for a few arrows at a time. Pro-shop tools need stiffer frames, harder stops, and parts that hold calibration under daily use. That is why shop tools cost more. They are built to keep measurements stable across many shafts, not just a single dozen arrows once in a while.
Hidden costs beyond the tool
The gauge price is only part of the total. If you are cutting arrows, add the cost of an arrow saw or cutting jig, replacement blades, spare nocks, inserts, points, and possibly new shafts if a cut goes wrong. A small setup can become a larger bill once the cutting and finishing tools are included.
Suppose a beginner buys a $15 gauge and a $25 saw jig to trim a six-arrow set. The tool total is already $40 before inserts, points, or replacement nocks. That is still cheaper than a shop setup, but it is no longer “just a cheap ruler.”
Arrow length measurement basics
Arrow length is usually measured from the throat of the nock to the end of the shaft. That starting point matters because different nock styles can change where the arrow actually sits. If the reference point changes, the reading changes too. The finished length also changes once insert and point are installed, so the bare shaft and finished arrow are not the same thing.
Throat of the nock as the start point
The throat of the nock is the inside resting point where the string sits. That is the common starting reference for arrow length because it ties the measurement to how the arrow behaves on the bow. Measuring from the wrong spot, such as the back of the nock or the shaft shoulder, can create a short or long error.
Cut length versus finished length
Cut length means the bare shaft length after trimming. Finished length means the assembled arrow after insert and point are installed. The insert and point do not change the shaft cut, but they do change the usable finished arrow length and the way the arrow balances. That difference matters when comparing pre-cut shafts with finished arrows.
Insert and point effects
Insert depth and point style matter because some inserts sit deeper in the shaft than others. A long point can also change the front end of the assembly even when the cut shaft stays the same. For setup work, keep shaft length, finished length, and total arrow length separate in your notes.
Can you use a tape measure?
Yes, a tape measure is enough for many home archers if the measurement is taken from the same reference point every time. It is the cheapest option and often works for occasional checks. The weak point is repeatability, especially if the tape bends, slips, or starts at the wrong place.
When a tape is enough
A tape measure is enough when you are checking a few arrows, buying replacement shafts, or confirming a rough length before a shop cuts the final set. It also works when budget is tight and you only need a practical match to draw length, not shop-level bulk consistency.
Why a hard stop helps
A tape measure becomes more useful with a hard stop or simple jig. The stop keeps the nock end in the same place every time, which improves repeatability. Without that stop, the tape can move between checks and create a false reading. That is the main reason better gauges cost more.
Where tape measurements go wrong
A common first-timer mistake is measuring from the end of the shaft instead of the throat of the nock. Another is mixing up shaft length with finished arrow length after the insert and point are on. A third is using a flexible tape on a curved arrow without holding the same contact points each time.
Picture a 28-inch draw archer checking a carbon shaft with a loose tape. If the back end shifts by even a small amount, the reading can drift enough to change the cut. That does not sound like much, but arrow fit is sensitive to small differences.
Arrow length setup cost table
This table compares the actual buying choices most beginners see. The cheapest option is not always the worst fit, but the more repeatable options buy more control, especially when multiple arrows must match. Hidden costs matter because the tool is only one part of the setup.
| Option | Typical use case | Expected accuracy | Repeatability | Setup time | Hidden add-on costs |
|---|---|---|---|---|---|
| Tape measure | Occasional home checks | Moderate if handled carefully | Low without a stop or jig | Very fast | Hard stop, jig, spare nocks, possible recheck after cutting |
| Basic arrow gauge | Simple home setup and quick length checks | Good for basic reference | Better than a freehand tape | Fast | Replacement stops, rulers, cutting service if no saw is owned |
| Bench-top gauge | Frequent measuring and small batch cutting | Very good for repeated shaft checks | High | Moderate | Arrow saw, cutting jig, blade replacement, inserts and points |
| Digital gauge | Users who want quick reading and clearer output | Very good when calibrated and used correctly | High | Moderate | Batteries, calibration checks, saw or jig if cutting at home |
| Shop setup | Bulk setup, frequent custom arrows, pro-shop work | Highest practical consistency for routine work | Very high | Longer initial setup | Arrow saw, cutting jig, consumable blades, replacement parts, bench space |
Do you need a shop-grade tool?
Most beginners do not need a shop-grade tool. A more basic gauge or even a tape with a hard stop is enough if the goal is to set a few arrows at home. Shop-grade tools make sense when arrow length must be repeated across many shafts, or when the cost of a wrong cut is high.
When bulk setup justifies the cost
Bulk setup justifies a shop-grade tool when the same length must be duplicated over and over. That matters for pro shops, club setups, and anyone cutting many arrows for different bows. In those cases, the tool cost spreads across many arrows, so the higher price is easier to justify.
Why shops pair gauges with saws
Shops usually pair a gauge with an arrow saw or cutting jig because measurement and cutting have to match. A gauge tells the length, and the saw or jig makes the cut consistent. Without both, the setup can be accurate on paper but uneven once the shaft is trimmed.
What extra durability gets you
Durability means the stop holds position, the frame does not flex easily, and the markings stay readable. That matters in a shop because repeated use wears weak parts fast. A pricier tool is often buying sturdier construction as much as it is buying better numbers on the scale.
How to choose for your setup
Choose the cheapest tool that still gives repeatable results for your use. A beginner with a small arrow count can start with a tape and hard stop. A bowhunter who wants consistent setup from one season to the next may prefer a basic gauge. A shop owner should look at bench-top or digital gear and budget for a saw as well.
Beginner archers
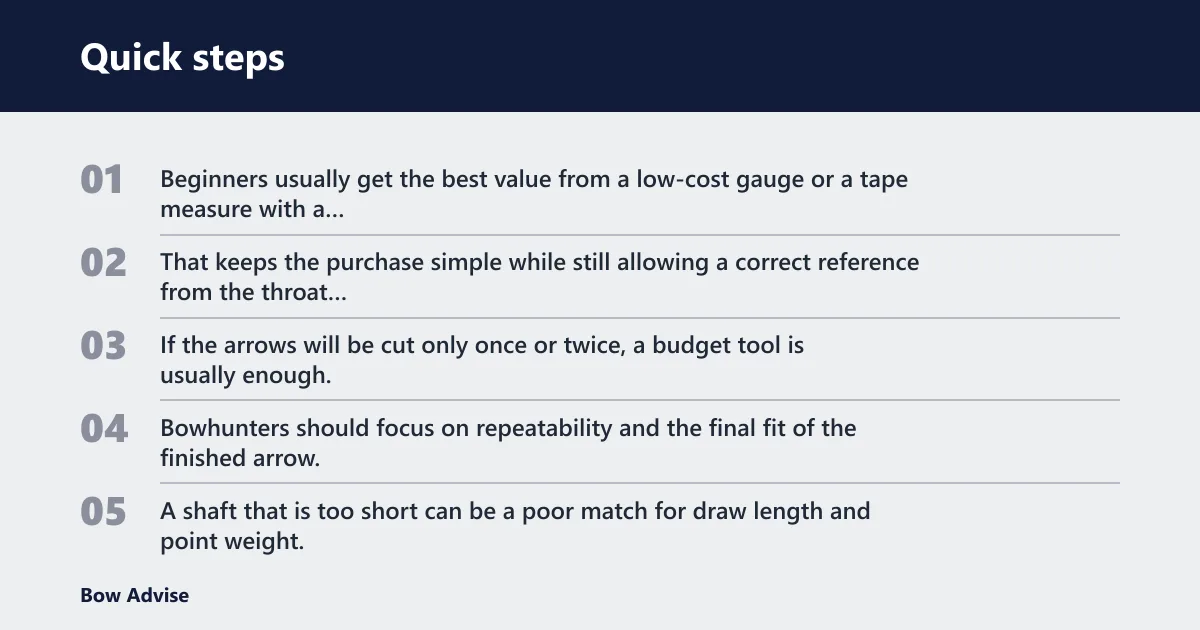
Beginners usually get the best value from a low-cost gauge or a tape measure with a fixed stop. That keeps the purchase simple while still allowing a correct reference from the throat of the nock. If the arrows will be cut only once or twice, a budget tool is usually enough.
Bowhunters
Bowhunters should focus on repeatability and the final fit of the finished arrow. A shaft that is too short can be a poor match for draw length and point weight. A mid-tier gauge is worth the extra cost if it helps avoid a bad cut before broadheads, inserts, and point weight are chosen.
Shop owners
Shop owners should budget for a shop-grade gauge plus cutting equipment. The tool has to stay accurate through repeated use, and the setup has to move fast enough for customer work. For that user, the gauge price is only part of the real setup cost.
How much are arrows compared with the gauge? Often, a single carbon shaft costs more than a basic measuring tool, and a full set of arrows costs far more than a tape or entry-level gauge. That is why a wrong cut can be expensive. The tool is cheap insurance against wasting a shaft.
Frequently asked questions
How much does an arrow length gauge cost?
Many arrow length gauges are priced in the roughly $10 to $60 range. Basic manual tools sit near the low end, while more rigid bench-top and digital models sit higher. The main price differences come from build quality, repeatability, and whether the tool is meant for home use or shop work.
What is the difference between an arrow length gauge and a bow square?
An arrow length gauge measures arrow length from the throat of the nock to the end of the shaft. A bow square measures bow setup points such as nocking point height and brace height. They solve different problems, so a bow square should not be used as an arrow-length tool.
Do I need an arrow length gauge to measure arrows at home?
No, many home archers can use a tape measure if they are careful and consistent. A hard stop or simple jig helps a lot. A dedicated gauge becomes more useful when repeated measurements matter or when the same arrow length must be duplicated across several shafts.
How do I measure arrow length correctly?
Measure from the throat of the nock to the end of the shaft, not from the back of the nock or from the point end. Keep the arrow straight, use the same reference point each time, and remember that finished arrow length changes after insert and point installation.
How much are arrows compared with the gauge?
Arrows usually cost more than a basic gauge. Carbon shafts, inserts, points, and nocks can add up quickly, especially for a full set. That is why a bad cut can cost more than the measuring tool itself, even when the gauge is a budget model.
Can I use a tape measure instead of an arrow length gauge?
Yes, a tape measure can work well enough for occasional home use. It is best when paired with a hard stop or a simple jig so the starting point does not shift. Without that repeatable reference, the readings can vary from one check to the next.