How to Achieve Bone Alignment Traditional Archery: Expert Tips
Traditional archery is more than just hitting a target, it’s about mastering your body’s movements, building consistency, and achieving a sense of unity with your bow. One concept that stands above all others for accuracy and repeatable results is bone alignment. Whether you’re a beginner or someone who’s struggled with form, understanding how to achieve proper bone alignment in traditional archery can transform your shooting. This guide will break down what bone alignment really means, why it matters, and how you can build it into every shot for better performance and less fatigue.
What Is Bone Alignment In Traditional Archery?
Bone alignment refers to the way your bones line up during the shot cycle, from the moment you raise your bow to when you release the string. In traditional archery, this means stacking the bones of your arms, shoulders, and back so they carry the draw weight, not just your muscles.
When your skeleton supports the force, your shots become smoother and more stable. This alignment reduces the chance of injury and helps you shoot accurately, even over long sessions. Many beginners use too much muscle power, leading to shaky shots and quick fatigue.
Proper bone alignment is the secret to shooting with ease and confidence.
Why Bone Alignment Matters For Accuracy And Health
Bone alignment is not just about form, it has real effects on your body and your results. Shooting with poor alignment makes you rely on your muscles, which get tired fast. This causes your draw to wobble, your aim to drift, and your groups to widen.
Over time, it can also lead to pain in your shoulders, elbows, and back.
With good bone alignment, the bow’s force moves through your bones and joints, not just your muscles. This gives you:
- Better stability: Bones don’t tire like muscles do.
- Consistent shot execution: Your anchor and release are repeatable.
- Lower injury risk: Less strain on tendons and joints.
Think of the shot as building a bridge. If the structure is straight and strong, it holds weight easily. If it’s bent or twisted, it collapses.
Understanding The Shot Cycle And Key Alignment Points
To achieve perfect alignment, you need to break down the shot cycle. Each step requires attention to how your bones are stacked and how your body is positioned. Let’s look at the main stages.
Stance And Posture
Everything starts with your stance. Stand with your feet about shoulder-width apart, perpendicular to the target. Your weight should be balanced, neither on your heels nor your toes. Good posture means standing tall, with your chest open and shoulders relaxed.
Bow Arm Position
Your bow arm (the arm holding the bow) must be straight but not locked at the elbow. The bones of your hand, wrist, and forearm should line up, forming a solid column. The shoulder should stay low and relaxed, not lifted toward your ear.
Drawing Arm And Back Engagement
When you draw the string, use your back muscles, not just your arm. Imagine squeezing your shoulder blades together. The drawing elbow should move straight back, staying in line with the arrow.
Anchor And Alignment
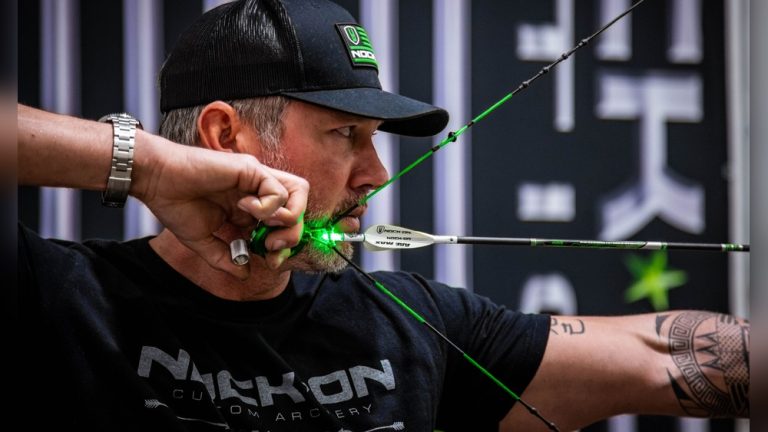
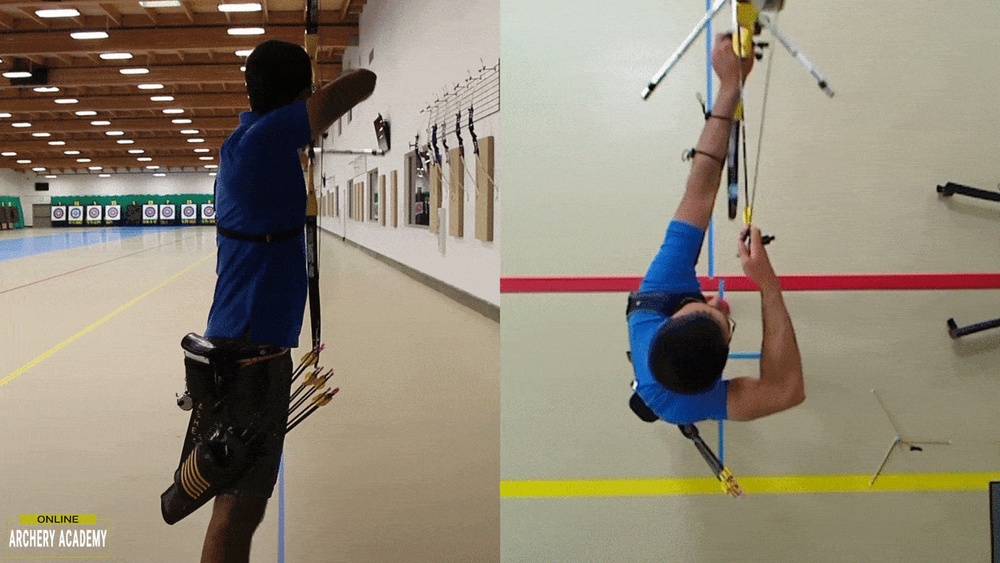
Anchor means placing your hand at a consistent spot on your face, often the corner of your mouth or chin. At full draw, your shoulders, elbows, and wrists should form a straight line. You can check this by having someone look at you from above: the arrow, your drawing forearm, and your bow forearm should all be on the same plane.
Release And Follow Through
After the release, your drawing hand should move straight back, not out to the side. If your alignment is correct, this will feel smooth and natural.
How To Build Bone Alignment Step-by-step
Achieving bone alignment takes practice, but you can build it step by step. Here’s a practical approach you can follow.
1. Start Without A Bow
Before picking up your bow, practice the motions with just your body. Stand facing a mirror. Raise your bow arm and mimic drawing back the string. Watch your shoulder, elbow, and wrist positions. This helps build muscle memory without the distraction of the bow.
2. Use A Light Bow Or Training Aid
Switch to a light bow or a stretch band. This lets you focus on form rather than fighting the draw weight. Practice drawing, anchoring, and releasing while watching your alignment.
3. Check Your Line
Ask a friend to check your alignment or take a photo from above. You should see a straight line running from your bow hand, through your shoulders, to your drawing elbow. If your elbow is too high or too low, adjust until it lines up.
4. Build Up Gradually
As you get comfortable, move to your regular bow. Pay attention to how your body feels, good alignment should feel strong but relaxed. If you feel tension in your shoulder or neck, revisit the earlier steps.
5. Regularly Review Your Form
Even advanced archers drift out of alignment over time. Make it a habit to check your form every few sessions. Small adjustments can make a big difference in your results.

Credit: www.youtube.com
Common Mistakes And How To Fix Them
Many archers struggle with alignment because of old habits or misunderstanding. Here are the most frequent mistakes and how to correct them.
Dropping The Bow Shoulder
Raising your shoulder toward your ear is a common issue. This creates tension and breaks alignment. Keep your shoulder low and relaxed. If you feel your neck tightening, pause and reset.
Over-bending The Bow Arm
Some archers bend their bow arm to absorb shock. This actually causes instability. Focus on keeping your arm straight, using bone support rather than muscle.
“chicken Wing” Drawing Elbow
If your drawing elbow points up or out, you’re losing alignment. Practice keeping the elbow in line with the arrow. Imagine your elbow moving horizontally, not vertically.
Collapsing At Release
Letting your bow arm drop or moving your hand sideways after release ruins consistency. Concentrate on a smooth, straight follow-through.
Relying Only On Muscles
If you feel exhausted after a few shots, you’re using too much muscle. Take a break and rebuild your form with lighter equipment.
Comparing Muscle Vs. Bone Alignment: Why Bones Win
Many beginners think that stronger muscles mean better shooting. In reality, relying on bone alignment is the key to consistent performance. Here’s a side-by-side look:
| Muscle-Based Shooting | Bone Alignment Shooting |
|---|---|
| Fatigue sets in quickly | Can shoot longer sessions |
| Shots are less consistent | Shots repeat the same pattern |
| Higher risk of injury | Reduced joint and tendon strain |
| Muscles shake under pressure | Stable hold on target |
In my experience, the biggest improvement in my groups came when I stopped “pulling” the bow and started “lining up” my bones. The bow felt lighter, and my accuracy jumped within weeks.
Drills And Exercises To Improve Bone Alignment
Training your body to find and hold the right alignment requires specific exercises. Here are some effective drills.
Mirror Drill
Stand in front of a mirror, bow in hand (or a stretch band). Practice your draw and anchor. Watch for straight lines from your bow hand through your shoulders to your drawing elbow. Repeat ten times, focusing on form, not speed.
Wall Drill
Stand with your bow arm about six inches from a wall. Draw the bow without touching the wall. If your elbow or hand hits, adjust your line. This teaches you to keep everything in the correct plane.
Resistance Band Rows
Use a resistance band to mimic the drawing motion. Focus on squeezing your shoulder blades together. This builds the muscles needed to hold alignment without tension.
Alignment Rod Drill
Some archers use an alignment rod, a stick or arrow held behind the back, touching both elbows. This helps you “feel” what a straight line is like.
Blank Bale Practice
Shoot at a large, close target with no aiming point. Focus only on your form and alignment, not on where the arrow lands. This removes aiming distraction and lets you build muscle memory.
How Equipment Choice Affects Bone Alignment
Your bow setup can make alignment easier or harder. Here’s what to consider:
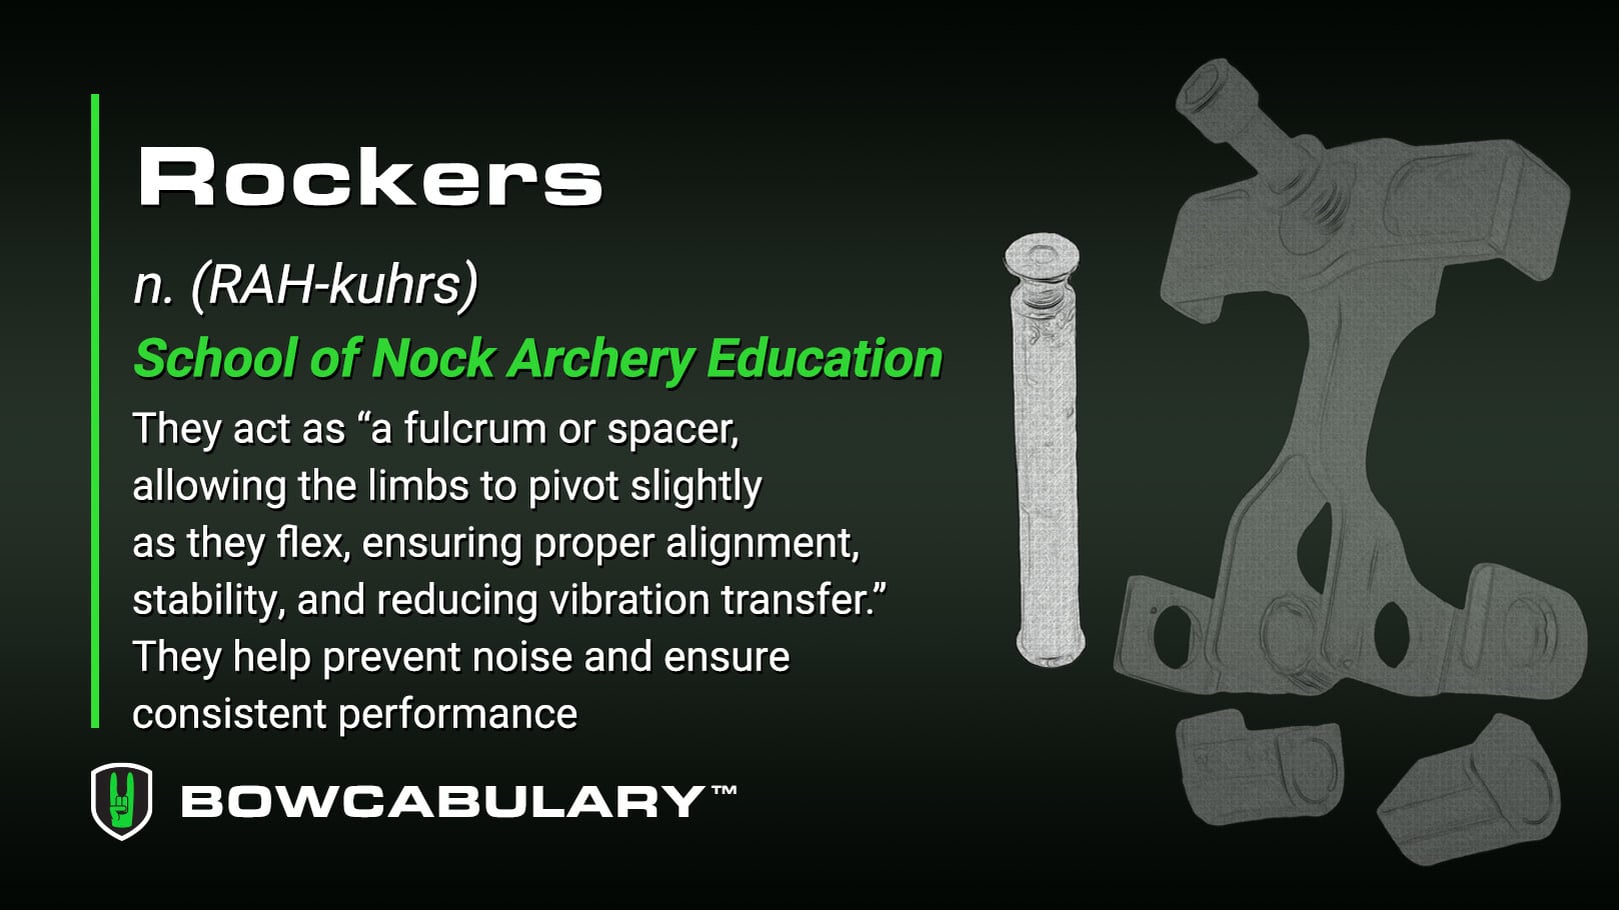
- Bow size: A bow that’s too short can force your shoulders out of line. Choose a bow with a draw length that matches your body.
- Grip shape: Some grips encourage poor wrist position. Look for a grip that lets your wrist stay straight and relaxed.
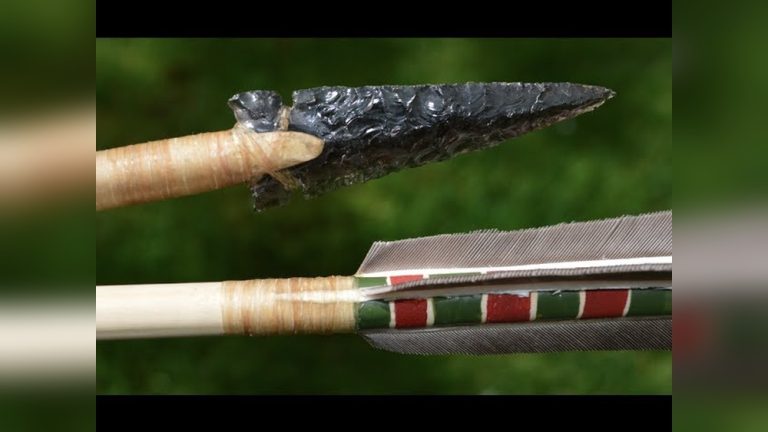
- Arrow length: Short arrows can make you “crunch” your form. Use arrows that are at least one inch longer than your draw length for safety and comfort.
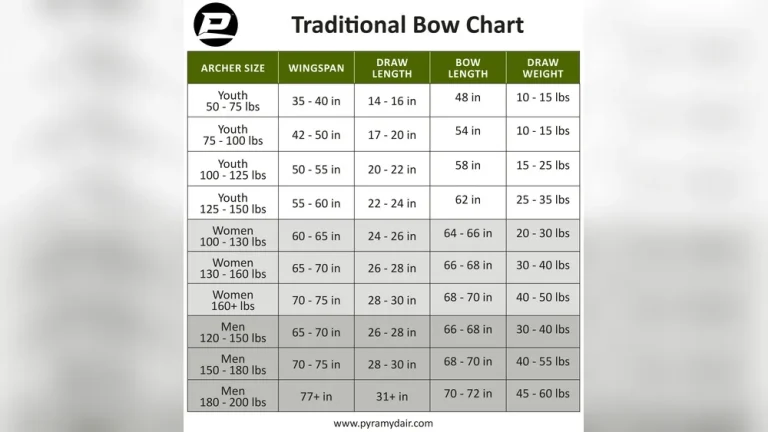
Here’s a quick comparison of typical bow lengths for body sizes:
| Archer Height | Recommended Bow Length |
|---|---|
| Under 5’6″ | 62-66 inches |
| 5’6″, 6’0″ | 66-68 inches |
| Over 6’0″ | 68-70 inches |
If you’re unsure, visit a pro shop or consult an experienced archer for advice.
Credit: nockonarchery.com
Using Video And Technology For Self-assessment
Sometimes it’s hard to see your own alignment errors. Recording your shooting with a smartphone or using slow-motion video can help. Set your camera at different angles, side, front, and overhead, to check your lines.
There are also apps designed for sports analysis. Tools like Dartfish or Coach’s Eye allow you to draw lines over your video, so you can see if your arms and shoulders are in the right place.
The Role Of Flexibility And Mobility
Bone alignment isn’t just about stacking joints. If your shoulders, back, or wrists are stiff, it’s hard to reach and hold the right position. Regular stretching and mobility work help.
Simple exercises like shoulder circles, wrist stretches, and gentle back twists keep your joints healthy. Yoga or Pilates can also support better posture and form. A flexible body makes it easier to achieve and keep good alignment.
Pro Tip: Never push through pain. If you feel discomfort, stop and review your form. Chronic pain can mean you’re forcing alignment your body isn’t ready for.
How To Maintain Bone Alignment Under Stress
Shooting in practice is different from shooting in competition or hunting. Stress can make you forget your form. Here’s how to keep your alignment when it counts.
- Build a shot routine: Repeat the same steps every shot. A routine anchors your mind and body.
- Practice under pressure: Shoot with a timer, or in front of friends, to mimic real stress.
- Focus on process, not results: Think about your form, not the score or the target.
Over time, good alignment becomes automatic, even when your heart is racing.
Comparing Traditional Vs. Modern Archery Form
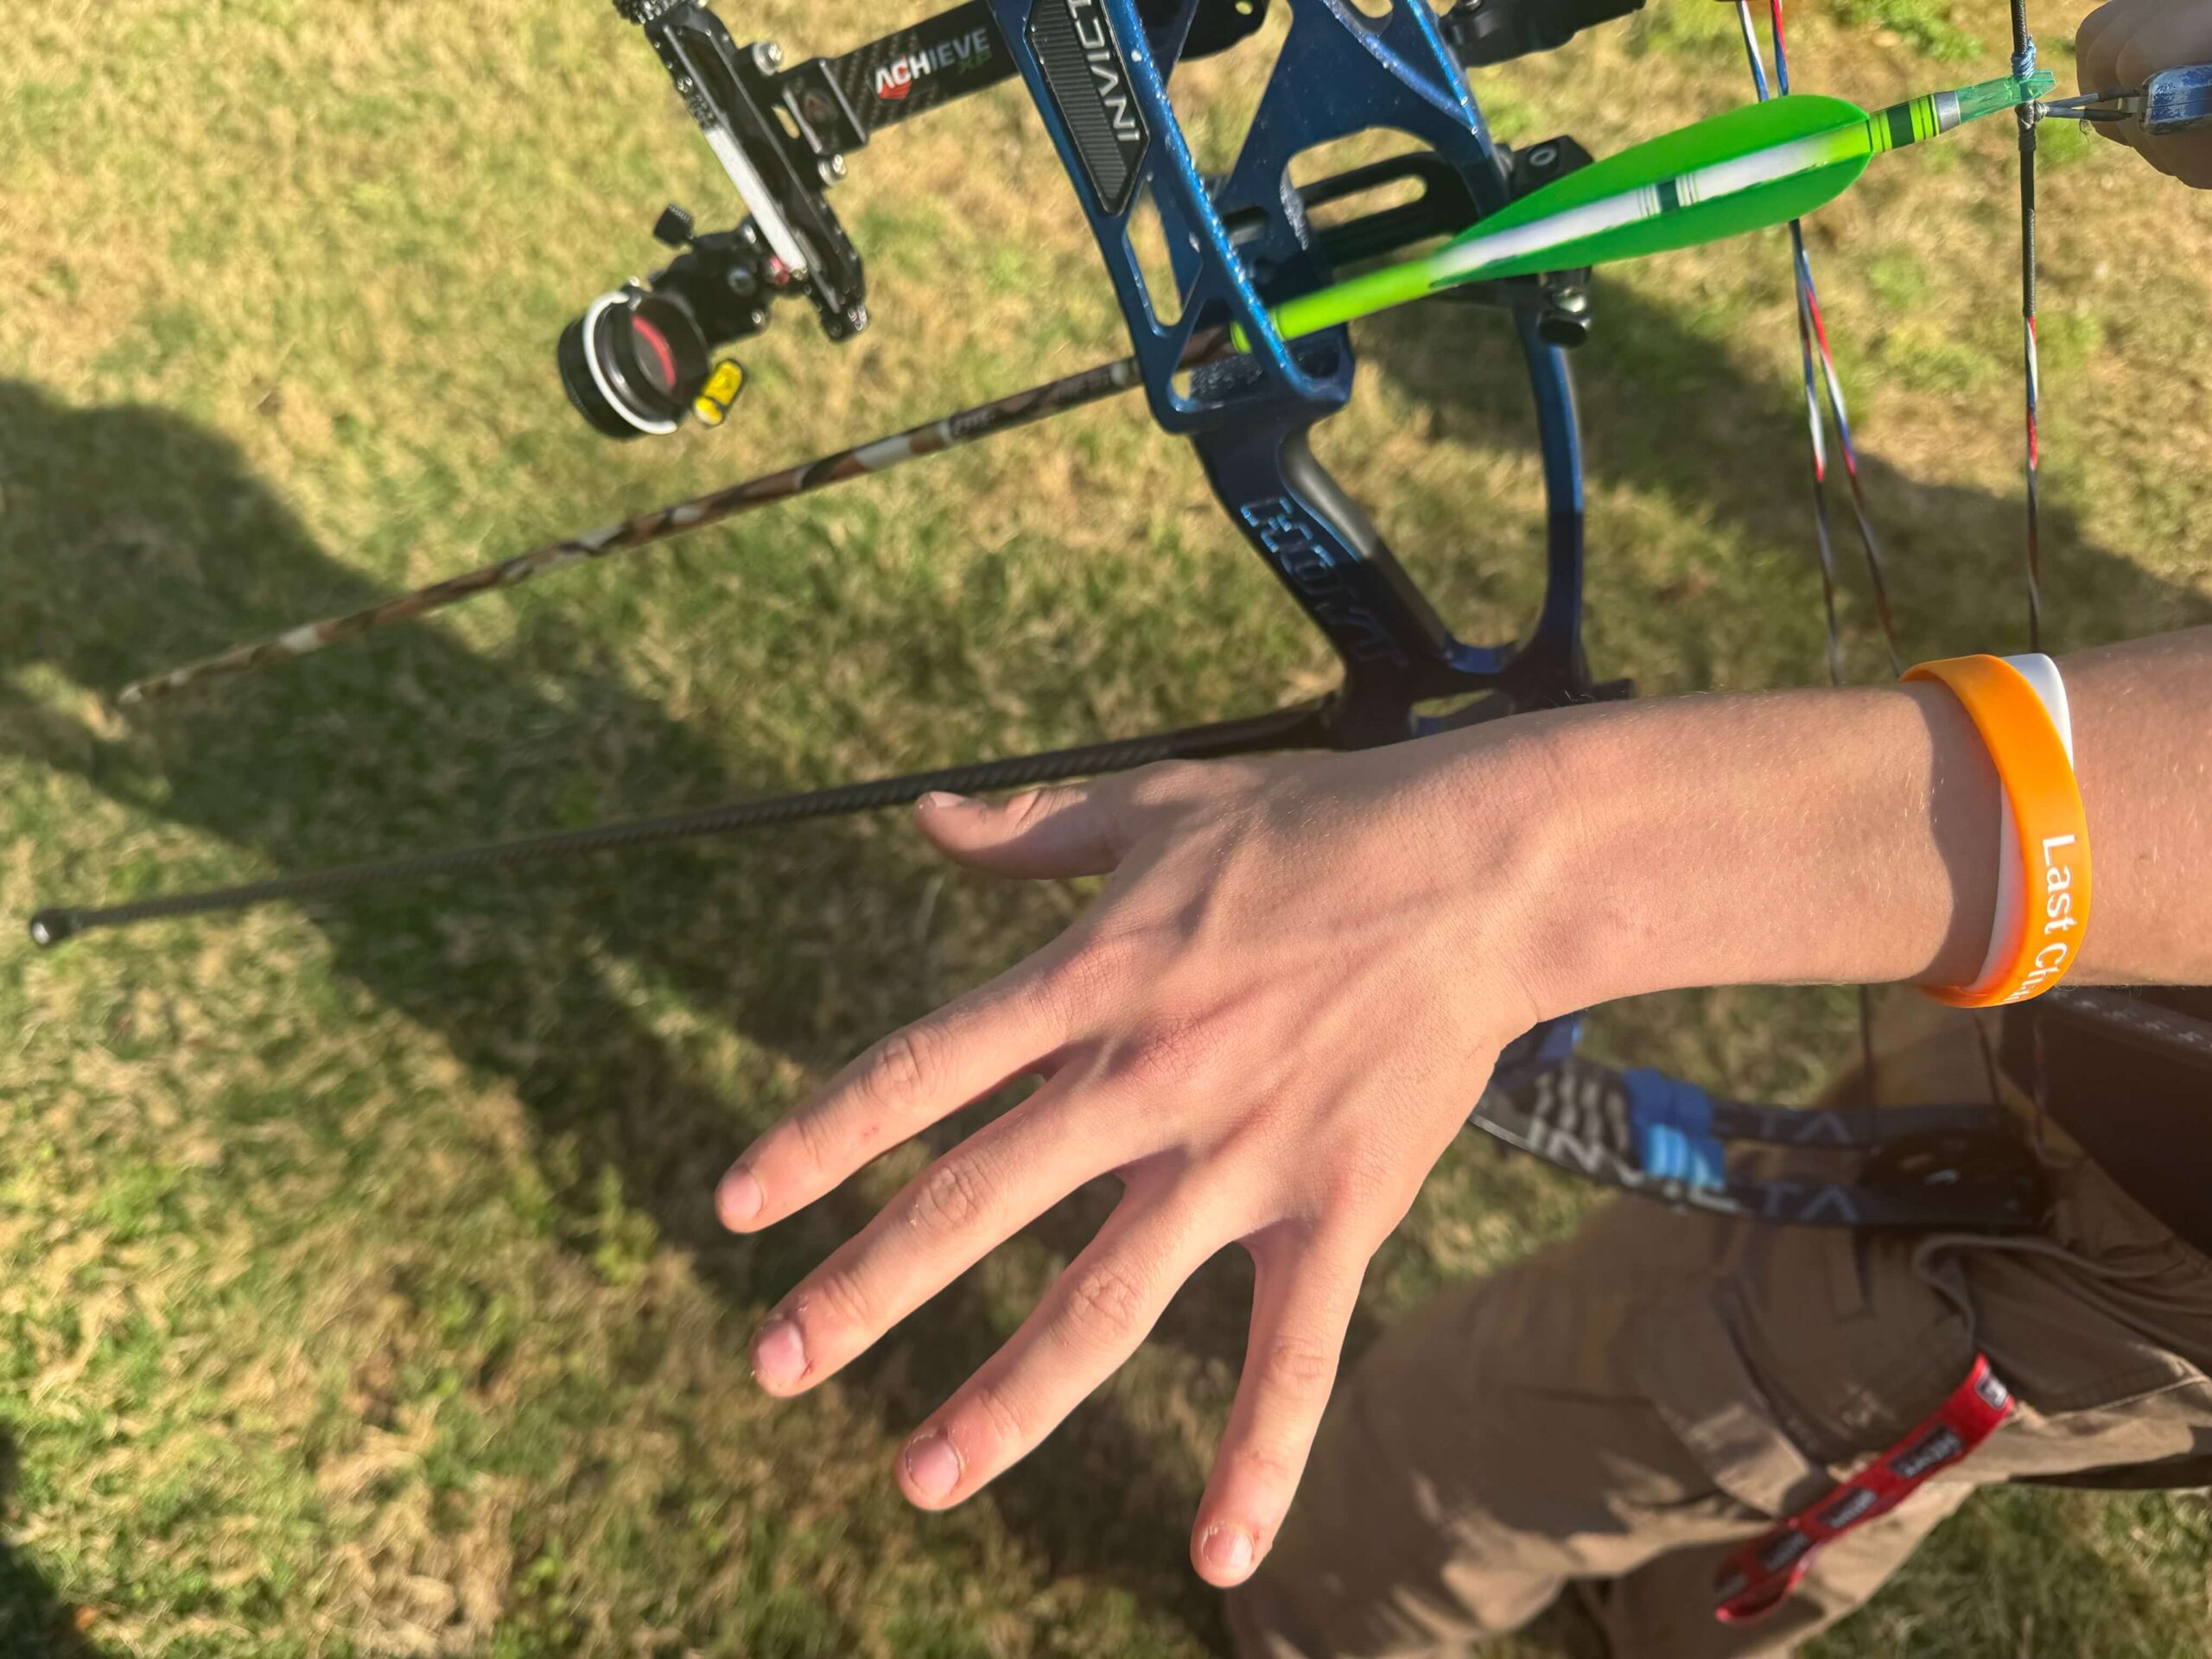
Traditional archery relies more on instinct and body feel than modern styles with sights and stabilizers. Here’s how bone alignment differs:
| Traditional Archery | Modern Archery |
|---|---|
| Focus on natural body lines | More technical aids for alignment |
| Simple equipment, more body awareness | Sights, stabilizers, and releases |
| Alignment is built through feel and repetition | Alignment can be checked by devices |
Learning good alignment in traditional archery gives you a foundation that applies to any bow style.
Credit: lastchancearchery.com
Insights Beginners Often Miss
Many new archers focus only on aiming or power. They miss that alignment matters more than strength. It’s common for beginners to “muscle” the bow, thinking that will improve their shot. In reality, a relaxed, bone-supported draw is both safer and more accurate.
Another missed insight is the role of consistent anchor and follow-through. Without repeatable form, even perfect alignment is wasted. Make sure you’re not changing your anchor point or release each shot.
Seeking Professional Coaching
While you can learn a lot on your own, a session with a qualified coach can reveal issues you didn’t know you had. Coaches can spot subtle alignment errors, suggest drills, and help with equipment choices. Many archery clubs offer beginner classes or group lessons.
Even a single session can accelerate your progress.
For more on the science of archery form and coaching, you can check resources like the World Archery Federation.
Frequently Asked Questions
How Long Does It Take To Develop Good Bone Alignment?
Most people see progress within a few weeks of focused practice, but true mastery takes months or years. Consistency and regular self-checks are key. If you practice three times per week, you’ll notice improved stability and less fatigue within your first month.
Can Poor Alignment Cause Injuries In Traditional Archery?
Yes. Shooting with poor alignment puts extra stress on your muscles, tendons, and joints, especially in the shoulders and elbows. Over time, this can lead to chronic pain or serious injury. If you experience pain, consult a healthcare professional and review your form before continuing.
Should I Change My Equipment To Improve Alignment?
Sometimes. If your bow is too heavy or the grip doesn’t fit your hand, it can force bad alignment. Try different equipment if you struggle to reach a comfortable, straight position. Always choose gear that matches your body size and strength.
Is Bone Alignment Different For Left-handed Archers?
The principles are the same, but the sides are reversed. Focus on keeping your bow arm (left for left-handers) straight and your drawing elbow in line with the arrow. Many left-handed archers benefit from video feedback to spot errors.
Do Traditional Archers Use Any Aids To Check Their Alignment?
Some use training tools like alignment rods, mirrors, or video apps. Others ask a coach or experienced friend to watch their form. Tools are helpful, but regular mindful practice is the most important aid.
Mastering bone alignment is a journey, not a quick fix. By focusing on your body’s natural lines, practicing with purpose, and seeking feedback, you’ll find your shots become smoother, more accurate, and more enjoyable. As you improve, you’ll discover that the true art of traditional archery is not just in hitting the target, but in how you achieve every shot.