How To Make A Pistol Shooting Target Stand Easily
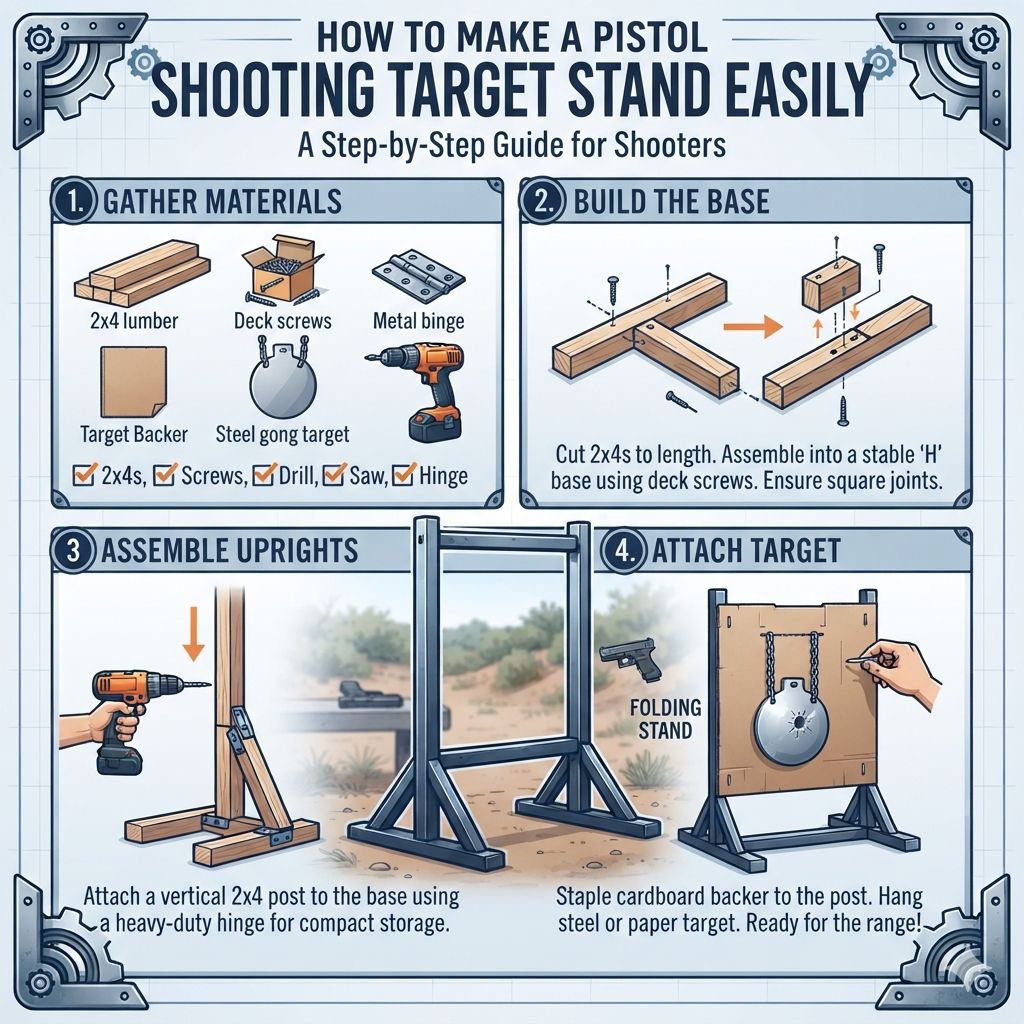
Making a pistol shooting target stand is straightforward with simple tools and materials. You can build a stable and durable stand yourself. This guide provides easy DIY steps to help you create a functional target holder for safe and effective practice.
Focus on your shots, not on a shaky stand.
Understanding Pistol Target Stands
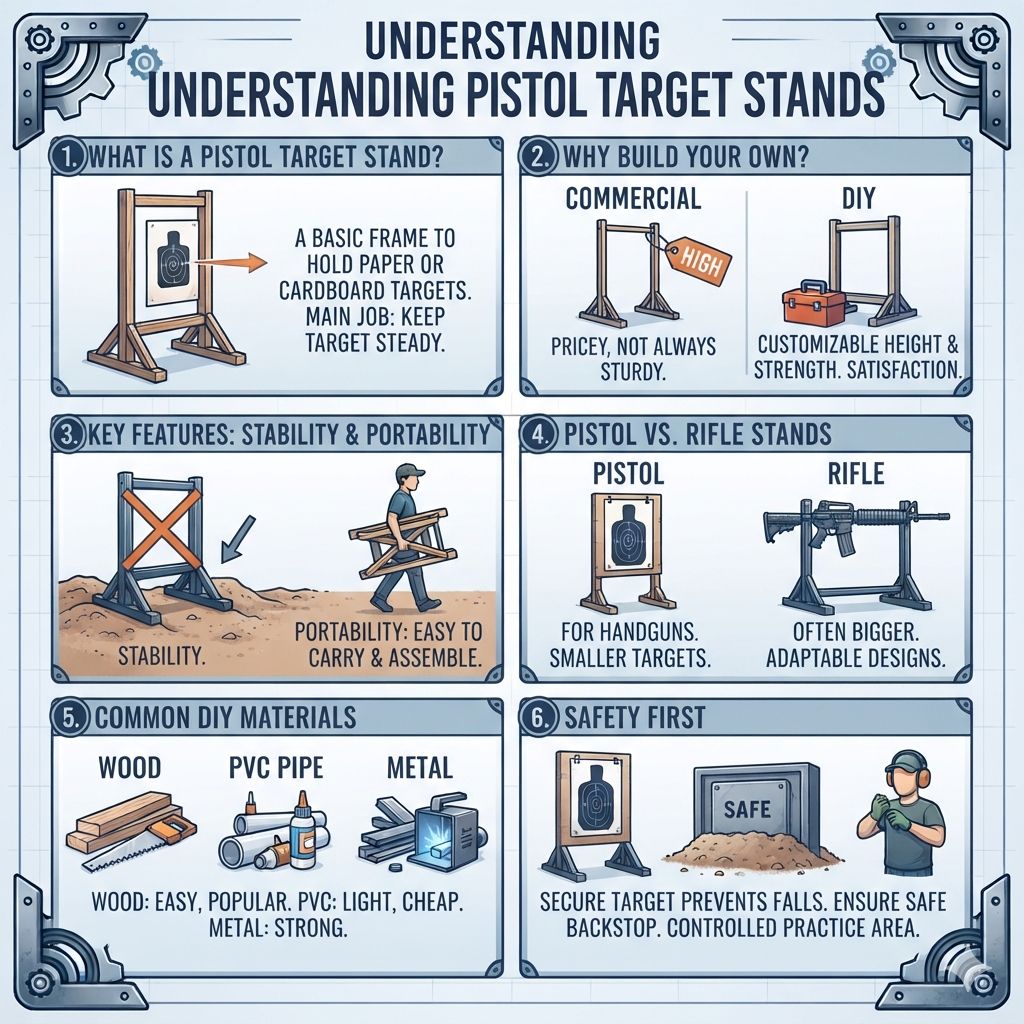
A pistol target stand is a basic frame. It holds a paper or cardboard target up for you to shoot at. The main job of the stand is to keep the target steady.
It needs to be strong enough to withstand many shots. It also needs to be easy to set up and take down. Many stands are made for paper targets that fit into a frame.
Some can hold cardboard backers too.
Why bother building your own? Commercial target stands can be pricey. Sometimes, they aren’t as sturdy as you need.
Building one yourself lets you customize it. You can make it the perfect height. You can make it super strong.
You also get the satisfaction of making it yourself. It’s a fun project for anyone who enjoys shooting. Plus, you learn a new skill.
The key features of a good target stand are stability and portability. It must stand firm on different surfaces. Uneven ground is common at outdoor ranges.
It should not tip over easily. Portability means you can carry it to the range and back. It should also be simple to assemble.
You don’t want to spend a lot of time setting up.
When we talk about pistol shooting target stands, we mean stands for handguns. These stands usually hold targets that are not very large. Rifle target stands are often bigger and sturdier.
But many designs can be adapted. The principles are the same: hold the target firmly and safely.
Common materials for DIY stands include wood, PVC pipe, and metal. Wood is popular because it’s easy to cut and assemble. PVC pipe is lightweight and cheap.
Metal can be very strong but harder to work with for beginners. We will focus on designs that are easy for most people to build at home.
Safety is always number one when shooting. Your target stand plays a role in this. A stand that falls could cause problems.
Make sure your target is held securely. Be aware of where your shots are going. A good stand helps keep your practice area safe and controlled.
My First Wobbling Target Stand Disaster
I remember my first attempt at making a target stand. I was so excited to get to the range. I wanted a simple setup.
I grabbed some scrap wood from the garage. I used nails and a hammer. It looked okay when I finished.
But the moment I set it up outside, it started to sway. The wind was just a gentle breeze. Even then, the target danced around.
My first shot missed the center because the target moved. That was annoying. My second shot hit the flimsy wooden frame itself.
That was a mistake. The frame broke apart. It was a total mess.
I felt pretty foolish. All that effort for nothing. I spent more time trying to prop it up than I did shooting.
It made me realize I needed a much better plan.
I learned a big lesson that day. Just putting wood pieces together doesn’t make a good stand. You need a design that accounts for forces.
Gravity pulls down. Wind pushes sideways. The impact of the bullet can also cause vibrations.
My first stand lacked strong connections and a wide base. It was like a skinny tree in a storm. It just couldn’t handle it.
After that, I went online and looked at how professional stands were built. I saw many common designs. They all had wider bases.
They used stronger joining methods. They often had ways to brace the frame. I realized I needed to think about how the pieces fit together.
I also needed to think about how it would stand on different ground.
This experience taught me the value of a well-thought-out design. It’s not just about having a target holder. It’s about having a reliable and safe one.
It pushed me to learn more about basic carpentry. It also showed me that sometimes, spending a little more time on the design saves a lot of trouble later.
Essential Target Stand Qualities
Stability: Must stand firm without tipping. Wide base helps.
Durability: Built to last many shooting sessions. Strong materials and joints.
Portability: Easy to carry to and from the range. Not too heavy.
Ease of Setup: Quick to assemble and take down. Few parts.
Adjustability: Some stands let you change target height. This is a nice bonus.
Simple DIY Pistol Target Stand Plans
Let’s look at some easy ways to build a pistol shooting target stand. We will start with a very basic wooden design. This is a great project for beginners.
You will need a few common tools and materials.
Plan 1: The Classic A-Frame Stand
This design is simple and effective. It looks like an ‘A’ shape. It is stable because of its wide stance.
Materials You’ll Need:
- Two pieces of wood, about 1 inch by 2 inches (1×2). Each piece should be 3 to 4 feet long. These will be the side supports.
- One piece of wood, 1×2, about 2 feet long. This is for the top brace.
- One piece of wood, 1×2, about 1 foot long. This is for the bottom brace (optional, but adds stability).
- Wood screws. About 1.5 inches long.
- A way to hold your target. This could be two nails or staples on the top brace. Or you can add a frame later.
Tools You’ll Need:
- Saw (hand saw or power saw)
- Drill with drill bits
- Screwdriver bit for your drill
- Measuring tape
- Pencil
- Safety glasses
Steps:
- Cut your wood. You need two long side pieces (3-4 ft). Cut one shorter top brace (2 ft). Cut one even shorter bottom brace (1 ft).
- Mark the center of the top brace. Mark a spot about 6 inches from the top of each side piece.
- Drill pilot holes. This stops the wood from splitting.
- Attach the top brace. Screw the top brace between the two side pieces. Make sure the ends of the brace are flush with the sides. This forms the top of the ‘A’.
- Attach the bottom brace (optional). This piece goes lower down the ‘A’ legs. It connects the two side pieces. It adds a lot of strength. Screw it in place, about 1 foot from the bottom.
- Add target holders. You can drive two nails into the top brace, angled slightly upward. These will hold the top edge of your paper target. Or you can staple it on.
- Test it. Set it up on a flat surface. It should stand on its own.
This basic A-frame is very easy to build. It’s good for paper targets. You can easily paint it bright colors to see it better.
Quick Scan: A-Frame Stand
| Component | Material | Approx. Length |
|---|---|---|
| Side Supports | 1×2 Wood | 3-4 feet (x2) |
| Top Brace | 1×2 Wood | 2 feet (x1) |
| Bottom Brace (Optional) | 1×2 Wood | 1 foot (x1) |
| Fasteners | Wood Screws | 1.5 inches |
Plan 2: PVC Pipe Target Stand
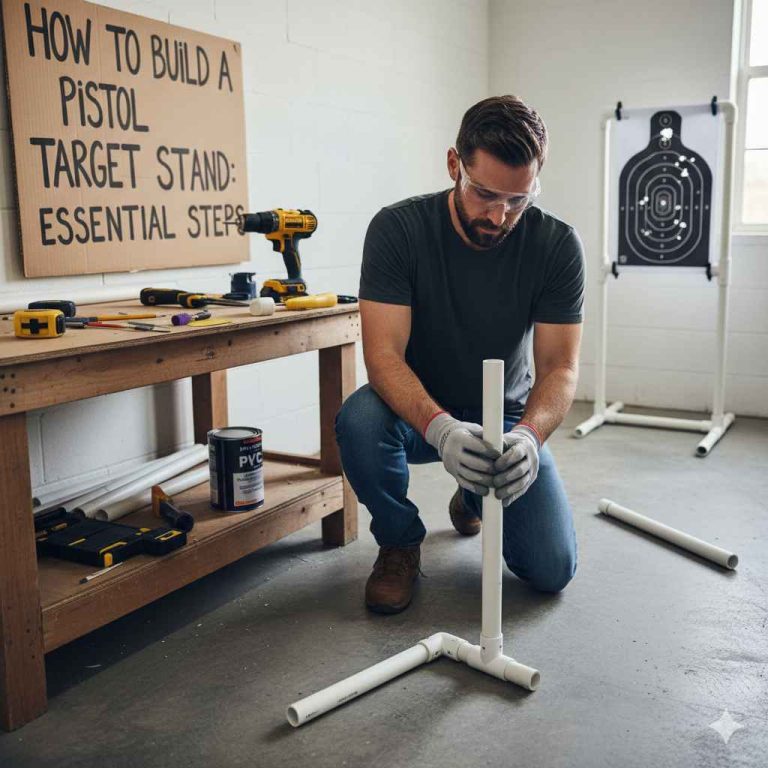
PVC pipe is a great material for DIY projects. It’s cheap, light, and easy to cut. You don’t need many tools.
This stand is good for holding cardboard backers. You can often buy connectors to make assembly easy.
Materials You’ll Need:
- PVC pipe. About 1/2 inch or 3/4 inch diameter. You’ll need several feet of it.
- PVC connectors:
- Four 90-degree elbows
- Two T-connectors
- Two end caps (optional, for feet)
- PVC cement (glue)
- A way to hold your target. This could be a separate frame or simple clips.
Tools You’ll Need:
- PVC pipe cutter or a saw
- Measuring tape
- Marker
- Safety glasses
Steps:
- Cut your pipes. You will need to plan the size of your stand. For a basic frame, you might need:
- Two pipes, about 3 feet long (for the uprights).
- Two pipes, about 2 feet long (for the base sides).
- Two pipes, about 1 foot long (for the base front/back).
- One pipe, about 2 feet long (for the top bar).
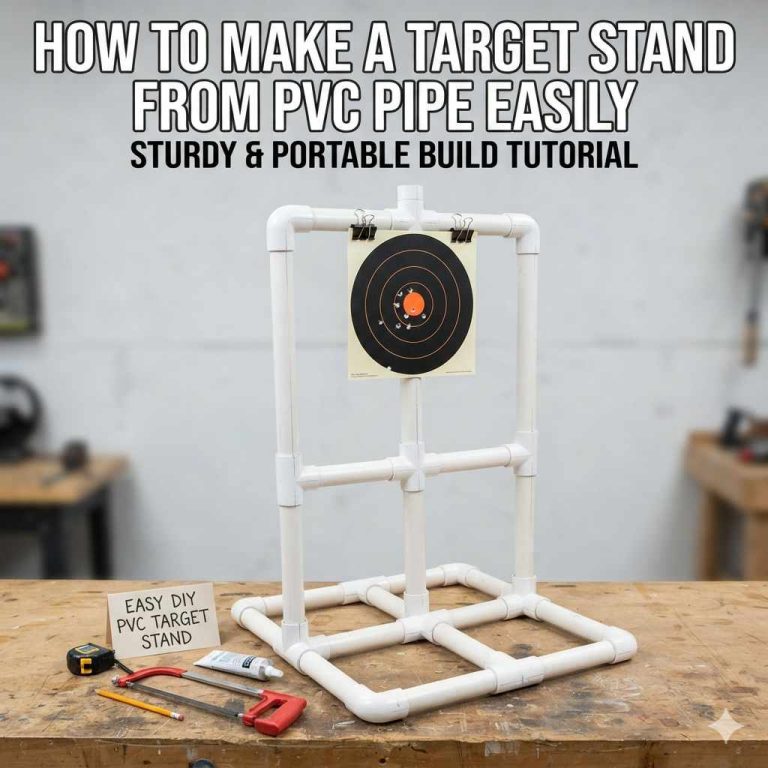
- Assemble the base. Connect the two 2-foot pipes to the T-connectors. Then connect the 1-foot pipes to the other side of the T-connectors. You will have a rectangular base.
- Attach the uprights. Insert the bottom of the two 3-foot pipes into the other side of the T-connectors. Now you have two vertical pipes.
- Connect the top. Use the 90-degree elbows to connect the top of the upright pipes. Then, connect these with the 2-foot top bar. You should have a basic rectangular frame.
- Glue it. Once you are happy with the shape, use PVC cement. Follow the instructions on the can. Let it dry completely.
- Add target holders. You can drill holes in the top bar. Or attach simple clips. Some people use zip ties to attach a wire frame for cardboard targets.
PVC Stand Assembly Overview
Base Frame: Made with T-connectors, 2ft pipes, and 1ft pipes.
Uprights: 3ft pipes connected to T-connectors, standing vertically.
Top Frame: 90-degree elbows and a 2ft pipe connect the top of the uprights.
Securing: Use PVC cement for a permanent, strong bond.
This PVC stand is lightweight. It’s easy to move. It can be taken apart if you want.
Just don’t use glue if you want it to be portable.
Plan 3: Modified Sawhorse Style Stand
This design uses longer pieces of wood. It creates a very stable, wide base. It’s like a smaller version of a sawhorse.
Materials You’ll Need:
- Four pieces of wood, about 1 inch by 4 inches (1×4). Each about 3 feet long (for legs).
- Two pieces of wood, 1×4, about 2 feet long (for the top supports).
- One piece of wood, 1×4, about 3 feet long (for the horizontal brace at the back).
- Wood screws.
- Brackets or corner braces can add extra strength.
Tools You’ll Need:
- Saw
- Drill and driver bits
- Measuring tape
- Pencil
- Safety glasses
Steps:
- Cut wood to size as listed above.
- Take two leg pieces. Angle the top of each leg slightly.
- Attach a 2-foot top support piece. Screw it to the angled tops of the two legs. This makes one side of the sawhorse. Repeat for the other side. You now have two ‘A’ shaped legs.
- Connect the two ‘A’ legs. Use the 3-foot horizontal brace. Attach it to the back of the legs, lower down. This keeps the two sides from splaying out too far.
- Add a top shelf or crossbar if needed. You might need something to attach your target to. A simple 1×2 piece across the top supports works well.
This stand is very sturdy. It’s good for heavier targets or cardboard backers. It’s a bit heavier than the other designs.
Sawhorse Style Stand – Key Parts
Legs: Four 3ft 1×4 boards, angled at the top.
Top Supports: Two 2ft 1×4 boards connecting leg tops.
Rear Brace: One 3ft 1×4 board connecting the back of the legs.
Reinforcement: Use screws, possibly brackets for extra strength.
Designing for Stability and Durability
Building a pistol shooting target stand is more than just cutting wood. It’s about making something that won’t fail. Stability is key.
This means a wide base. Think about a pyramid shape. The wider the base, the more stable it is.
For your A-frame stand, the angle of the legs matters.
A wider angle for the ‘A’ legs means a wider base. But it also means the legs get shorter. You need a balance.
For most handgun targets, an angle of about 20-30 degrees from vertical is good. This provides enough width without making the stand too short or unstable.
The connections between the pieces are also vital. Simple butt joints with screws can work. But adding corner braces or brackets makes them much stronger.
For PVC, using the correct glue and letting it cure fully makes a big difference. If you want a portable PVC stand, just push-fit the pieces. But know it won’t be as strong.
Durability is about the materials and how you put them together. Wood stands can last a long time if treated. Painting or sealing the wood protects it from weather.
This is especially important if you practice outdoors often. Rain and sun can damage untreated wood quickly.
PVC stands are generally quite durable. They don’t rust or rot. However, PVC can become brittle in very cold weather.
It can also degrade slowly if left in direct sunlight for years. But for regular use, it holds up well.
Consider the weight of your target and backer. If you plan to use heavy cardboard, you need a stronger frame. The A-frame or sawhorse designs are better for this.
A PVC stand might sag or break under too much weight. Make sure the top bar can support the target you want to use.
When planning your stand, think about where you will use it. Will it be on soft grass, hard gravel, or concrete? A stand with wider feet or feet protectors can help on soft ground.
On hard surfaces, the legs might slide. You might need to add some grip tape to the bottom of the legs.
Stability Tips Checklist
- Wide Base: Ensure legs angle outwards significantly.
- Solid Connections: Use screws, glue, or brackets.
- Weight Distribution: Design for the target weight.
- Ground Surface: Consider how the stand will sit.
- Bracing: Add cross-braces for extra support.
Building a sturdy stand ensures your practice time is productive and safe. A wobbly stand is not just annoying; it can be a safety hazard. Always prioritize a design that is stable and well-built.
Adding Features for Target Attachment
Once you have a basic frame for your pistol shooting target stand, you need a way to attach your target. This is an important detail. The method you choose depends on the type of target you use.
For Paper Targets:
- Staples: The simplest way is to use a staple gun. You can staple the edges of the paper target directly to a wooden crossbar. Make sure the staples are strong enough.
- Nails: Small nails, driven in at an angle, can also hold paper targets. Some people use small eye hooks screwed into the wood, then attach the target with zip ties or string.
- Clips: Binder clips or large bulldog clips can work. You can attach these to the frame or a separate bar. Then clip the target in place. This is very easy for quick changes.
For Cardboard Backers:
- Clips: Larger, heavy-duty clips can hold the top edge of a cardboard backer.
- Wire Frame: A common method is to create a wire frame that the cardboard slides into. This wire frame can then be hung from hooks or a crossbar on your stand.
- Clamps: Spring clamps or C-clamps can be used to hold cardboard against a frame.
- Pre-drilled Holes: If your stand has a frame, you can punch holes in the cardboard. Then use zip ties to secure the cardboard to the frame.
For Self-Healing Targets:
Many self-healing targets have their own hanging system, like grommets. You can use S-hooks or carabiners to hang them from a sturdy crossbar on your stand.
Customizing Your Target Holder:
You can add a dedicated target holder to your stand. For wooden stands, this could be a simple wooden frame. You can build a rectangular frame using 1×2 wood.
Then attach it to the main stand. You can add clips or hooks to this frame.
For PVC stands, you can create a PVC frame. Build a smaller rectangle using PVC elbows and short pipe pieces. This frame can then be attached to the main stand with zip ties or more connectors.
You can then attach your targets to this PVC frame.
Target Attachment Ideas
Paper: Staples, nails, binder clips.
Cardboard: Heavy clips, wire frame, zip ties.
Self-Healing: S-hooks, carabiners.
Add-on Frame: Build a separate frame for easier target mounting.
Think about how often you change targets. If you shoot a lot, quick-change methods are best. If you only shoot occasionally, a more permanent attachment is fine.
Making Your Stand Portable and Easy to Store
A pistol shooting target stand is most useful when you can take it with you. Portability is a key design factor. Several things make a stand easy to move and store.
Disassembly:
If you build a stand that can be taken apart, it becomes much more portable. For wood stands, you can use screws instead of glue. This lets you unscrew the legs or braces.
For PVC stands, simply not gluing the pieces makes them fully collapsible.
Weight:
Lighter materials mean an easier-to-carry stand. PVC pipe is much lighter than wood. If you use wood, choose lighter types of wood like pine.
Avoid heavy hardwoods unless you need extreme durability.
Size and Shape:
A stand that folds flat or breaks down into short pieces is easy to store. Think about how it will fit in your car trunk. A tall, rigid stand can be awkward to transport.
Handles:
For heavier wooden stands, you might consider adding a handle. This could be a simple rope handle or a purpose-built carrying handle screwed to the frame.
Portability Features
- Collapsible Design: Screws instead of glue for wood, or no glue for PVC.
- Lightweight Materials: PVC pipe is lighter than most wood.
- Compact Size: Folds flat or into small pieces for storage.
- Carrying Aids: Optional handles for larger stands.
If you plan to use your stand at different shooting locations, portability is a must. Even if you only shoot at home, a stand that stores easily is a big plus.
Safety Considerations for Your DIY Stand
Safety is paramount with any shooting accessory. Your pistol shooting target stand needs to be safe to use and set up. Here are some important points:
Stable Foundation:
As we’ve discussed, a wobbly stand is dangerous. Ensure your stand is stable on the ground. It should not tip over from wind, vibrations, or accidental bumps.
Safe Backstop:
Always be aware of what is behind your target. Your target stand holds the target, but it doesn’t provide a backstop. Make sure you have a safe area where stray bullets will be stopped.
This is often an earth berm or a specialized backstop system.
Target Securement:
Make sure your target is firmly attached. A target that falls can be a hazard. It could scare someone or cause them to flinch.
Material Choice:
Avoid materials that could shatter or splinter dangerously. While wood is generally safe, ensure there are no loose splinters. For PVC, be aware of its limits in extreme temperatures.
Clearances:
Ensure the stand itself does not interfere with your shooting. For example, the legs of the stand should not be in your line of fire or where your feet will be.
Regular Inspection:
Before each use, quickly inspect your stand. Look for any loose screws, cracks, or damage. A quick check can prevent a failure at the range.
Safety Checklist
- Stability Check: Does it stand firm?
- Backstop Awareness: Is the area behind the target safe?
- Target Security: Is the target attached properly?
- Material Integrity: No obvious damage or weakness?
- Clearance: Will the stand be out of the way?
By building your own stand with safety in mind, you ensure enjoyable and secure shooting sessions.
Real-World Context: Using Your DIY Stand
Let’s talk about where and how you’ll actually use your new pistol shooting target stand. Most people will use these at outdoor shooting ranges. Sometimes, people set up small ranges on private land.
Outdoor Ranges:
These can vary greatly. Some have concrete firing lines. Others are just dirt or grass.
Your stand needs to adapt. A wide base is crucial on soft ground. You might even carry a small board or mat to place under the stand legs on grass.
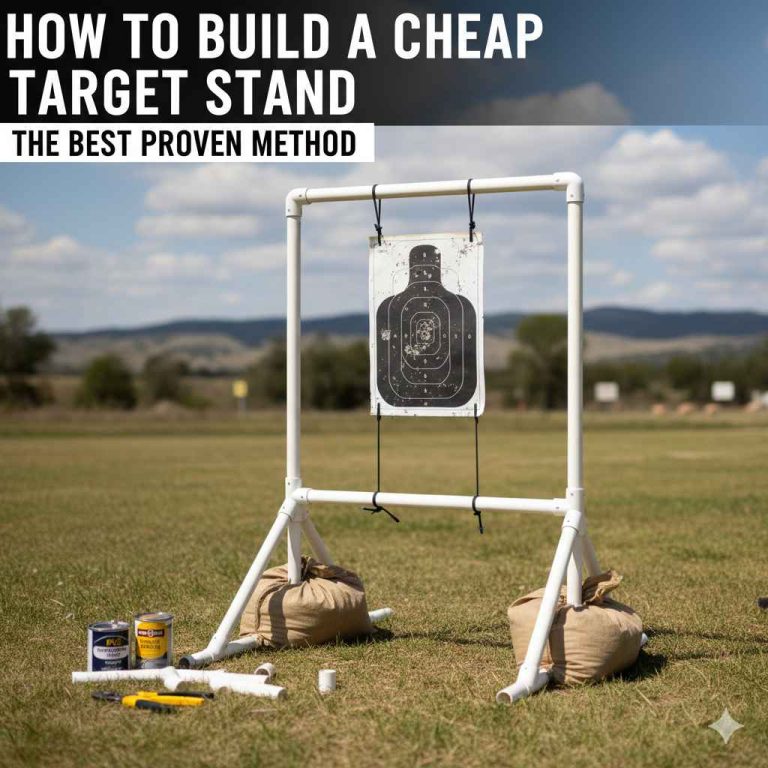
The weather is also a factor. Wind is the biggest enemy of a light target stand. You might need to add some weight to the base.
Heavy objects like rocks or sandbags placed on the lower braces can help. Rain can make the ground muddy and soft, affecting stability.
Private Land:
If you shoot on your own property, you have more control over the environment. You can ensure you have a safe backstop. You can clear the area for easy setup.
However, you are also responsible for ensuring safety for anyone nearby.
Indoor Ranges:
Most indoor ranges have their own target systems. They are usually automated. However, some may allow you to bring your own simple stand for specific types of targets, especially if it’s a very basic, non-intrusive setup.
Always check the range rules first.
Habits and User Behavior:
How you set up and use the stand matters. Don’t rush. Take a moment to ensure it’s stable.
When you’re done, pack it up carefully. Don’t leave it lying around. For PVC stands that aren’t glued, check that all the pieces are still fitted together tightly before you start shooting.
Consider the types of targets you shoot at. Are they standard paper bulls-eyes? Or larger reactive targets?
A stand designed for light paper might not hold up to multiple impacts from larger targets, even if they are self-healing.
Think about the range etiquette. If you’re at a shared range, set up your stand so it doesn’t obstruct others. Be mindful of where your spent casings are falling.
A good stand helps keep your area tidy and safe.
Practical Use Scenarios
Outdoor Range: Adapt to uneven ground, manage wind.
Private Land: Control environment, ensure safety.
Indoor Range: Check rules, use only if permitted.
User Habits: Set up carefully, inspect before use, pack away properly.
Understanding the environment and your own habits will help you choose the right design and use your stand safely and effectively.
What This Means for You: When It’s Normal and When to Worry
So, you’ve built a pistol shooting target stand. What should you expect? When should you feel good about its performance, and when should you be concerned?
When It’s Normal:
- Slight Wobble: A tiny bit of movement from a strong gust of wind is usually okay. Especially if the stand recovers its position.
- Minor Surface Marks: If the ground beneath the stand gets a bit compressed, that’s normal.
- Easy Setup/Takedown: If you can set it up and take it down quickly, that’s a sign of good design.
- Holding Targets Securely: As long as the target stays put, the stand is doing its job.
- No Major Damage After Use: After a shooting session, if your stand looks the same as it did when you started, that’s ideal.
When to Worry:
- Significant Tilting or Leaning: If the stand leans over or looks like it might fall, stop shooting.
- Cracking or Splintering: Any visible cracks in wood or breaks in PVC are a problem.
- Loose Connections: If parts start to feel loose or wobbly on their own, it needs repair.
- Target Falling Repeatedly: If your target keeps falling, your attachment method or the stand itself is failing.
- Damage from Stray Shots: If your stand is being hit by bullets, you need to re-evaluate your target placement or the stand’s position.
- Difficulty Setting Up: If parts are jamming or it takes excessive force to assemble, something might be wrong.
A well-built stand will give you years of reliable service. A poorly built one might cause frustration or even a safety incident. Pay attention to how your stand performs.
Make small adjustments or repairs as needed.
Performance Check: Normal vs. Concerning
Normal: Slight wind sway, ground marks, easy setup, secure target, no damage.
Concerning: Leaning stand, cracks, loose parts, falling targets, bullet impacts on stand.
Your stand is an extension of your shooting gear. Treat it with the same care you give your firearm.
Quick Fixes and Tips for Your Target Stand
Sometimes, your stand might need a little tweak. Here are some quick fixes and tips to keep your pistol shooting target stand in top shape.
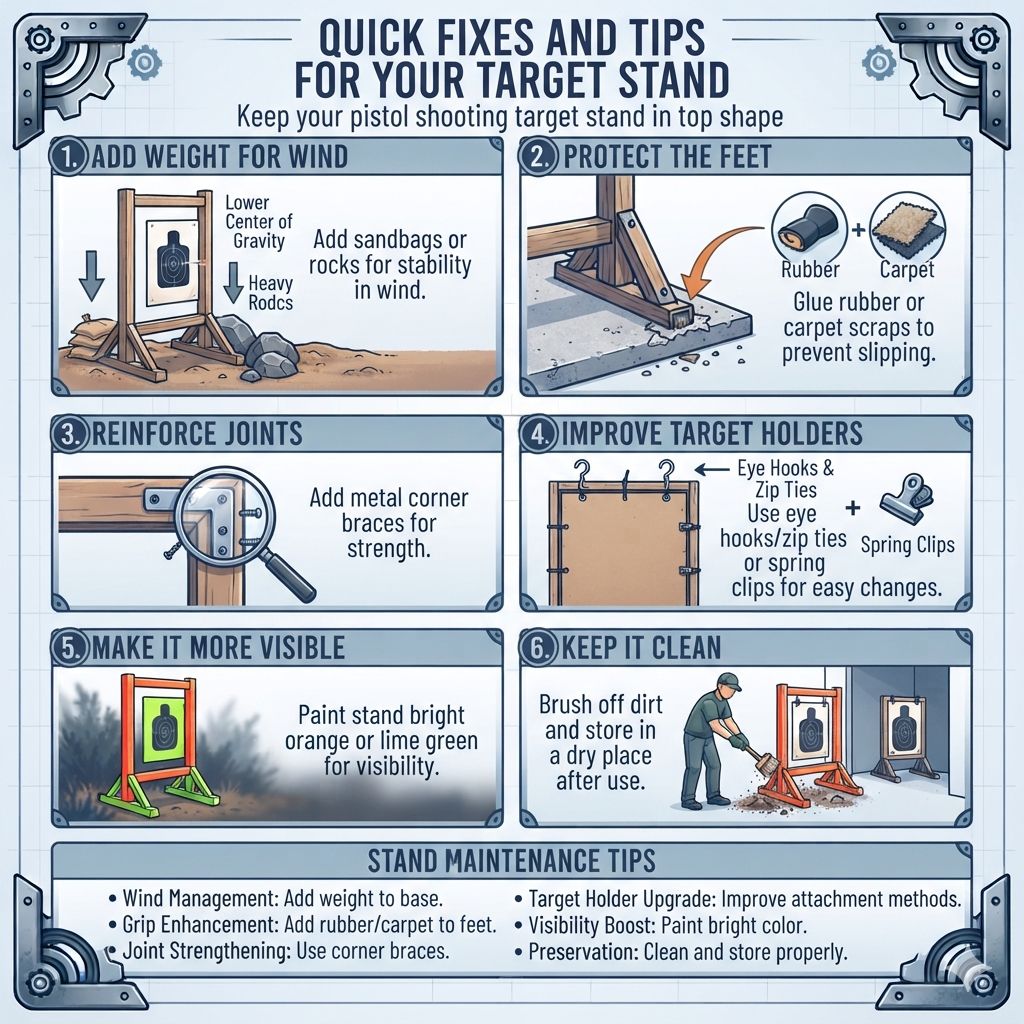
Tip 1: Add Weight for Wind.
If you often shoot in windy areas, add weight to the base. Use sandbags or place heavy rocks on the lower crossbars. This lowers the center of gravity and increases stability.
Tip 2: Protect the Feet.
On hard surfaces, the legs can slip. Glue small pieces of rubber or carpet scraps to the bottom of the legs. This adds grip and prevents sliding.
Tip 3: Reinforce Joints.
If you notice a joint becoming loose, add a metal corner brace or bracket. This is a simple fix that adds a lot of strength.
Tip 4: Improve Target Holders.
If your current method of holding targets is annoying, change it. Add eye hooks and use zip ties. Or get some spring clips for quick changes.
Tip 5: Make it More Visible.
Paint your stand a bright color like orange or lime green. This makes it easy to see, especially in low light or if it’s partially hidden in brush.
Tip 6: Keep it Clean.
Brush off dirt and debris after each use. Store it in a dry place. This extends its lifespan.
Stand Maintenance Tips
- Wind Management: Add weight to the base.
- Grip Enhancement: Add rubber or carpet to feet.
- Joint Strengthening: Use corner braces.
- Target Holder Upgrade: Improve attachment methods.
- Visibility Boost: Paint it a bright color.
- Preservation: Clean and store properly.
These small steps can make a big difference in how well your stand performs and how long it lasts.
Frequently Asked Questions About Pistol Target Stands
What is the best material for a DIY pistol target stand?
Wood is a very popular choice because it’s easy to work with and strong. PVC pipe is another great option. It’s lightweight, affordable, and weather-resistant.
For most simple designs, wood or PVC will work well. Choose based on your comfort with tools and your need for portability.
How tall should a pistol target stand be?
The ideal height depends on where you shoot and what you’re practicing. For general pistol practice, a stand that holds the target at eye level when you are in a standing or kneeling position is common. Around 3 to 5 feet tall is a good range.
Some designs allow for adjustable height.
Can I use a DIY target stand at an indoor range?
Most indoor ranges have their own target systems. They often do not allow outside equipment. You must always check the specific rules of the range before bringing any personal gear.
Some may permit very simple, non-intrusive stands, but many do not.
How do I make my wooden target stand last longer outdoors?
To protect wood from the elements, seal or paint it. Use an exterior-grade wood sealer or paint. This will shield the wood from moisture and UV rays.
Storing the stand indoors when not in use also helps preserve it.
My PVC stand is wobbly. What can I do?
If your PVC stand is not glued, the joints might be loose. Ensure all pipes are pushed fully into the connectors. If it’s still wobbly, consider adding more cross braces to the design.
Using larger diameter PVC pipe can also increase rigidity. Weighing down the base with sandbags is another good solution.
What kind of targets can I use with a DIY stand?
Most DIY stands are best suited for paper targets or cardboard backers. If you create a sturdier frame, you might be able to hang reactive targets, but always check the weight limits and ensure the stand is stable enough. Always be mindful of ricochets with any target type.
Conclusion
Building your own pistol shooting target stand is a rewarding project. It saves money and gives you a custom piece of gear. With simple materials and a good plan, you can create a stable, durable stand.
Focus on the basics of stability and secure target attachment. Enjoy your practice sessions with a reliable setup you built yourself!