How to Learn Proper Anchor Point Consistency for Better Groups
Build anchor consistency by returning to the same hand, face, string, and peep contact points on every shot. If groups move with no change in aim, check anchor before changing sight or arrows. Loose anchors spread groups, hide draw-length errors, and make good releases look bad. This guide shows how to isolate each variable, confirm a repeatable anchor, and separate anchor faults from draw-length and release problems.
This guide is part of our Archery basics: beginner guide to bows and shooting series.
What you’ll need


- The bow set up for full-draw checks.
- A mirror or phone camera for side-view reference.
- One release aid or finger tab, not several at once.
- A target face and a simple shot log.
- Access to the bow at full draw without shooting.
- If you shoot compound, a peep sight and any kisser or nose button already installed.
How do you find a repeatable anchor point in archery?
Pick one face reference, one hand reference, and one string contact, then return to all three at full draw. A good anchor is repeatable by touch, not by guesswork. For many archers, that means a bone landmark on the face, light string contact, and the same hand position every shot.
Step 1: Pick one face reference and keep it fixed
Choose a landmark that does not move with expression: jawbone, corner of mouth, under-jaw line, cheekbone, or nose contact. Do not chase the string with your head. Anchor point is the spot where the string and release hand settle every time you draw, and that spot should be the same under pressure and at rest.
Step 2: Set the drawing hand to a bone landmark
Use bone-to-bone contact when possible. A jawbone or jaw anchor reference gives you a repeatable stop, especially for compound bows and recurve setups that allow a solid facial landmark. For compounds, a wrist-release anchor often uses the index-finger knuckle at the jaw corner. Handheld releases often place the back of the index and middle fingers around the jaw.
Step 3: Confirm the string touches the same place every shot
Check string-to-face contact after the bow reaches full draw. Barebow archers often use the corner of the mouth as the anchor. Olympic recurve archers commonly use the hand under the jaw with string contact on the nose. Compound archers often add a light nose touch and peep alignment.
How do compound and recurve anchors differ?
Compound and recurve anchors differ because the release hand, string path, and sighting system differ. Compound anchor work centers on jawbone reference, nose contact, and peep alignment. Recurve anchor work centers on the bow hand staying stable while the drawing hand finds the same face reference, often with a tab under the jaw or at the corner of the mouth.
Compound bow anchor: jawbone, nose, and peep
For compound bow anchor work, use the jawbone as the main stop, add light nose contact, and align the peep without craning the neck. A typical compound anchor includes string touching the tip of the nose. The peep sight should line up horizontally and vertically while the head stays still. If the peep only aligns when the head moves, the setup needs attention.
Recurve anchor: corner of mouth or under jaw
For recurve anchor work, the corner of the mouth can suit barebow archers, while Olympic recurve often uses the under-jaw option with nose contact. A common recurve draw reference is the corner of the mouth, side of the chin, or under the cheekbone. The right choice is the one the archer can repeat without changing head tilt.
How release type changes hand position and draw length
A wrist-strap index release changes where the hand stops because the trigger sits farther from the face than a finger tab. Thumb button release and back-tension release also change the hand shape and how the anchor feels. That can shift draw length too. Switchers should recheck anchor after any release change, because the same facial landmark may no longer line up.
How do you keep your peep sight aligned every shot?
Keep peep alignment by setting the anchor first, then let the sight picture come to you. The peep is a compound-specific horizontal and vertical reference. If you must lift the chin, stretch the neck, or roll the head to see through it, the anchor is not settled correctly or the draw length is off.
Step 4: Come to full draw before checking the anchor
At full draw, settle the drawing hand to the face before judging the sight picture. Do not half-draw and then guess where the anchor should be. A full-draw check reveals whether the bow reaches the same stop every time. If the hand lands short or feels crowded, the draw length may be too short; if it feels stretched, it may be too long.
Step 5: Set peep, nose, and jaw contact without moving the head
Hold the head in a neutral position and let the string come to the face. The peep should appear centered without neck strain. The nose touch should be light. Nose button or kisser button contact is for confirmation, not pressure. Forced contact is often a setup problem, not a form goal.
Step 6: Let the sight settle only after anchor is fixed
Once the anchor is fixed, let the pin or gap settle. If you aim first and anchor second, you are asking the face to move around the sight picture. That creates left-right and vertical drift that looks like poor aiming but often starts with inconsistent contact points.
Anchor diagnostic checklist
Use this checklist shot by shot. Start with the symptom, then check the exact reference before changing anything else. The goal is to separate hand placement, face contact, peep alignment, and draw length so the next correction targets the real cause.
| Symptom | Likely cause | Exact reference to check | Quick correction | Bow type |
|---|---|---|---|---|
| Groups open horizontally | Anchor shifts left or right between shots | Jawbone or mouth-corner contact, plus string alignment on the face | Mark one facial landmark and return to it before aiming | Both |
| Groups open vertically | Draw length or nose contact varies | Full-draw stop, nose button, kisser button, peep level | Recheck full-draw position and lighten facial pressure | Both |
| Peep is high or low shot to shot | Head movement or inconsistent anchor height | Chin angle, jawbone stop, string-to-nose contact | Keep the head neutral and raise or lower the anchor stop only | Compound |
| String touches a different face spot each arrow | Hand rolls or release grip changes | Index-knuckle, finger-tab position, jaw corner | Reset hand pressure and find the same bone landmark | Both |
| Good aim, bad groups | Anchor and draw length are not matching the sight picture | Full-draw anchor, peep, and nose contact at the same instant | Stop shooting and check setup before changing sight marks | Both |
| Miss pattern | Anchor-related cause |
|---|---|
| High | Nose contact too hard, anchor too low, or draw length too long |
| Low | Anchor too high, head dropped, or draw length too short |
| Left | Hand rotated, jaw contact moved inward, or peep not centered for a right-handed shooter |
| Right | Hand rotated the other way, face contact slipped, or draw length forced the head forward |
Say your compound groups move about 8 to 10 inches left and right at 20 yards even though the sight pin looks steady. Check whether the index-finger knuckle is landing on the same jaw corner and whether the peep appears centered without head movement. If the peep only lines up after the chin reaches forward, the draw length is suspect.
How do you know draw length or release setup is the real issue?
Draw length becomes the likely cause when the anchor only feels correct after the head moves, the nose contact is forced, or the peep alignment changes with a small posture change. Release changes can create the same symptom because they alter hand position and where the hand stops on the face. Check setup before blaming anchor discipline.
Signs the bow is too long or too short
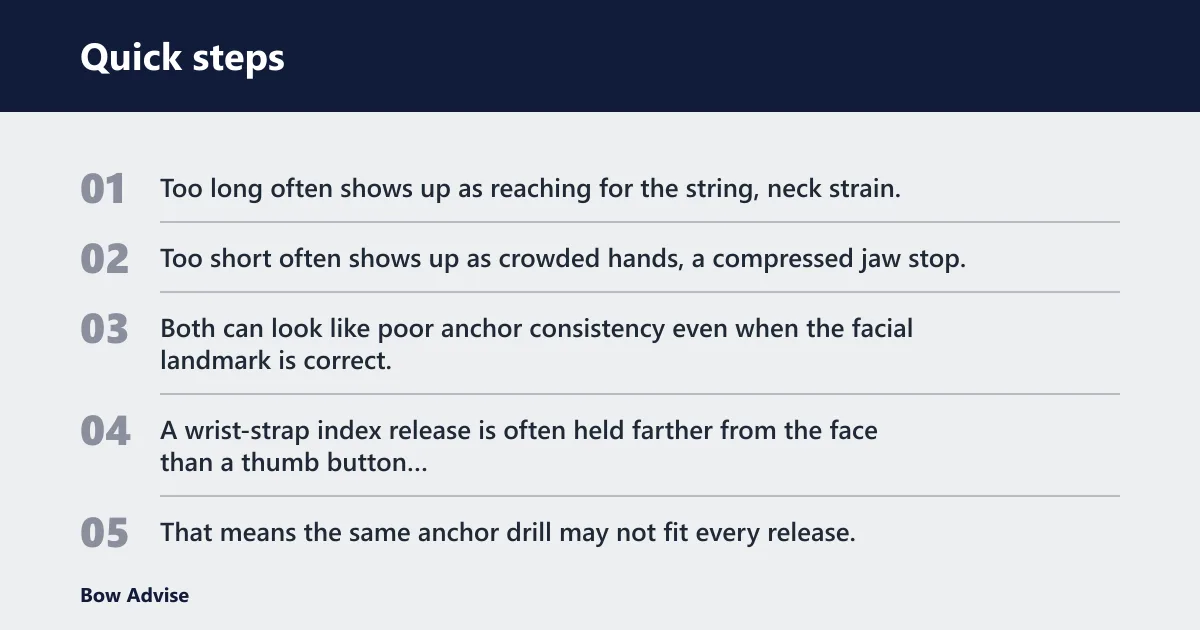
Too long often shows up as reaching for the string, neck strain, and nose pressure that feels forced. Too short often shows up as crowded hands, a compressed jaw stop, and peep alignment that sits off unless the archer tucks hard. Both can look like poor anchor consistency even when the facial landmark is correct.
Release aid changes that alter anchor points
A wrist-strap index release is often held farther from the face than a thumb button release, and a back-tension release can change the wrist angle again. That means the same anchor drill may not fit every release. If the archer switches release types, the jaw reference, hand rotation, and string-to-face contact should all be checked again.
When forced nose contact means the setup needs adjustment
Light nose contact is enough when the string finds the nose without pushing the head forward. Forced contact is a warning sign. If the nose button or string only touches after the neck reaches, the draw length or anchor geometry needs adjustment.
A common first-timer mistake is trying to fix a high group by pressing harder into the nose button. That can move the whole anchor lower, alter peep height, and make the next shot worse. Instead, keep the contact light and correct the stop point or draw length before shooting another group.
Common mistakes
Most anchor problems come from changing one part while leaving the others unchecked. The face, hand, and string should agree. If they do not, the fix is usually in the setup or the reference choice, not in trying to “hold more still.”
- Do not move the head to meet the string. Keep the head neutral and let the string find the face.
- Do not press hard on the nose or jaw. Light, repeatable contact is the goal.
- Do not mix anchor landmarks between bows. A hunting compound, Olympic recurve, and barebow often use different stops.
- Do not change release type without rechecking draw length and anchor height.
- Do not change sight marks before checking contact points at full draw.
Suppose a recurve archer moves from the corner of the mouth to under the jaw for one practice session and back again the next day. The arrows may stay in the same general area, but the group will usually grow because the string-to-face reference changed. Pick one reference and keep it fixed until it becomes automatic.
Prevention is simple: mark the reference, then rehearse the same full-draw check every session before scoring arrows.
Frequently asked questions
How do I find a consistent anchor point in archery?
Start with a single bone landmark and a single string contact. For many shooters that means jawbone, mouth corner, or under-jaw contact, plus the same hand shape every shot. Check it at full draw before aiming, and do not change the face position to fit the string.
What are the best anchor points for compound bows?
Common compound points are the jawbone, nose, and peep alignment. A wrist-release anchor often uses the index-finger knuckle at the jaw corner, while handheld releases may place the back of the index and middle fingers around the jaw. The best point is the one that repeats without neck movement.
Where should the string touch my face when I anchor?
For compound, light nose contact is common, and some archers add a kisser or nose button as a check. For recurve, the string often lands at the corner of the mouth or under the jaw, depending on style. The contact should be light and repeatable, not forced into the face.
Should I anchor at the corner of my mouth or under my jaw?
Use the reference that matches your bow style and stays fixed under full draw. Barebow archers often use the corner of the mouth. Olympic recurve archers usually favor the under-jaw position with nose contact. If the anchor changes with posture, choose the spot that stays stable under the eyes and jaw.
How do I keep my peep sight aligned every shot?
Set the jaw and nose reference first, then check the peep without moving the head. If the peep is only centered when the chin lifts or neck twists, the anchor or draw length needs correction. A clean peep picture should appear as the anchor settles, not after a head search.
How much nose contact should I use at anchor?
Use light contact only. The nose should confirm the anchor, not carry force. If the string presses hard into the nose, the setup may be too short, the anchor may be too low, or the head may be reaching forward. Recheck at full draw before changing anything else.
How do I know if my draw length is causing anchor inconsistency?
If the same anchor only works after the chin reaches, the peep sits off-center, or the nose touch feels forced, draw length is a likely cause. Recheck at full draw with the same release aid and no head movement. A setup problem often shows up as anchor trouble first.