How to Measure Arrow Spine at Home
Measure arrow spine at home by supporting the shaft on two points 28 inches apart, hanging a 1.94-pound weight at the center, and reading the deflection in thousandths of an inch; lower deflection means stiffer spine. This follows the AMO standard method. If you guess wrong, arrows can fly erratically, tune poorly, and cost money in pointless shaft changes. This guide gives the tools, the step-by-step method, and the tuning checks that help confirm the result before you buy arrows.
Arrow spine basics
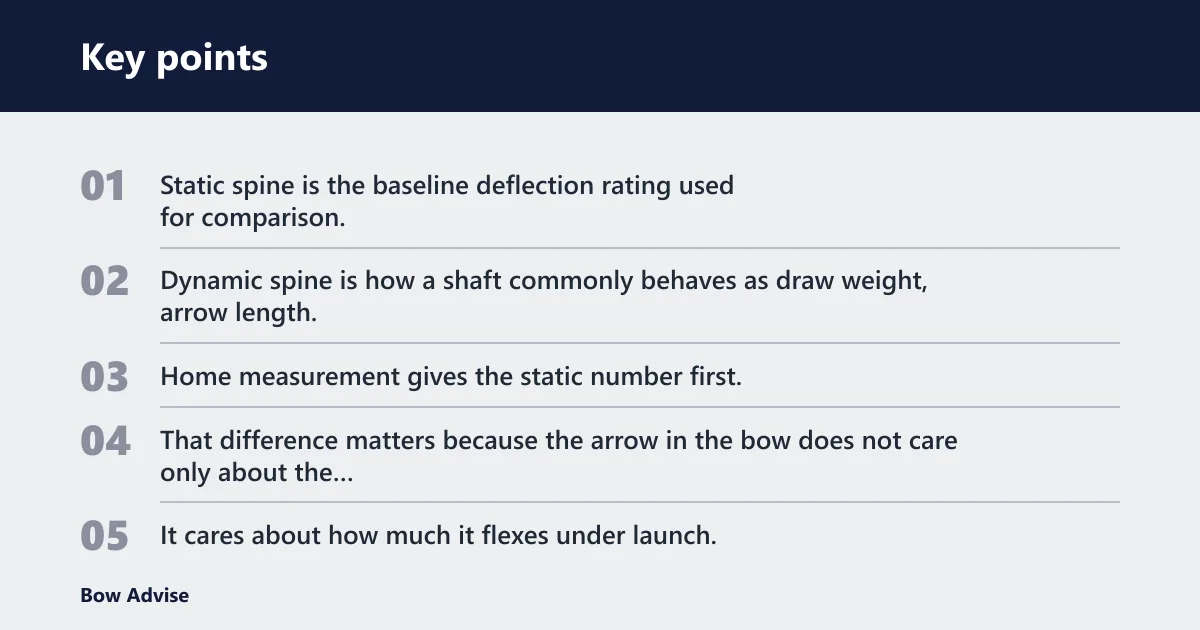


Arrow spine is arrow stiffness. Static spine is the baseline deflection rating used for comparison. Dynamic spine is how a shaft commonly behaves as draw weight, arrow length, point weight, nock fit, and cam behavior change. Home measurement gives the static number first, then you judge whether that number fits the bow setup.
That difference matters because the arrow in the bow does not care only about the lab-style rating. It cares about how much it flexes under launch. A shaft can measure one spine on the bench and act weaker or stiffer once it is cut, fletched, and shot.
Static spine and what the number means
Static spine comes from a deflection test. The shaft is supported at a fixed span, loaded at the midpoint, and the amount of bend is measured. A larger deflection number means a weaker shaft. A smaller number means a stiffer shaft.
Most manufacturers use the same idea even when their charts are printed in different formats. Some label the number as deflection in thousandths of an inch. Others group shafts by spine class. Either way, the home reading is only useful if the setup matches a known span and load.
Dynamic spine and why setup changes it
Dynamic spine changes once the arrow is shot. Longer arrows flex more and behave weaker. Heavier points also weaken dynamic spine. Higher bow draw weight asks for more stiffness, especially on recurve bows and many compound setups with heavier peak weight or aggressive cam timing.
That is why a home number alone does not finish the job. It tells you where the shaft starts. It does not tell you whether the finished arrow will clear the rest cleanly, recover fast enough, or hold broadhead flight at your actual tune.
Why home measurement starts with the shaft, not the bow
Start with the shaft because the shaft is the part you can measure repeatably at home. Measure the shaft at the finished length you plan to use, or note the uncut shaft length if that is what you are comparing before final setup. If you cut first and only then try to back into the original stiffness, the reading becomes less useful for matching a chart.
Use a straight shaft, a level support span, and the same load every time. Carbon, aluminum, and aluminum-carbon shafts do not all behave the same when damaged or out of straightness, so the material matters for confidence in the reading.
What tools do I need to check arrow spine myself?
You need a flat, level support setup, a known test weight, and a ruler or dial indicator that can read small deflection changes consistently. A recording sheet helps more than people expect, because inconsistent notes create bad buying decisions later.
Low-cost tools can work if they are consistent. Very cheap tools often fail in repeatability, not in theory. The goal is not laboratory perfection. The goal is a measurement that is stable enough to compare against a manufacturer spine chart without chasing noise.
Tool list and setup notes
- Two level supports, blocks, or a simple bench setup
- Ruler or dial indicator with fine resolution
- Known test weight of 1.94 pounds, or 880 grams
- Recording sheet or notebook
- Marker or tape for midpoint marking
- Flat surface long enough for the shaft span
A dial indicator gives easier repeatability if it is mounted square to the shaft. A ruler can work if the eye line stays level and the measurement point is clear. The key is to measure the same way each time, not to swap methods between readings.
Arrow spine worksheet
Use this worksheet as a home log before you buy arrows. It keeps the setup, the load, the reading, and the chart match in one place. That makes it easier to spot a bent shaft, uneven support span, or a reading that does not fit the expected result.
| Field | What to record | Troubleshooting check |
|---|---|---|
| Arrow shaft | Material, brand, model, finished length or uncut length | Replace if visibly bent, cracked, or dented |
| Support span | 28 inches, measured support-to-support | Recheck level and spacing before every test |
| Test weight | 1.94 pounds at midpoint | Confirm the load hangs at the true center |
| Deflection reading | Measured bend in inches or thousandths of an inch | Repeat if the number changes by more than a small amount |
| Chart match | Closest manufacturer spine class or deflection band | Flag any mismatch with arrow length or point weight |
Setup sketch in words: two level blocks on a flat bench, shaft resting across both blocks, midpoint marked at the center, weight hanging straight down from that center mark, ruler or dial indicator measuring the sag at the midpoint.
- Write down the shaft model and measured length.
- Check the shaft for bends, nicks, and cracked ends.
- Place the supports 28 inches apart and level them.
- Center the shaft on the supports.
- Mark the midpoint and hang the known weight there.
- Measure the midpoint deflection.
- Repeat the reading two more times and compare results.
- Match the average reading to a spine chart.
How do you set up the test?
Set the support span at 28 inches and keep both supports level. Place the arrow straight across them, centered on the span, then inspect the shaft before loading it. The setup should not shift between readings, or the result will drift.
Support height matters less than consistency, but the supports must not tilt the shaft or pinch it. A short level check before each run saves time later. If one support sits higher, the shaft bends in a way that no spine chart expects.
Set the support span and level the supports
Measure 28 inches from support center to support center. That span is the common reference used in many home checks. If the span changes, the reading changes too, so do not guess the distance.
Picture a 30-inch hunting shaft sitting on two blocks. If one block is 1/8 inch higher, the shaft already starts from a crooked line. The deflection reading will no longer reflect only the shaft stiffness.
Place the shaft straight and centered
Set the arrow with its midpoint directly above the midpoint of the span. The weight must hang from the center, not a little left or right. Off-center loading changes the bend profile and can make the arrow look weaker or stiffer than it is.
Say your shaft is 31 inches long and you mark the center incorrectly by half an inch. The load now sits off-center. The measured sag can shift enough to send you to the wrong spine class.
Check for bends before you load the shaft
Inspect the shaft along its length and roll it gently if the material allows. A bent shaft will not give a clean spine reading. Damaged sections near the ends matter too, because a dent or crack can change how the shaft flexes under load.
Carbon shafts deserve extra care here. A shaft can look fine and still be out of straightness enough to spoil confidence in the reading. Aluminum can show dents more visibly, while aluminum-carbon shafts can hide damage at the wrap or sleeve area.
How do you measure deflection?
Hang the known test weight at the exact midpoint, let the shaft settle, and measure the vertical deflection from the original straight line. Use a ruler or dial indicator the same way each time. The best reading is the one you can repeat, not the one that looks most precise once.
A common first-timer mistake is reading the shaft while it is still moving. Wait for the sag to settle. Then record the number. If the shaft bounces or twists, the result is not ready.
Apply the test weight at midpoint
The standard home setup uses 1.94 pounds, which is 880 grams. That load sits at the center of the span. It should hang straight down, not swing to one side or drag across the shaft.
If the weight touches the bench or support, stop and reset the test. The shaft must carry the full load alone. Any contact elsewhere changes the reading and can make a stiff shaft appear weaker.
Take the reading with a ruler or dial indicator
Read the distance the midpoint drops from the unloaded position. If you use a ruler, keep your eye level with the mark. If you use a dial indicator, place the tip squarely on the shaft and zero it before loading.
Write the result in the same unit every time. Many archers record in inches and then convert to thousandths later. Others write the deflection directly in thousandths. Either way is fine if you stay consistent.
Record the number the same way each time
Take at least three readings. If they are close, average them. If one is far off, check the support span, the midpoint mark, and the load placement before trusting the result.
Recording tip: note the shaft model, length, support span, load, reading method, and any visible damage. That short log makes chart matching far easier when the number lands near a boundary between two spine classes.
How do you read the result?
Match the measured deflection to a spine chart from the shaft maker. Then compare that result with the arrow length, point weight, and bow draw weight you plan to use. If the reading does not fit the chart, treat the setup as suspect before you buy arrows.
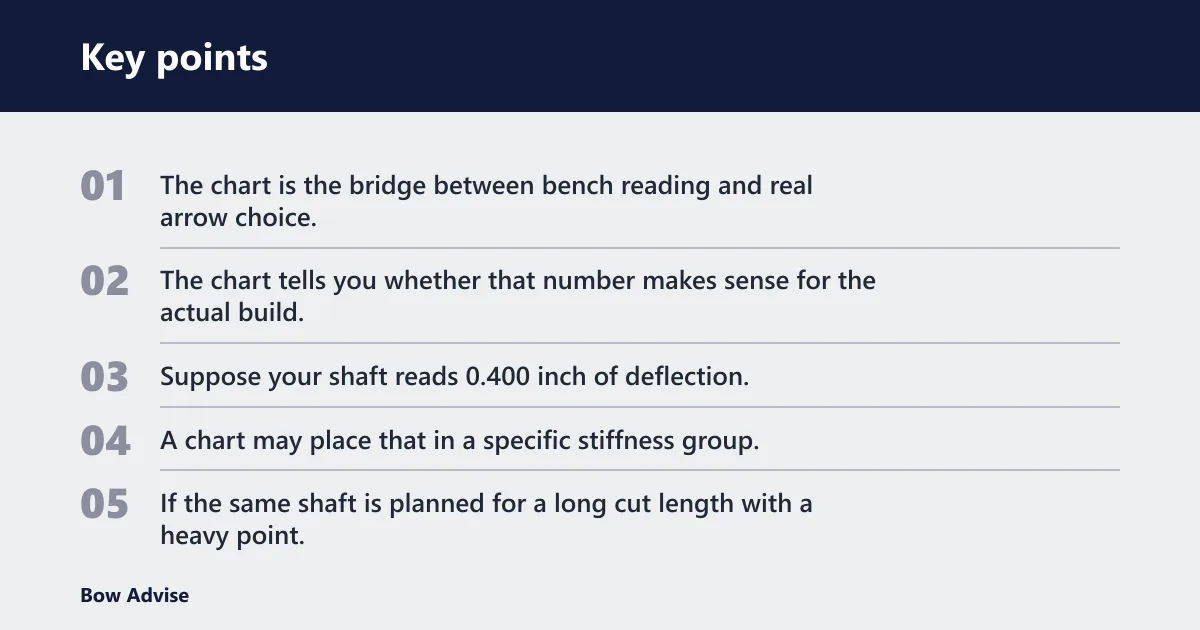
The chart is the bridge between bench reading and real arrow choice. Home measurement gives the number. The chart tells you whether that number makes sense for the actual build.
Match the deflection number to a spine chart
Suppose your shaft reads 0.400 inch of deflection. A chart may place that in a specific stiffness group. If the same shaft is planned for a long cut length with a heavy point, the practical choice may move to a stiffer option even though the static reading looks acceptable.
| Measured deflection | Static spine meaning | Practical note |
|---|---|---|
| Lower number | Stiffer shaft | Often better for higher draw weight or heavier points |
| Higher number | Weaker shaft | Often easier to tune with lower draw weight or shorter length |
Convert the reading into a practical arrow choice
Use the chart, then adjust for the finished build. A shaft cut longer behaves weaker. A heavier point also weakens dynamic spine. For recurve bows, that adjustment often matters sooner because the system can be less forgiving of bad matchups.
For compound bows, cam behavior and arrow speed can change how the shaft reacts at launch. The bench number still matters, but it does not replace tune checks with the actual bow.
Spot when the reading does not fit
If the number is far from the chart expectation, check the setup first. Uneven supports, off-center loading, or a bent shaft can all create a wrong result. Do not buy arrows from a bad reading and hope the bow will fix it later.
When the reading is close but not exact, use the finished length and point weight to judge the direction of the change. Longer arrow plus heavier point usually pushes the setup weaker. Shorter arrow plus lighter point usually pushes it stiffer.
What changes spine in real use?
Arrow length, point weight, and bow draw weight all change spine in real use. Static spine stays the same on the bench, but dynamic spine shifts with the actual bow setup. That is the part that matters for flight and broadhead stability.
A home test is still useful because it gives a clean baseline. It is not the final answer for tuning. It is the starting point for a better arrow choice.
Arrow length and why longer shafts behave weaker
Longer arrows flex more under launch. That means a shaft measured at full length may tune differently after it is cut to finished length. Keep that in mind before buying a full dozen based only on the bench number.
If the shaft must stay long for safety or for a planned cut later, record that length exactly. The chart match should use the same length that the arrow will have in service.
Point weight and how heavier points change behavior
Heavier points weaken dynamic spine. A 100-grain point and a 125-grain point are not a small difference when the shaft is near the edge of a chart band. That extra mass changes how much the shaft flexes as it leaves the bow.
If a measured spine looks correct but broadheads steer left or right, point weight is one of the first tuning variables to check. It often changes the result more than new fletching does.
Bow draw weight and why recurve and compound setups differ
Higher draw weight usually calls for stiffer arrows. Recurve bows often need especially careful spine matching because they can react strongly to small changes in draw weight, point weight, and arrow length. Compound bows still need proper spine, but cam and rest setup add another layer.
That is why a shaft that measures “close enough” on paper may still tune poorly if the bow is set heavier than expected. Compare the home reading against the actual draw weight, not the label on the limbs or cam module alone.
Common mistakes and fixes
Most bad home spine tests come from a small set of errors: bent shafts, uneven supports, off-center loading, and inconsistent readings. Fix those first. If the setup is wrong, the number is not worth using.
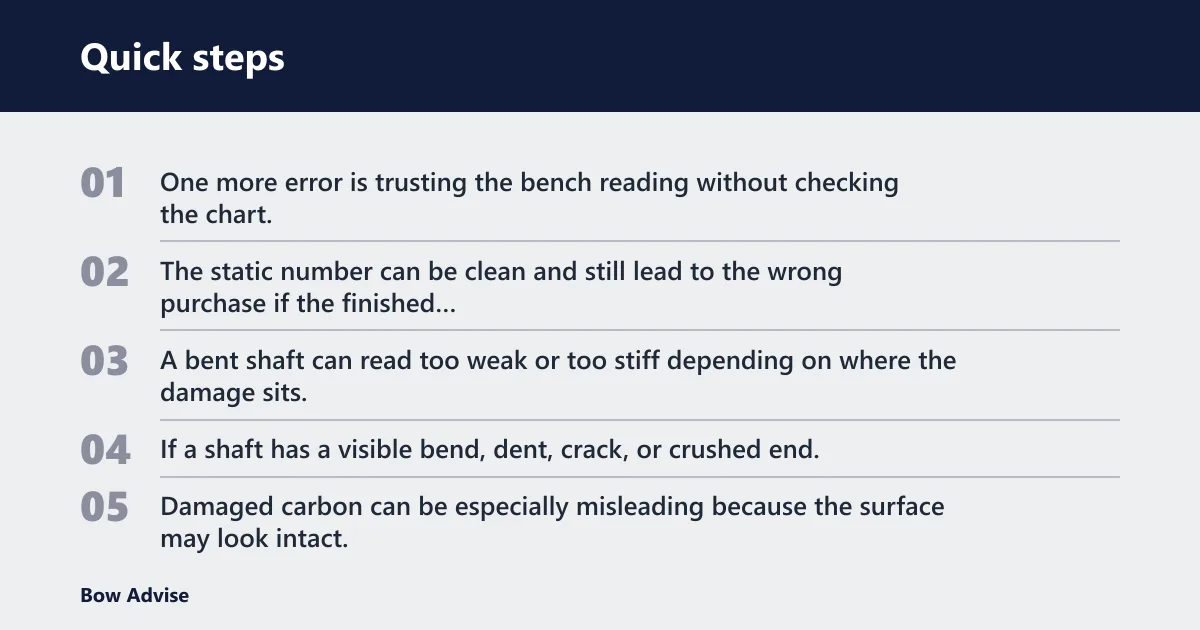
One more error is trusting the bench reading without checking the chart. The static number can be clean and still lead to the wrong purchase if the finished arrow and bow setup do not match it.
Bent shafts and damaged arrow sections
A bent shaft can read too weak or too stiff depending on where the damage sits. Inspect the full length before testing. If a shaft has a visible bend, dent, crack, or crushed end, do not use it as a reference for buying arrows.
Damaged carbon can be especially misleading because the surface may look intact. If a shaft has taken a hit, retire it from spine testing until it is clearly safe and straight.
Off-center loading and uneven support span
If the load is not centered, the shaft flexes unevenly. If the supports are not level or not spaced correctly, the reading shifts again. These are setup problems, not arrow problems, and they must be fixed before the result means anything.
Check the span every time you set up. A small spacing error, even about 1/8 inch, can send a borderline shaft into the wrong spine class on the chart.
Inconsistent readings and what to check first
If the readings move around, start with the support span, then the midpoint mark, then the test weight. Next check whether the shaft is straight and whether the measuring tool is held in the same position each time.
A good rule is simple: if three readings do not agree closely, the setup needs work before any purchase decision. Do not average bad numbers just because they are written down.
Picture a beginner trying a 29-inch shaft on a kitchen table with one block higher than the other. The first reading says one thing, the second says another, and the third splits the difference. The problem is not the arrow. The setup is unstable.
Frequently asked questions
How do I measure arrow spine at home?
Support the shaft on two level points 28 inches apart, place a 1.94-pound weight at the center, and measure the midpoint deflection with a ruler or dial indicator. Repeat the reading several times, then compare the average to a manufacturer spine chart before ordering arrows.
How far apart should the arrow supports be for a spine test?
A common home spine setup uses a 28-inch support span measured support-to-support. Keep that distance the same for every reading. If the span changes, the deflection number changes too, and the result will not line up cleanly with the chart.
How much weight should I hang on the arrow for a spine test?
Use 1.94 pounds, or 880 grams, at the midpoint for the common home deflection method. The weight should hang straight down and stay centered. If it touches anything else or swings off line, reset the test before reading the number.
How do I read the deflection number from a spine test?
Measure how far the midpoint drops under load, then record that sag in inches or thousandths of an inch. Lower deflection means stiffer spine. Match the final number to a spine chart, then check whether arrow length, point weight, and draw weight still fit that choice.
What is the difference between static spine and dynamic spine?
Static spine is the baseline stiffness number from the bench test. Dynamic spine is how the arrow behaves when shot from the bow. Dynamic behavior changes with draw weight, arrow length, point weight, and bow setup, so the static number is only the starting point.
Can I measure carbon arrow spine at home accurately?
Yes, but only if the shaft is straight and the setup is consistent. Carbon can be accurate to measure at home when the supports are level, the load is centered, and the reading tool is repeatable. Bent or damaged shafts can make the result unreliable.