What Arrow Setup Works Best for Beginners Learning Form
For beginners, a common starting setup is a shaft about 1–2 inches longer than draw length, with spine matched to the bow chart and a roughly 100–125 grain point, so the arrow is forgiving and easier to tune. Too-short or badly spined arrows make form errors louder, can cause poor clearance, and may leave a new shooter fighting the equipment instead of the shot. This guide covers length, spine, point weight, and setup checks for recurve and compound beginners.


Must-have arrow setup
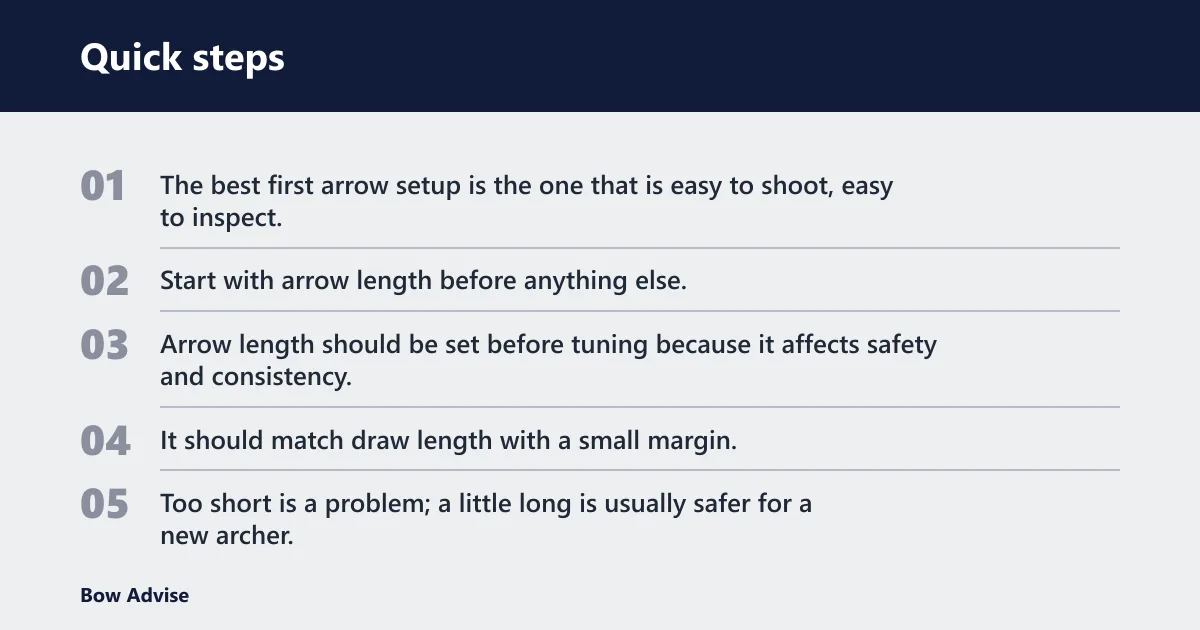
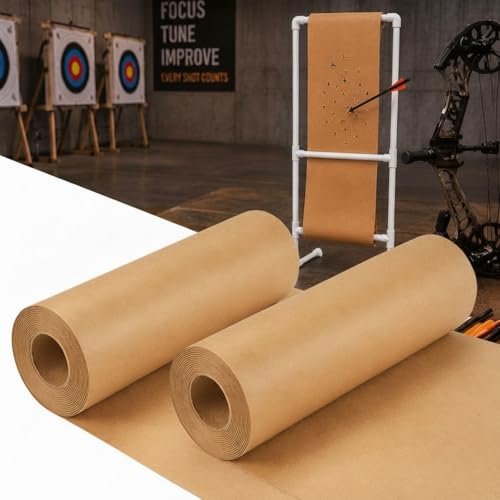
The best first arrow setup is the one that is easy to shoot, easy to inspect, and hard to outgrow in the first few sessions. Start with arrow length before anything else, then choose a spine that roughly fits the bow, then keep the point weight sensible so the arrow gives clear feedback without becoming hard to shoot.
Arrow length first
Arrow length should be set before tuning because it affects safety and consistency. It should match draw length with a small margin, and a calculator or step-by-step measuring guide is a practical way to get the starting number. Too short is a problem; a little long is usually safer for a new archer.
That extra margin helps with clearance at the rest and at the bow hand. It also gives a growing archer room if draw length is still changing. If the shaft is cut too short, the setup can hide the real issue and make a decent release look worse than it is.
Spine that roughly matches draw weight
Arrow spine is the stiffness rating, and it should roughly match draw weight so the shaft does not fight beginner form. A guide for new archers says beginners do not need to obsess over spine yet, but they do need arrows matched roughly to draw weight and kept consistent in type and length.
For recurve bows, too-stiff arrows often leave the shot feeling harsh and can hide a clean release. For compounds, the wrong spine can make tuning frustrating and can also bury form errors inside noisy arrow flight. The goal is not perfect match on day one; it is a usable match that flies cleanly enough to teach the shot.
Light point weight for clean feedback
A point weight in the 100–125 grain range is a sensible starting point for many beginner arrows because it keeps the setup predictable. Heavier points can make the shaft act softer, while lighter points can make the setup feel more abrupt. Either way, point weight changes how the arrow reacts to mistakes.
That matters because beginners need feedback. A setup that is too forgiving can hide a collapsing bow arm or a pluck at release. A setup that is too unforgiving can punish normal learning errors and make the bow feel harder than it needs to be.
What arrow setup works best for beginners learning archery form?

The simplest form-learning setup is a long-enough arrow, a roughly matched spine, and a moderate point weight that keeps the bow easy to shoot. That combination makes errors visible without making the arrow so harsh that every shot feels different. It is a teaching tool, not a final performance build.
The simplest form-learning recipe
Start with the safest practical length, then pick spine from the bow chart, then use a standard field point or practice point weight rather than chasing speed. For many beginners, that means one consistent arrow model, one point weight, and no early experiments with unusual shaft lengths or mixed components.
This keeps the setup repeatable. Repeatable equipment makes it easier to spot whether a bad group comes from body position, release, or anchor point. Competitors often talk about bow packages first, but the arrow is what tells the truth about the shot.
What each part of the setup reveals
A long enough arrow reveals clearance and anchor issues without becoming dangerous. A roughly matched spine reveals release quality and bow hand interference. A sensible point weight reveals whether the archer is collapsing, plucking, or torquing the string instead of letting the shot go cleanly.
Say your draw length is still changing on a youth recurve, and the shafts are cut very close to current draw length. As the archer grows, the same arrows can become too short and start hiding real form issues behind clearance problems. Leaving room in length avoids that trap.
Common signs the setup is too aggressive
Too aggressive usually means too short, too stiff, or too heavy in the wrong combination. The shot may feel loud, the arrow may kick oddly, and the archer may start changing posture to make the bow feel easier. That is a sign the equipment is driving the form.
A common first-timer mistake is buying arrows that look “advanced” because they are thin or expensive, then discovering that the bow feels harder to hold steady. For a beginner, the better arrow is the one that keeps the shot calm and repeatable.
Arrow setup matrix
This matrix gives a practical starting point by bow type and draw-weight band. It is not a universal final setup. Use it as a first pass, then confirm the exact shaft length and spine with the bow chart or a pro shop before cutting anything.
| Bow type | Draw-weight band | Starting arrow length | Rough spine range | Point-weight range | What it reveals or masks |
|---|---|---|---|---|---|
| Recurve | 15-20 lb | 1-2 inches longer than draw length | 500-700 | 100-125 grain | Reveals collapsing bow shoulder; can mask a slight pluck if the shaft is very soft |
| Recurve | 20-30 lb | 1-2 inches longer than draw length | 400-600 | 100-125 grain | Reveals release errors and poor clearance; too-stiff arrows can hide clean form |
| Recurve | 30-40 lb | 1-2 inches longer than draw length | 340-500 | 100-125 grain | Reveals bow-hand torque and rushed release; heavy arrows can blur the feedback |
| Compound | 15-20 lb | 1-2 inches longer than draw length | 500-700 | 100-125 grain | Reveals anchor drift; very stiff arrows can make tuning look worse than form |
| Compound | 20-30 lb | 1-2 inches longer than draw length | 400-600 | 100-125 grain | Reveals release problems and nock travel issues; too soft can hide poor consistency |
| Compound | 30-40 lb | 1-2 inches longer than draw length | 340-500 | 100-125 grain | Reveals creeping and torque; very short arrows make tuning and safety worse |
| Youth or growing archer | 15-20 lb | Extra length beyond current draw | 500-700 | 100 grain to 125 grain | Masks growth changes less than a cut-to-fit shaft; keeps safety margin while draw length changes |
| Youth or growing archer | 20-30 lb | Extra length beyond current draw | 400-600 | 100-125 grain | Reveals posture changes as strength grows; safer than cutting too short too early |
| Youth or growing archer | 30 pounds | Extra length beyond current draw | 340-500 | 100-125 grain | Reveals draw-length changes quickly; can become too short if the archer is still growing |
For recurve beginners, the lightest band is the easiest place to learn posture and release. For compound beginners, a stable arrow that matches the bow chart matters more than chasing a fast setup. Both groups benefit from keeping the same shaft length across all practice arrows.
Should beginners start with longer arrows or shorter arrows?
Beginners should generally start with longer arrows rather than shorter ones. A little extra length improves safety, gives more clearance near the rest and riser, and leaves room for draw-length changes. Short arrows can create both safety problems and confusing feedback before the archer has stable form.
Why extra length helps safety and clearance
Longer arrows are easier to manage at full draw and less likely to come up short on a growing archer. They also give a safer margin if the archer anchors slightly farther back than expected. That extra room matters more than a small weight or speed gain early on.
Arrow length should be chosen before accuracy work because it affects consistency. A shaft that is too short can change how the bow clears at the clicker, rest, or bow hand, and that can turn a normal shot into a noisy one.
How length affects draw consistency
Length influences where the shaft sits at full draw and how repeatable the anchor feels. When the arrow is long enough, the archer can learn the same draw every time without worrying about the shaft feeling cramped. That makes the shot process easier to repeat.
If the arrow is too short, the archer may subconsciously shorten the draw, turn the head early, or rush the shot to avoid discomfort. Those are form habits, not tuning habits, and they are much harder to fix later.
When an arrow is too short for a new archer
If the shaft ends at or very near full draw with no safety margin, it is too short for a beginner. If the setup forces posture changes, it is too short. If the archer grows and the arrows no longer leave room for a comfortable anchor, it is time to stop using that cut length.
Suppose a beginner’s draw length increases by a small amount over a season while the arrows were cut exactly to the old number. The old shaft can become a clearance and safety problem even if it still “flies fine,” so the safer move is to keep some extra length from the beginning.
What spine and point weight should beginners use?
Beginners should use a spine that roughly matches draw weight and a moderate point weight that keeps the arrow easy to tune. The bow chart should guide the final choice, but the main idea is simple: avoid a shaft that is so stiff or so weak that it starts fighting the release.
How spine and draw weight interact
Spine is the stiffness rating, and draw weight pushes that shaft into flex. When the fit is close, the arrow leaves the bow cleanly and groups more predictably. When the fit is wrong, the arrow can plane away from the target line and make the shooter chase setup problems that are really form problems.
Spine matters, but beginners do not need to obsess over it yet. That is fair advice, provided the arrows are at least in the rough range for the bow and kept consistent across the set.
Why point weight changes arrow behavior
Point weight changes how easily the front of the shaft bends in flight. Heavier points usually make the shaft behave softer, while lighter points make it behave stiffer. That means point weight is not just a target detail; it changes the feedback the archer sees downrange.
For form learning, moderate point weight is useful because it keeps the arrow honest without making the tune unstable. Very heavy points can make a beginner bow feel sluggish. Very light points can make the shot feel snappy and less forgiving.
Form mistakes a bad match can hide
An arrow that is too stiff can hide a shaky release by making the shot seem more consistent than the form really is. An arrow that is too weak can make a decent release look messy. Both cases are bad for learning because they blur the line between shooter error and setup error.
Beginners should look for a setup that makes mistakes visible but not punishing. That is the sweet spot for learning. If the bow suddenly feels harder to hold steady after a change in arrow type, spine, or point weight, the setup may be part of the problem.
Nice-to-have arrow details
These details are not the first thing to buy, but they affect how safely and easily a beginner practices. Material, tip style, handedness, and basic safety gear all matter once the main arrow setup is in place.
Fiberglass, carbon, and aluminum
Fiberglass arrows are usually the cheapest and are common in very basic beginner sets, but they are often less consistent than better shafts. Carbon arrows tend to be more consistent and durable, but they cost more. Aluminum arrows are often straight and uniform, yet they can bend if abused.
For a beginner learning form, consistency matters more than chasing a premium label. That is why many archers move from very cheap beginner shafts to something more uniform once they know the bow fits and the draw weight is comfortable.
Blunt, suction-cup, and field points
Blunt tips are common in beginner kits because they reduce target damage and are easier to use in basic practice. Suction-cup arrows are softer still and are often used for casual practice at very low energy. Field points are standard practice tips for real target work and are the better choice once the archer is shooting normal targets.
Tip type should match the practice goal. Suction cups are fine for simple games and very young beginners. Field points are the standard for form practice. Blunt tips can be useful for safe, low-risk drills, but they are not the same as a target point setup.
Right-handed, left-handed, and ambidextrous kits
Bow hand orientation must match the archer’s shooting side. A right-handed archer generally holds the bow in the left hand and draws with the right; a left-handed archer does the opposite. Ambidextrous starter kits are helpful in mixed-handed households because they reduce the chance of buying the wrong orientation.
Starter kits that allow either hand are common for beginners, and that flexibility helps when a parent is unsure which side a child will settle into. Still, the arrow setup should match the final shooting side, not just the box label.
Arm guard, finger saver or glove, and quiver
An arm guard helps protect the forearm from string slap. A finger saver or glove protects the draw fingers on recurve and similar finger-release setups. A quiver keeps arrows organized and reduces the chance of carrying loose shafts around the range or backyard.
These items do not improve arrow flight, but they support safe, steady practice. A beginner who is not worried about finger pain or string contact is better able to focus on anchor, posture, and release.
Consumables and spares
Arrow learning goes smoother when the small parts are easy to replace. Extra points, spare nocks, and a few replacement shafts can save a practice session when a beginner makes a normal mistake. That is especially useful while the setup is still being adjusted.
Extra points and nocks
Points and nocks are the parts most likely to get lost, cracked, or knocked loose during beginner practice. Keeping spares on hand makes it easier to stay with one arrow length and spine instead of swapping into a random shaft just to keep shooting.
Replacement shafts for beginner mistakes
Beginners sometimes damage an arrow by shooting into a hard edge, walking on a shaft, or clipping the target frame. Having a few matching replacement shafts matters because the goal is consistency. One odd shaft in the middle of a set can make practice data confusing.
Simple checklist before each practice
- Check that the arrow is long enough for full draw.
- Inspect the nock for cracks or looseness.
- Confirm the point is secure.
- Make sure every practice arrow is the same type and length.
- Wear the arm guard and, for finger release, the glove or finger saver.
Budget setups
Budget does not mean random. A low-cost setup can still teach form well if the length, spine, and point weight are sensible. The main mistake to avoid is spending money on the wrong shaft type and then trying to fix basic fit with accessories.
| Budget level | Suggested fit | Example product | Price | Why it fits the job | Honest drawback |
|---|---|---|---|---|---|
| Starter | Paper target face for close-range form drills | THREE ARCHERS Archery Targets Paper for Backyard 40cm 10ring 30pcs | $13.99 | Cheap way to see grouping and aiming drift while the arrow setup is being sorted out | It is a target face, not an arrow; it will wear out and does not solve arrow-fit problems |
| Mid | Compound tuning support for arrow-flight checks | Silipull 2 Pack Archery Tuning Paper Roll | $28.99 | Useful for reading tear patterns after the beginner arrow setup is close | It is for tuning work, so it is not needed for every new archer and does not help recurve finger-release practice much |
| Serious | Durable 3D target for repeated practice | Rinehart 1/3 Scale Woodland Elk 3D Archery Target | $263.80 | Good for repeated practice once the beginner is shooting consistent arrows and wants a tougher target | High cost and replaceable insert maintenance make it overkill for a first arrow setup |
What should I ask a pro shop before buying beginner arrows?
Ask for the shaft length, spine range, and point weight based on the exact bow and draw length, not just the package label. Also ask whether the beginner is likely to grow, whether the bow is right- or left-handed, and whether the arrows are meant for recurve or compound use.
Good shop questions also include whether the arrows are all the same type and length, whether the shafts will stay long enough for safe clearance, and whether the setup can be trimmed later. A shop should be able to explain why the chosen arrow is forgiving enough for form practice.
Frequently asked questions
What arrow setup is best for a beginner learning archery form?
That combination gives safety margin, visible feedback, and enough forgiveness to learn anchor, release, and posture without making the bow hard to shoot.
What arrow spine should a beginner use for recurve or compound?
A beginner should use a spine that roughly matches draw weight and the bow chart. The exact number depends on the bow type, draw weight, and point weight, but the key is consistency. Too stiff or too weak can both make form errors harder to read.
How heavy should arrows be for learning good form?
For learning form, use a moderate point weight rather than an extreme one. A 100–125 grain point is a practical starting range for many beginners because it keeps the arrow responsive without making the bow feel sluggish or overly harsh.
Do beginners need carbon, aluminum, or fiberglass arrows?
No single material is mandatory. Fiberglass is usually cheapest, carbon is often more consistent and durable, and aluminum can be very uniform but may bend. For form practice, pick the material that gives consistent shafts at a comfortable budget.
How does arrow length affect beginner safety and consistency?
Arrow length affects how much clearance the archer has at full draw and how repeatable the shot feels. A shaft that is too short can create safety problems and change the shot cycle. A slightly longer shaft is usually safer for a beginner.
What arrow tips are safest for beginner practice?
For simple beginner practice, blunt tips and suction-cup tips are common safety-oriented choices. For normal target shooting, field points are the standard. The safest choice depends on the target and practice distance, but tip type should always match the training goal.
Can one beginner arrow setup work for both recurve and compound bows?
Not well. Recurve and compound starter setups do not use the same arrow recipe, because the way they launch the arrow and the way they are tuned are different. A beginner should match the arrow to the bow type, not assume one setup works for everything.
What arrow setup helps reduce wobble and bad release habits?
A setup with proper length, roughly matched spine, and moderate point weight helps most. It gives feedback without being harsh, so the archer can see release mistakes and bow-hand torque instead of hiding them behind a too-stiff or too-short shaft.